Spooky Summer Quilt Along Week 10 is here!
This week, our goal is to layout all the modern triangles, plain neutral triangles, eyes, and background triangles in a rough draft of our ghost. Next week, after letting our layouts marinate, we’ll do our final layout and sew the ghost together!
This week you will:
- Cut the background triangles
- Count how many Modern Triangles you made
- Cut any plain, neutral triangles to fill in the ghost body
- Make the “eyes”
- Layout all the pieces to make a rough draft!
It sounds like a lot, but it only took me a few hours. Plus? It’s kinda fun, so don’t fret!
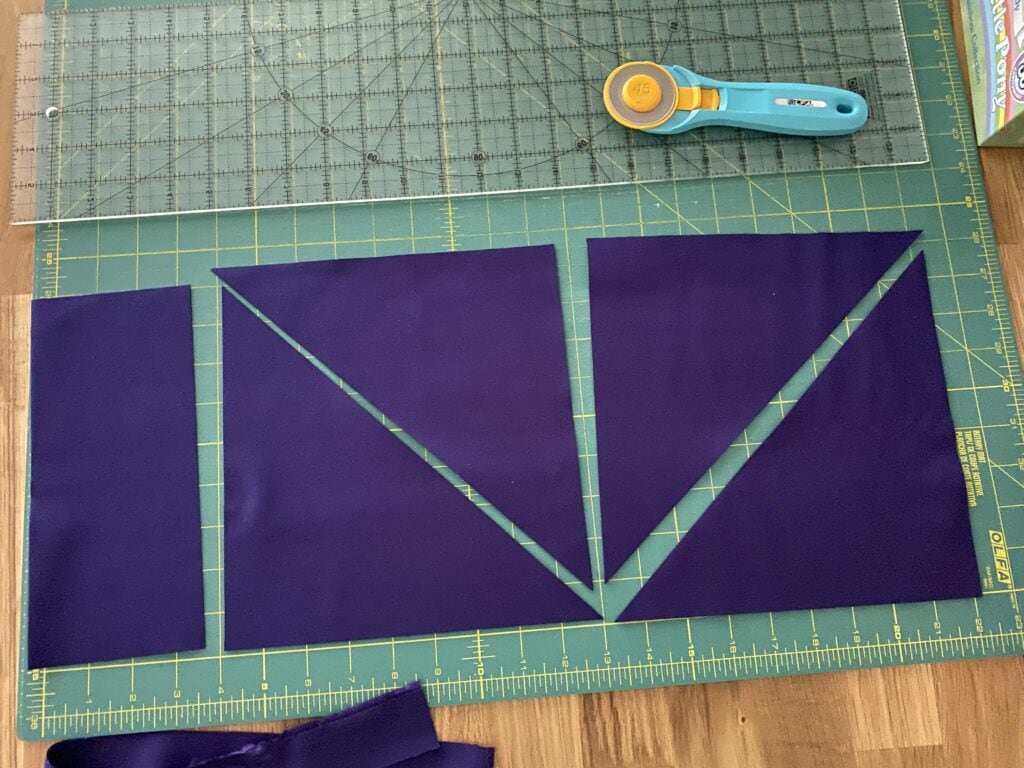
Cut the Background Triangles
For my background fabric, I choose a deep, spooky purple! Eeeeee-ooooo-aaaah-hahahaha!
From the background fabric you’ll cut:
- 1 strip 8 7/8’’ x WOF;
- then, subcut 4 squares 8 7/8’’, cut in half once diagonally to yield 8 base triangles (fancy talk for right triangles)
In a subsequent week, we’ll cut the rest of the background fabric. So sit tight on the rest!
Count your Modern Triangles
Using the instructions for the Right Triangle Blocks 1–20 (pages 59 – 72 from Modern Triangle Quilts), you can make up to 72 (71 for the “Ghoul” version) of your favorite Right Triangle blocks for this quilt.
If you didn’t make 72 (or 71 for the “Ghoul” version), you’ll need to cut additional “Base” triangles from your neutral fabrics (or the fabrics you used for your ghost body.
I “only” made 35 Modern Triangles, so? I need to proceed to the next step “Cut Ghost Filler Triangles”.
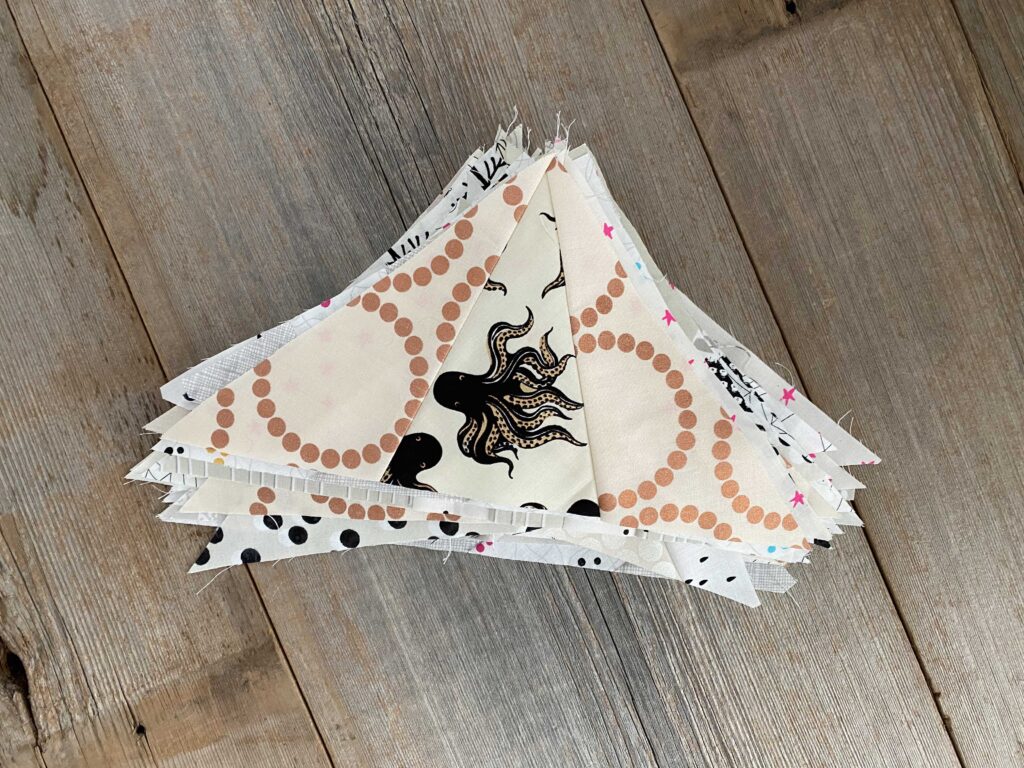
Cut Ghost Filler Triangles
If you don’t piece as many Right Triangle blocks as there are spaces to fill in the ghost body, just cut 8 7/8”, base triangles from your white and neutral fabrics until you have a total of 72 blocks and triangles.
For example, I made 35 Modern Triangles in total. So, I needed to add in 37 “Base” Triangles in some neutral fabrics to bring my total up to 72 triangles.
You can use the cutting instructions from above to cut your “Base” triangles from your yardage.
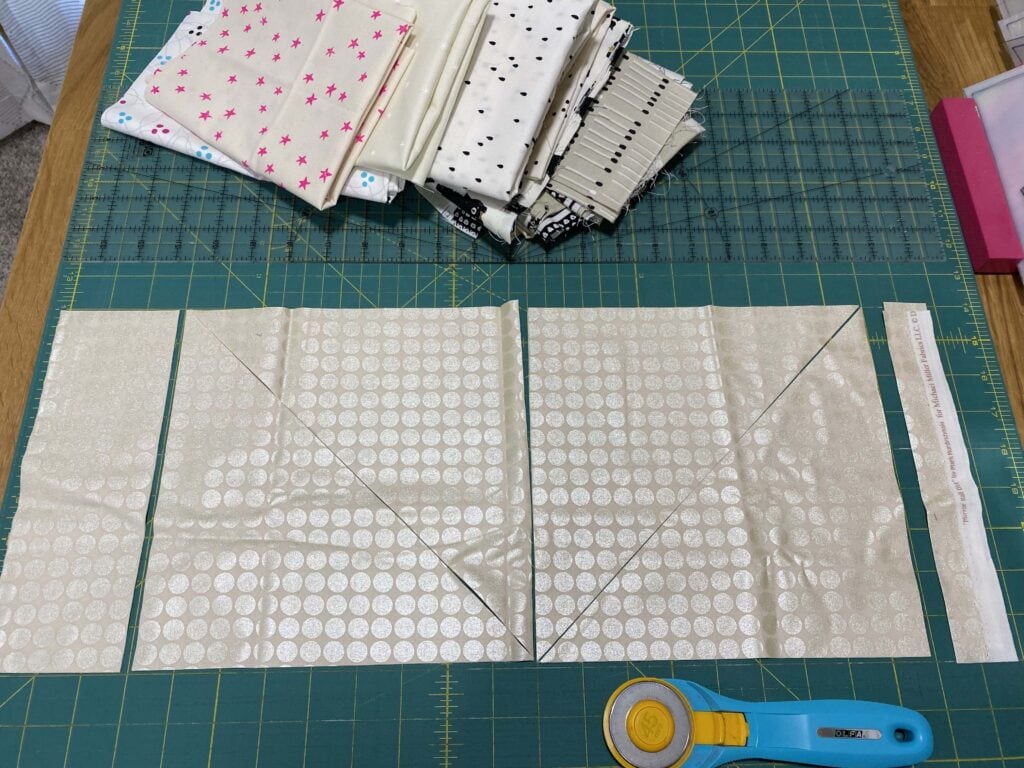
For example, to get 8 “Base” Triangles, from a neutral fabric cut:
- 1 strip 8 7/8’’ x WOF;
- then, subcut 4 squares 8 7/8’’, cut in half once diagonally to yield 8 base triangles (fancy talk for right triangles)
Since I needed 37 “Base” Triangles, I chose four fabrics to cut strips. That gave me 32 “Base” triangles. Then I cut additional triangles from some larger scraps, just to use them up. Scrap bustin’ baby!
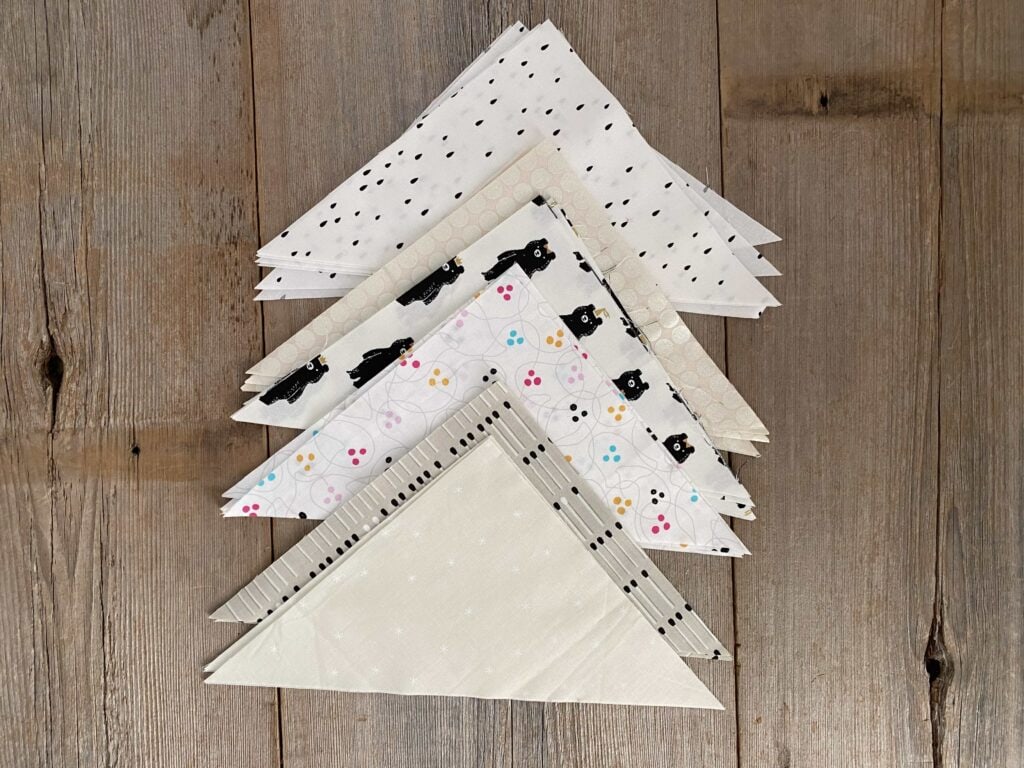
In choosing which neutrals to cut from, I wanted to cut from a range of neutrals – whites vs. creams, tone-on-tone, big print versus small print. Mix it up!
Make the Eyes
For the eyes, you’ll need 4 Scraps at least 4 1/2” x 8 1/2”.
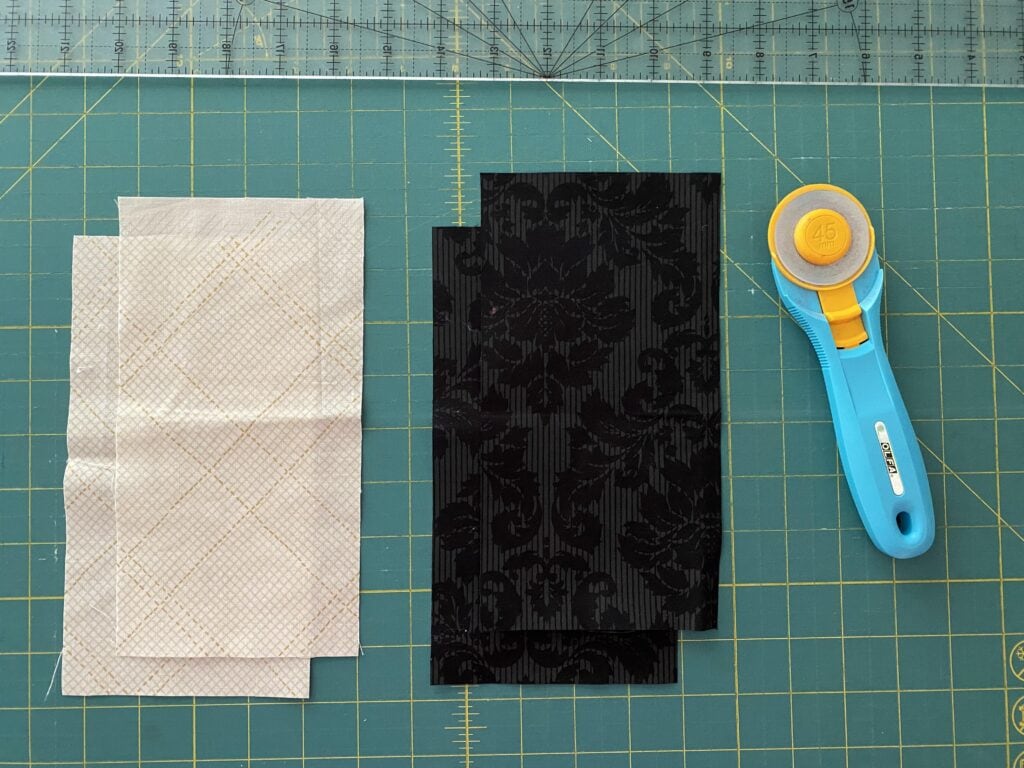
From the eye scraps, cut:
- 4 rectangles 4 1/2’’ x 8 1/2’’ (2 dark and 2 medium/light)
Sew a dark and a medium or light rectangle together along the long sides. Press towards the dark rectangle to complete an Eye block. Repeat to make a second Eye block.
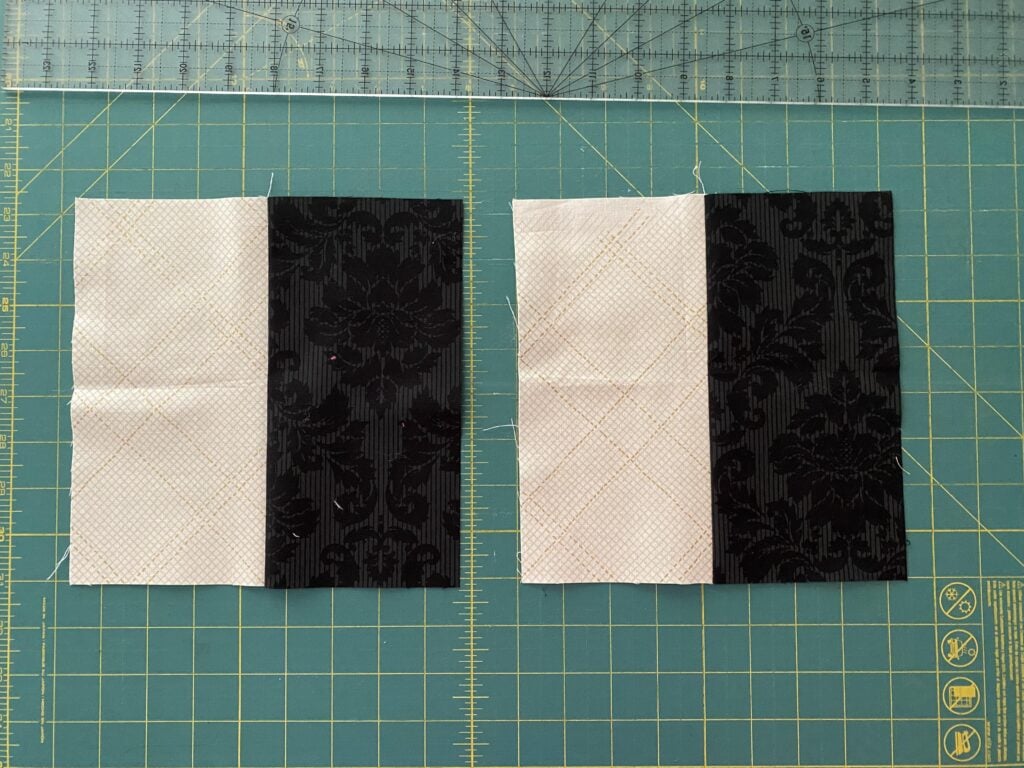
Note: In my pictures, I’m showing the same neutral fabric, but I actually think it looks better if the neutrals are different. So I’ll change it later. You’ll see!
Rough Draft Layout – Fun time!
Now, I thought about leaving this part for next week as this post is getting scarily long. But, I know there’s no way you can resist laying out all the pieces to start seeing your ghost appear!
So, let’s go for it!
For projects like this, I try to keep things looking random and scrappy, so as I lay my Modern Triangles and “Base” triangles out, I’m looking for any patterns or similar blocks or fabrics that are too close to each other. Then I break them up.
Let’s get started
Ok, start by putting your Modern Triangles, “Eyes”, and Background “Base” triangles on your design surface.
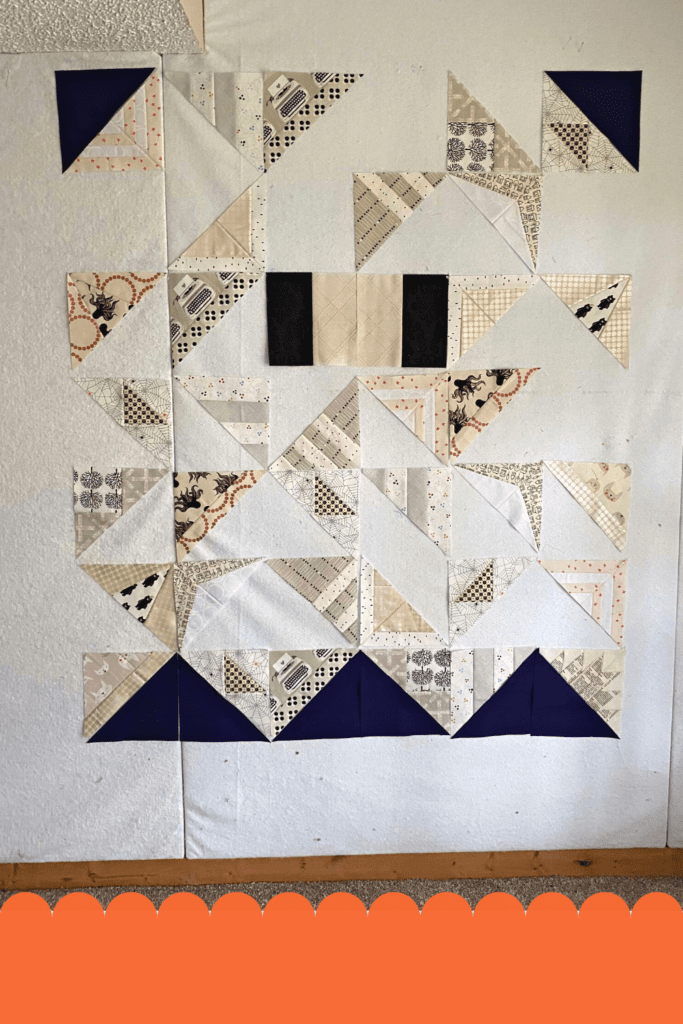
<<insert BoosGhoulsLayout1.jpg>>
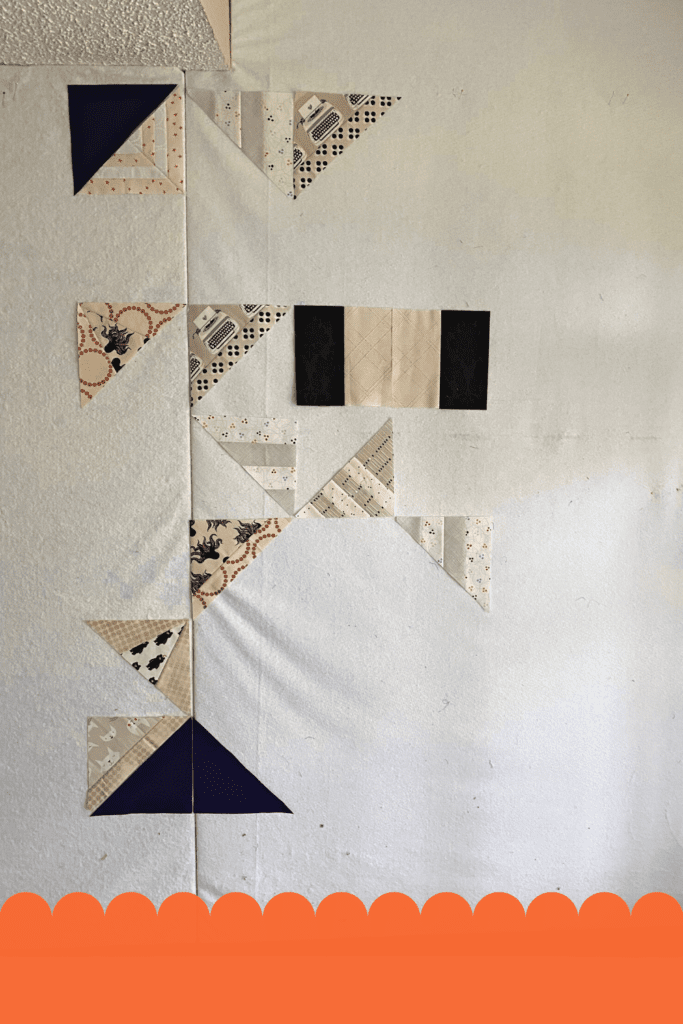
Here’s what my design wall looked like when I started.
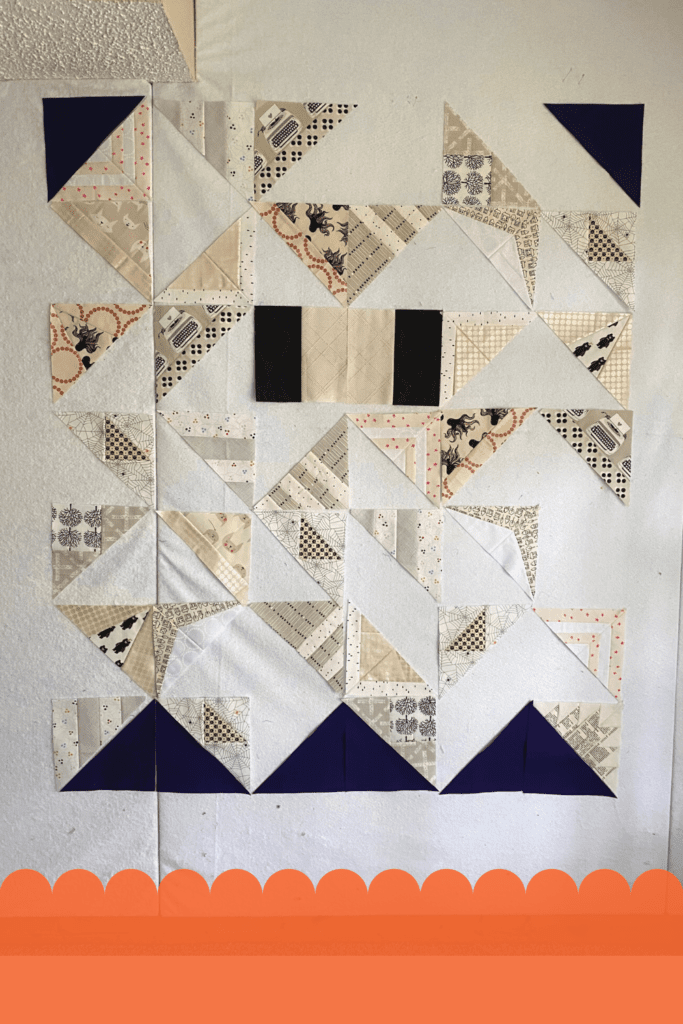
Continue filling in your ghost body by putting up all your Modern Triangles and Background “Base” triangles.
At this point, it’s super rough, I’m being as random as I can knowing I’ll edit later.
Evaluate
Now that I’ve got all the Modern Triangles up, I evaluate and make any changes. Are there prints or types of triangles that are too close to each other? What about the gaps? Are they weird?
So, behind the scenes here: At this point, I’m wondering maybe I should make more Modern Triangles? Maybe if I just make 5 more, I’d have an even number of “modern” and “base”. I haven’t decided yet. But that’s what I’m considering. This is a question I’ll marinate on, or think about, until next week. Sometimes, it takes a bit of time and space to consider.
That being said, I did make some changes. Mostly to where my blank space were and some of the triangles along the border of the ghost.
add the base triangles
Our next step is to add the “Base” triangles to the design wall. I started by adding the most noticeable prints, which I felt was the colorful ghost print. Since I had 8 of those, I just added one to each row with one row getting an extra.
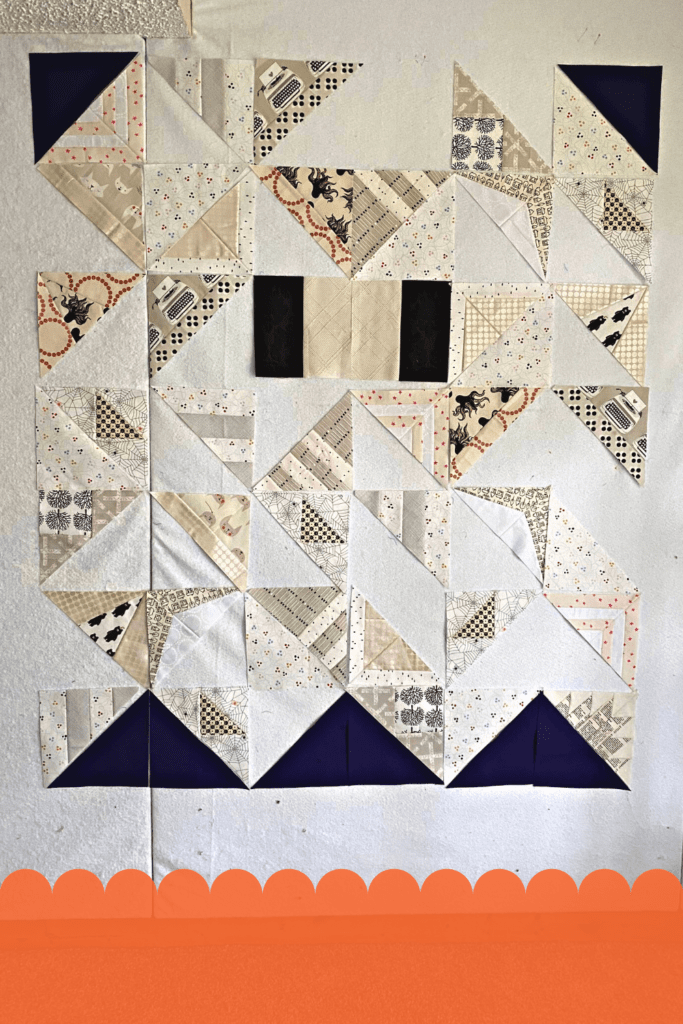
Then I filled in all the other empty spots with more “base” triangles.
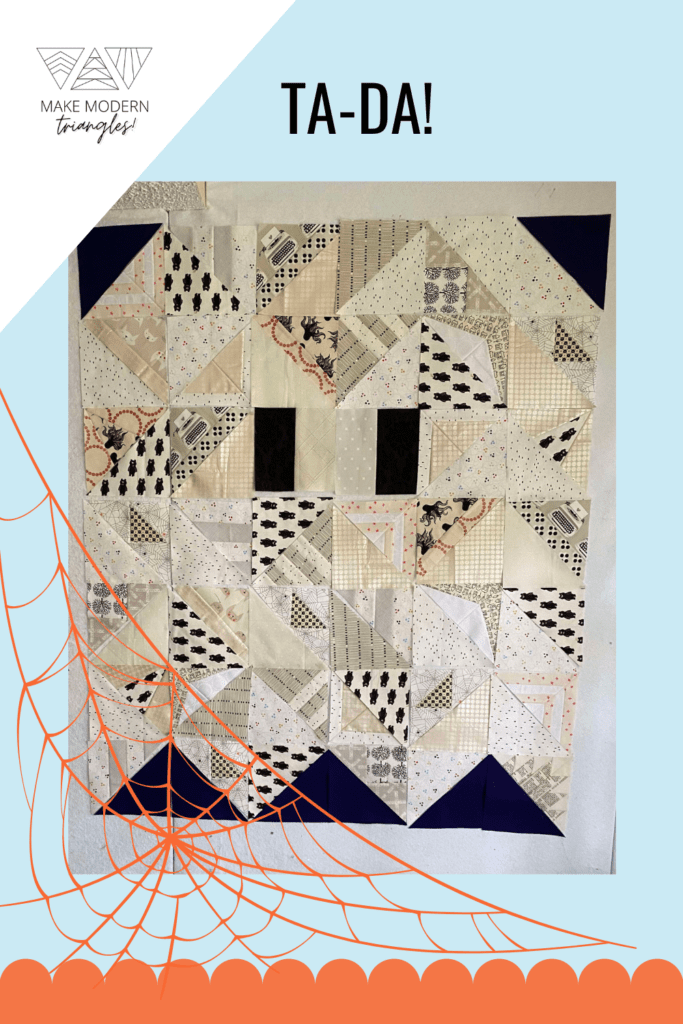
Annnnd, I also changed out the fabric for one of the eyes. I think scrappy is better here.
At this point, I’m going to leave it up and alone for a few days. As I pass I may make changes here and there.
If you get to this point, you are done for now! You have your “rough” draft layout! Woot woot!
Next week, we’ll sew them together!
Relevant Tips & Posts
How to start on the spooky Summer Quilt Along
MMT members, check out the Boos and Ghouls Introduction page here for fabric estimates, finished sizes, bonus content and coloring pages (digital and printable, ooooooooooo!)
Click here for these Member Bonuses inside the MMT Club Hub.
If you’d like to quilt along with us, you’ll find this week’s block (#7) in the Modern Triangle Quilts book where you’ll find all of the blocks.
Check out the refresher below on how this spooked-up shebang works. You can do this!
HOWL LOUDLY ABOUT Spooky SUMMER QUILT ALONG Progress!
OO-OO-OOOOOO!
REFRESHER: HOW SPOOKY SUMMER QUILT ALONG WORKS

Learn new techniques and have ghoulishly good fun!
- 12-week program: July 13 through September 28. Start anytime.
- New quilt tutorial using triangles from my book Modern Triangle Quilts.
- Number of weekly blocks: Make as few as 3 modern triangles a week – you choose.
- Share and celebrate your progress: Post your pics and shriek “Ta-daaaaah!”
- Make it your own! You choose which modern triangle blocks to make and where to place them. (Move them around when no one is looking – total spook move).
Spooked? We’ll help you through the rips, howls, tears and fears.
Okay, boos and ghouls, mix up blocks and then lay them out any which way or use the triangle-y variety on this cute ghoul below!

TENTATIVE SCHEDULE (BECAUSE LIFE HAPPENS, RIGHT?!)
The quilt along runs from Wednesday, July 13 through September 28.
- Week 1: July 13 – Introduction & Materials List
- Week 2: July 21 – Block Set 1
- Week 3: July 27 – Block Set 2
- Week 4: August 3 – Block Set 3
- Week 5: August 10 – Block Set 4
- Week 6: August 17 – Block Set 5
- Week 7: August 24 – Block Set 6
- Week 8: August 31 – Block Set 7
- Week 9: Sept. 7 – Block Set 8
- Week 10: Sept. 14 – Background Cutting – You are here!
- Week 11: Sept. 21 – Make Block Units
- Week 12: Sept. 28 – Quilt Top Assembly
JOIN IN THE SPOOKY SUMMER QUILT ALONG
If you’re not an MMT member and love free coloring sheets, then sign up for our free newsletter with weekly updates and you’ll snag yourself a free copy of the Boos and Ghouls coloring sheet.
Grab this ghostly goodie now and start coloring!
And you still have 7 weeks before Halloween so yes, you can start now and do this!
Get your FREE Coloring Sheet Here >>
OR WHY NOT GET THE VIP EXPERIENCE with the Spooky Summer Quilt ALONG?
First, here are the “members only” goodies we’ve created for the QAL:
- Full “Boos & Ghouls” pattern featuring two cute ghosts in 3 easy sizes (official printable pattern coming early Fall)
- All of the Modern Right Triangle Foundations packaged in one tidy “eBook” so that you’ll be able to (freezer) paper piece all the right triangles in our standard sizes: 8-inch, 6-inch and 4-inch! How cool will that be!? (Now Available!)
- Bonus coupon! While the Modern Triangle Quilts book is lovely, it isn’t required. If you’d like a signed copy, there’s a coupon inside! The discount will appear out of thin air at checkout.
- You can find it all…right here.
Secondly, members can watch demo videos any time as well as many times. Howlin’ good, I’d say.
NOT A MAKE MODERN TRIANGLES MEMBER YET?
Membership is invite only so if you’re curious about membership in the Make Modern Triangles Club, visit makemoderntriangles.com to learn more and take a cool modern triangle class in order to get your invite.
I’ll be back next week to share how to make block units with your triangles.
Yours in triangles,
Rebecca
