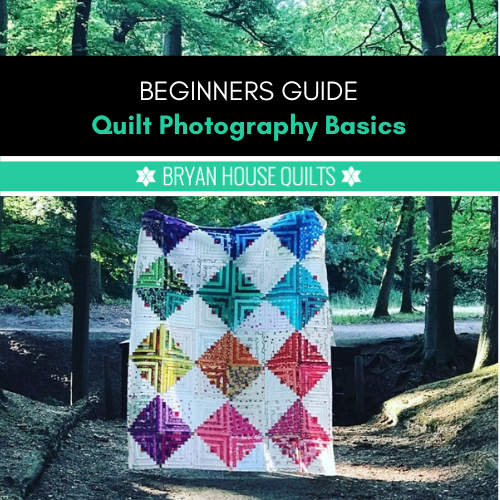
Learn quilt photography basics to showcase your quilt’s colors, design and details. In this post I’m sharing how to take your photos from so-so to sensational with basic technical skills and your creativity.
KEY HIGHLIGHTS

- Learn how to take better photos of your quilts indoors and outdoors for documenting and sharing.
- Natural light is the best option for capturing true colors and details.
- Lifestyle shots and full shots are great ways to highlight the size and overall design.
- Using props and different angles make photos more interesting.
- Use the correct sizes for sharing photos on social media and blogs.
IMPROVE YOUR QUILT PHOTOGRAPHY SKILLS
Has this happened to you? My quilt photos seldom looked like the real-life version. After carefully choosing the color palette, fabrics and quilt pattern, the photos were too dark or too light, yellowed or washed out, or shadowy. I was so disappointed.
Would a new camera fix this?
Not exactly. What I really needed to learn was how to take different types of quilty photos for different purposes in different places, said quilt photography expert Kitty Wilkins. She explained why I was getting so-so results and what to do about it. Combining the right equipment, technical steps and creativity would make photo magic. I was in!
Taking time to learn new skills and how to use equipment made a huge difference – I know it will help you, too.

By the way, you can join our Modern Triangle block of the month quilt programs anytime. Work at your own pace with a great community of quilters. Learn more about all the goodies in the Club!
QUILT Photography Basics for Better Photos
Essential Equipment and SET UP
While you don’t need fanciest equipment to take great quilt photos, you need ones that make a difference.
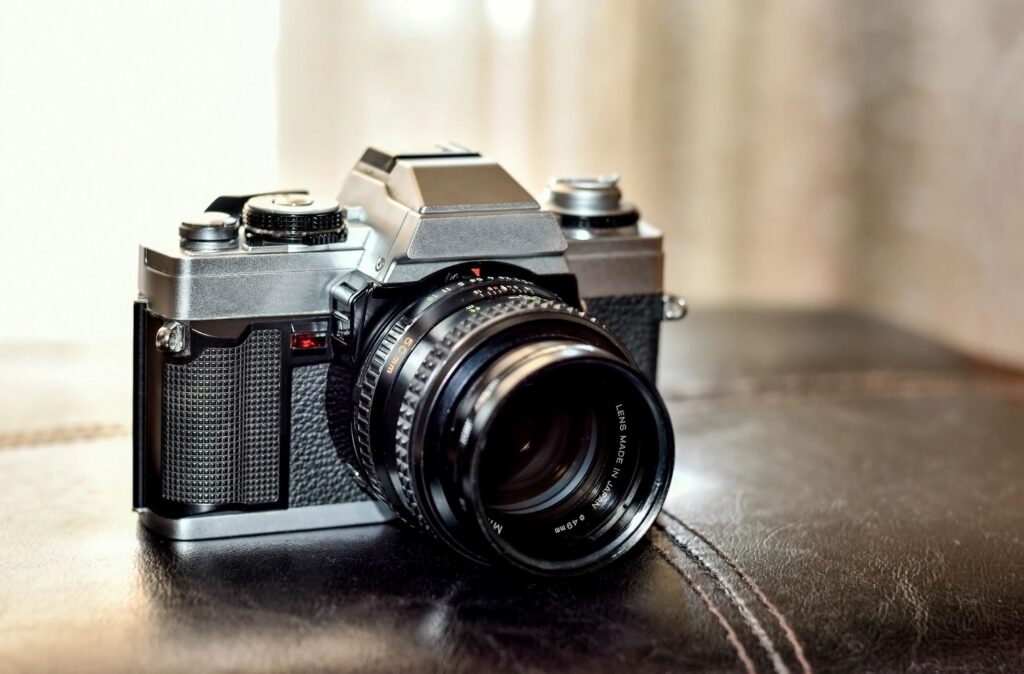
A good-enough camera is essential. If you’re ready to invest in a camera, a DSLR (digital single-lens reflex) camera provides more control and flexibility with settings. I use mine for most of my photos. There are so many cameras to choose from that I recommend learning about which beginner features you need. Most starter 35mm cameras come with a standard lens – if you plan to shoot outdoors or close-up product photos, consider adding a telephoto and macro lens.
Many smartphones, like the iPhone, have excellent camera and editing features. Learn more about getting the most out of your iPhone camera features in this tutorial from iPhone Photography School. PC Mag rates the best Android device cameras in 2024 for a start.
Nice-to-have equipment
When you’re starting out, extra small purchases will make a big difference:
- For indoor photos, light boxes and light rings make any indoor location better, especially when you lack natural light.
- Diffusers soften the light and shadows from a strong light source.
- White poster boards help to reflect light back on the subject in low light.
- Backdrops. Surprise! Many quilters use background boards or backdrops.
- Inexpensive phone tripods can be a smart investment. A sturdy tripod eliminates camera shake and frees up your hands.
EQUIPMENT BASICS
The best light is indirect, natural light.
Overall, lighting is the most important “equipment” you need to master. The photos I love the most are taken right next to my window. In the photo below, I tilted my blinds up to soften the light.


Types of Photos: Quilting, Sewing, Binding, BACKING and Glamour shot
Make the most of your quilts beauty during a photo shoot by taking different types of photos – no one type fits all. Plus, take more photos than you need – it only takes a few extra minutes:
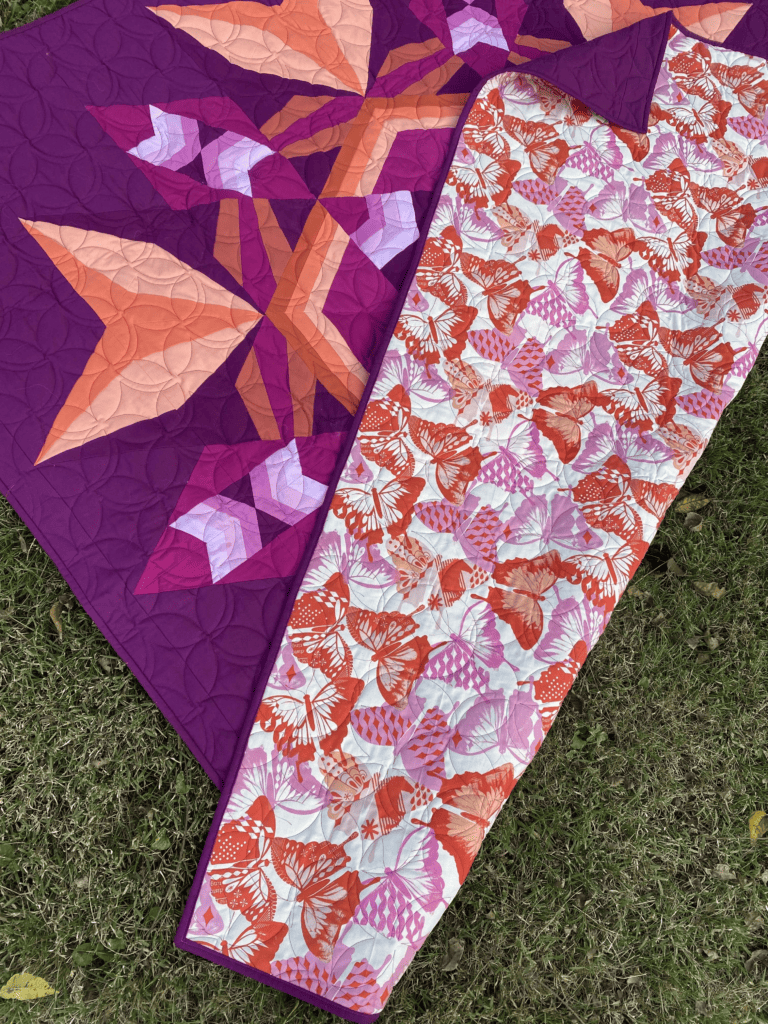
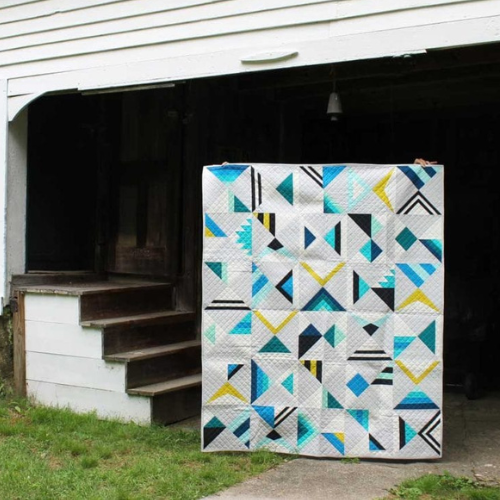
- Full length: Capture the entire quilt in one photo to showcase the quilt pattern and colors.
- Detail: Highlight intricate stitching and fabric details.
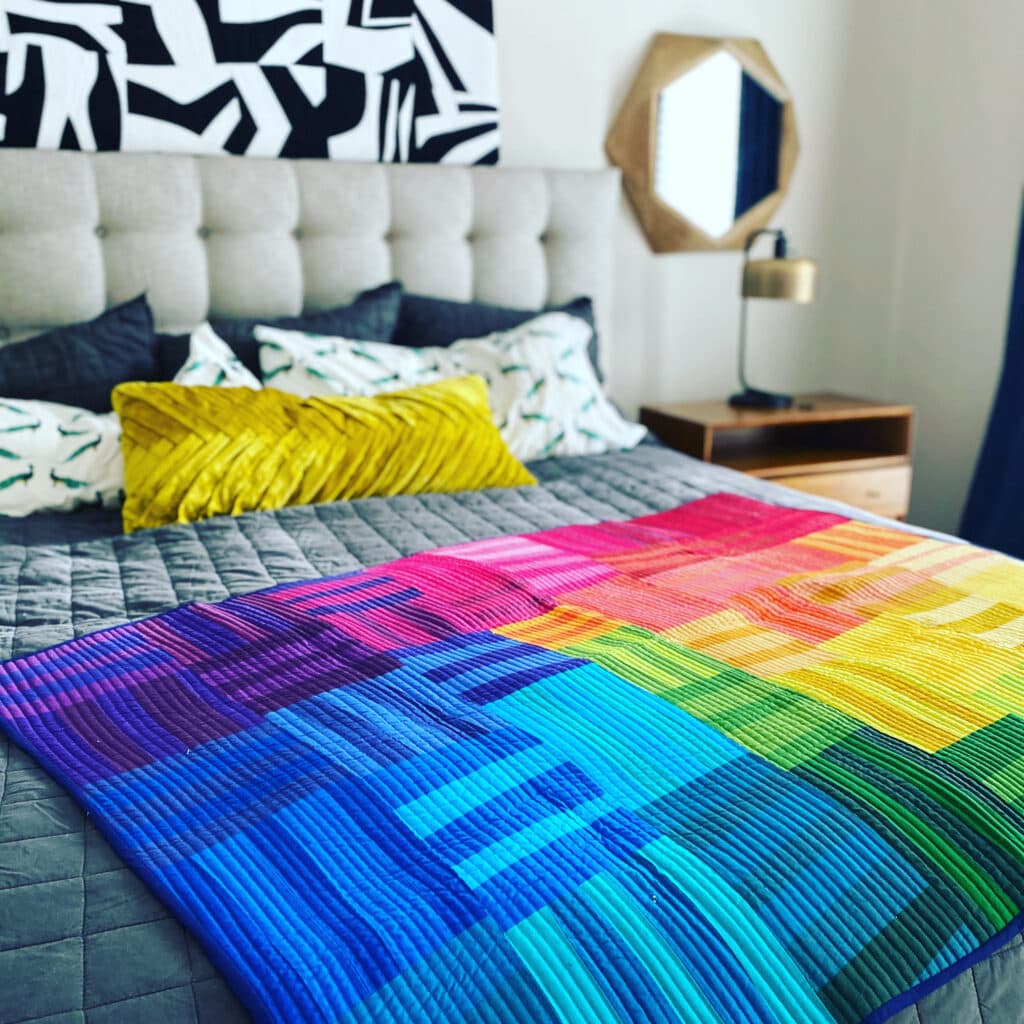
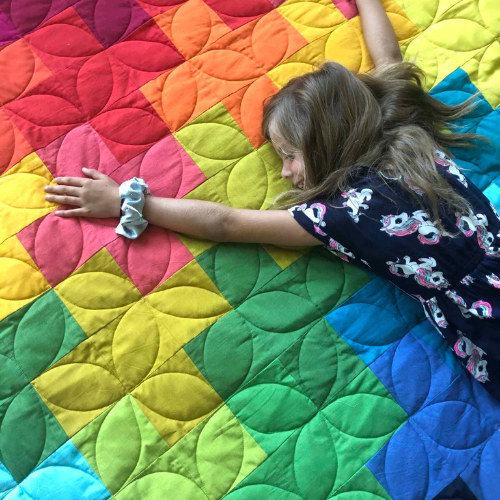
- Lifestyle: Showing it in use – on a bed, draped on a sofa or hung on a wall. I call this the glamour shot.
- Hanging: Hang or display on a stand or table as an art piece.
- Tell a story about sewing/quilting: piecing blocks, hand stitching, fabric choices and block layouts on a design wall.
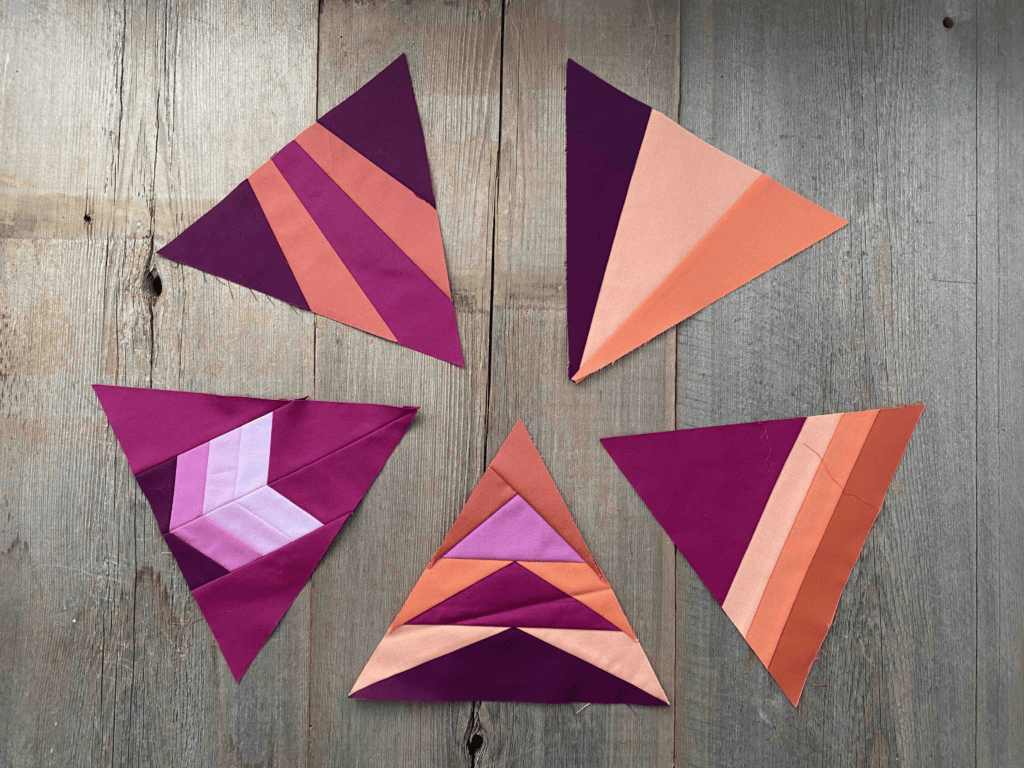
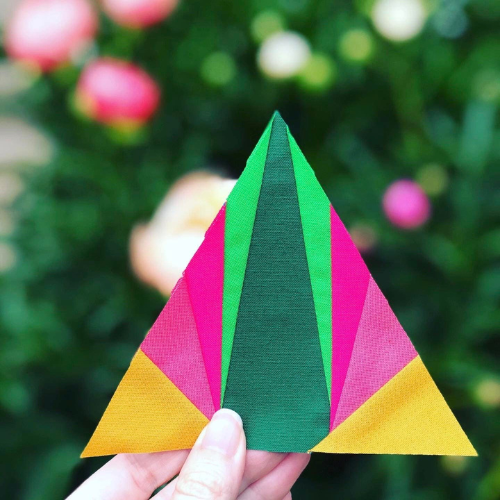
Make a modern triangle in my free class and learn the magic of Freezer Paper Piecing! Download the free pattern and I’ll walk you step-by-step through the technique. Get started here!
Step-by-Step Guide FOR Indoor PHOTOS
Taking indoor photos can be challenging, but with practice and patience, you’ll take better ones. My best tip is to spend time on lighting so you won’t need to over-correct or edit much after the fact.
- Assess the natural lighting conditions and time of day.
- Minimize shadows.
- Decide which types of shots to take.
- Setting up a backdrop and adjusting lighting.
- Framing your shots from with different angles and perspectives (close up, above, below, etc).
Assess Warm and Cool Lighting
Lighting is all about clearly seeing your quilt’s true colors. It conveys the mood, and overall look and feel. The color temperature of light, which is warm or cool, influences everything.
Warm light has a yellow or orange hue, like a sunrise or sunset. It can create a cozy feel in your photos. Capture warm lighting by shooting in early morning or late afternoon when the sun is low in the sky.
Cool light has a blue or white hue and shows up in regular daylight or cloudy days. It creates a fresh and bright look. To capture cool lighting, shoot on a cloudy day or in a well-lit indoor space with natural light. Avoid using the flash because it can distort the colors.
I get the best light in the afternoon. In the winter time, there’s a golden hour in the early afternoon; the golden hour during summertime is in the evening.
Manage Shadows
Shadows obscure parts of your photo and change the mood and aesthetic. Here are some tips for managing them:
- Indirect light: Doesn’t make harsh shadows and sometimes needs a boost. Reflect soft lighting onto the subject by placing a white poster board nearby, opposite the light source.
- Make sure you or your camera doesn’t create shadows. Adjust your angle or distance to get out of the way!
- Even Lighting: Aim for even lighting by positioning your quilt in a well-lit area without harsh shadows. Overhead lights may show the camera’s shadow or light only a portion of the frame. Turn them off in daytime and let the sun do its thing.
- Diffuse Light: If the lighting is too harsh, use a sheer curtain in front of the light to soften it and minimize shadows.
- Reflectors: Use reflectors to bounce light onto the quilt and fill in any shadows. A white foam board or reflector can help create a more balanced and evenly lit photo. Learn these easy skills with reflectors to improve your photos.
- Photo Editing: Use photo editing software or apps to make adjustments. Try not to over-edit by brightening the photo too much. Our eyes are tuned in to what looks natural and normal so trust your instincts.
SETTING UP A BACKDROP
Set up your quilt on a clean, neutral background, such as a smooth white sheet, white batting or a solid-colored wall. Hanging it on a quilt frame works too or even a clothesline. A smooth, neutral or natural non-reflective surface is the best backdrop for a close-up photo.
Experiment with TYPES OF SHOTS, Angles and Perspectives
Use your creativity by experimenting:
- Overhead Shot: Take a photo directly above to capture the overall design and layout. Hold the camera parallel to the ground or table to avoid distortion.
- Low Angle: Get down low and shoot the quilt from a low angle.
- Close-Up: Zoom in on specific details or sections of the quilt to highlight the intricate stitching and fabric patterns.
Frame Your Quilt
Framing your quilt properly makes it the focus. Here are basic frames:
- Full Frame
- Capture the entire quilt in the frame to showcase the pattern and colors at a glance. Make sure it’s centered and fills the frame to get enough detail. Check to make sure the edges of the frame are parallel to the edges of the quilt, otherwise the top looks distorted.
- Details
- Zoom in on specific areas like intricate stitching and fabric details.
- Horizontal and Vertical Frames
- If you know how photos will be used – sizes, resolution, landscape or portrait – take the original photo in the same orientation so resizing original photos is easier.
- Move items or change angles to keep unwanted items out of the frame, like messy sewing areas or your feet!
- Symmetrical: Position the quilt in the center of the frame. Line up the edges with the edges of the frame.
- On-the-bed: Take lots of photos from different angles and use props to give it a lifestyle feel. Moving the angle even a little changes how it looks on a bed. You’ll work harder on this one because of the walls.
- Backing Shot: Everyone wants to see the back and stitching!
Fine-Tune with Easy Digital Editing
After capturing your quilt photos, make easy digital edits using software and apps. Here are some common built-in features in smartphones and camera editing apps:
- Adjust Exposure: Increase or decrease the exposure to brighten or darken your photo.
- Enhance Colors: Adjust the saturation and vibrancy to make the colors pop and appear more vibrant.
- Crop and Straighten: Crop the image to remove any unwanted elements or to improve the composition. Straighten the photo if it’s slightly tilted.
- Sharpen and Clarity: Enhance the sharpness and clarity of the quilt to bring out the details and textures.
- Remove Blemishes: Use the spot healing or clone stamp tool to remove any distracting blemishes or imperfections.
By the way, you can join our Modern Triangle block of the month quilt programs anytime. Work at your own pace with a great community of quilters. Learn more about all the goodies in the Club!
Outdoor Quilt Photography
Outdoor quilt photography lets your creativity out in the wild. Start with a local park or scout out an unusual backdrop with these tips:
- On a sunny day, the bright and direct sunlight can create harsh shadows and wash out colors. Find a shady area to set up.
- On an overcast day, light is evenly spread. The overcast sky acts as a giant diffuser, eliminating harsh shadows and creating a soft, flattering light.
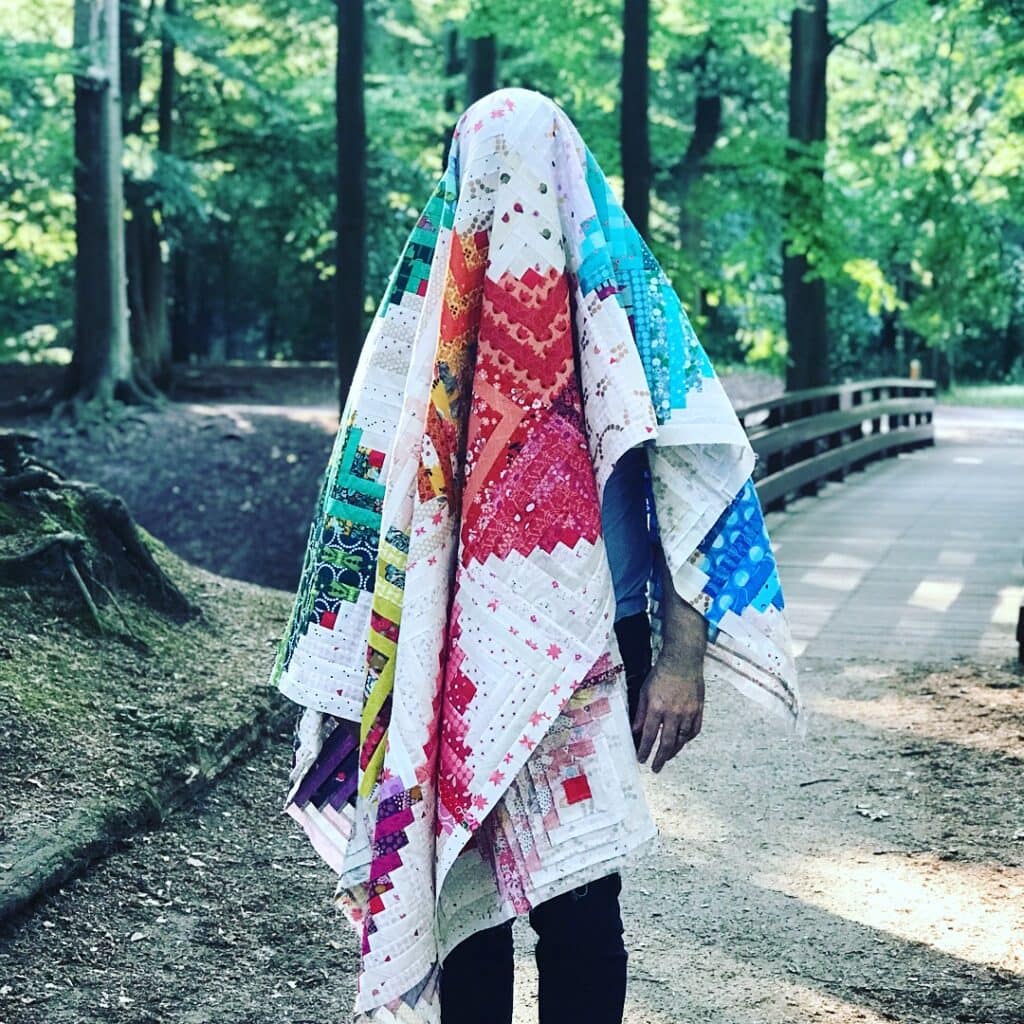
- Bring a buddy to hold your quilt or take the photo if you don’t have a stand. Or use a tripod to stabilize your camera or smartphone. Recruiting a quilt holder adds a personal touch and shows the scale and size. I wrangled my husband and he couldn’t resist shenanigans with this colorful quilt pattern.
- Experiment with different angles, compositions and locations to capture the best shot.

- Water is my quilty background favorite! In spite of a sunny day, the shadows and sun highlights the windy weather.
- In the photo below, I used the dark interior area as a dark backdrop for a white quilt.
Adding Props in Quilt Photography
Adding props to your quilt photos can enhance the overall composition and tell a story. Whether it’s a cozy blanket, a cup of tea, or a vintage quilt rack, invite the viewer to feel the mood.
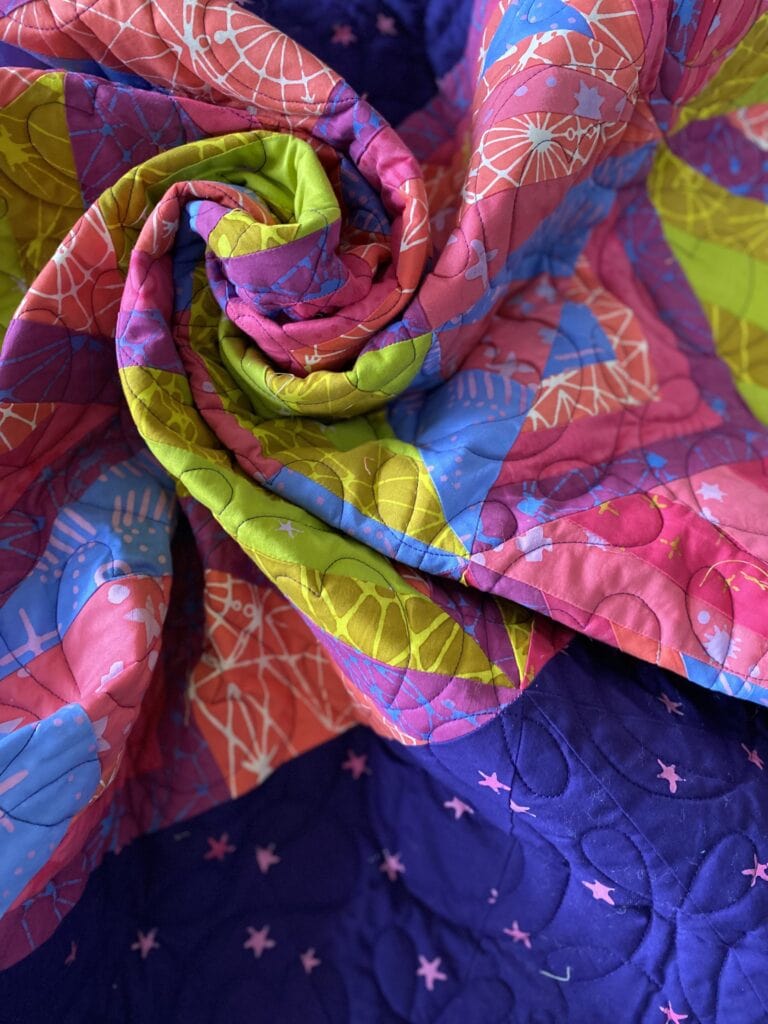
Since I’m crazy for rainbow palettes, I styled Rainbow Remix with some bright accessories. The quilt pattern remains the centerpiece.
When choosing props, don’t go overboard. Keep your quilt the focal point. For a cozy and rustic look, use wooden furniture, antique and vintage items, or natural elements like flowers or greenery. For a modern and minimalist look, keep the props simple and clean, focusing on geometric shapes or neutral colors.
Quiltfolk magazine is about the people who make and love quilts. Nearly every photo on their Instagram feed includes people – they are fun and happy props!
Sharing Your Photos on Instagram, Pinterest and Blogs
Sharing your photos online is a great way to connect with other quilters, gain inspiration, and showcase your work. Pinterest makes my quilty heart beat faster. What can’t you find?!
Instagram showcases great quilt photography – its known for beautifully curated photos. Find makers with photographs you like and study what makes them stand out. Pinterest is a visual search engine where users can discover and save images or “pins”. Search “outdoor quilt photos” for hundreds of ideas.
Photos Sizes for Social Media – Horizontal and Vertical
You’ve taken a great photo and now it needs to fit the photo frame. Starting out with a higher resolution photo (at least 2400 pixels) will maintain clarity and avoid distortion. Here are the recommended photo sizes in 2024 for Instagram and Pinterest:
- Square – 1080 x 1080 px
- Landscape – 1080 x 566 px
- Portrait – 1080 x 1350 px
Pinterest – Recommends a 2:3 aspect ratio
- Standard pins – 1000 x 1500 px – optimal recommended size
- Square pins – 1000 x 1000
- Long pins – 1000 x 2100 px
INSPIRATION, QUILTY RESOURCES AND TUTORIALS
Need wow inspiration from the heroine of super patience in quilt photography? Stumped about your so-so results? Thinking about taking your quilt’s photo on the edge of the ocean? Visit Kitty Wilkin’s on the socials for photo galleries, patterns, project tutorials and fun makes.
- Instagram: @nightquilter
- Facebook: nightquilter
- Blog: hhttps://nightquilter.wordpress.com
Sharon Holland’s quilt photos show every photo you need to take showcase yours.
Lindlee Smith, Plains and Pine, takes stunning outdoor ‘in the wild” photos. The red quilt in the snow is amazing on her feed.
Quiltfolk creates a people vibe by framing their shots with quilters.
Grab your camera!
Taking great photos of your projects is worth learning. With the right lighting, angles, props and equipment, you’ll have the skills to save and share your quilts looking as beautiful as you made them.
BY THE WAY, YOU CAN JOIN OUR BOM PROGRAMS ANYTIME!
Join our Block of the Month programs any time, start any time, make any project, finish any time, work at your pace and repeat! Click here to learn about all of the goodies in the Club!


MORE RESOURCES
- Master Freezer Paper Piecing – 12 Easy Tips
- Choose Easy Analogous Combinations for Quilts
- Beginners Guide: Using a Walking Foot
- Modern Quilt Colors: Mixing Brights Right Tutorial
- Celebrating Quilty Progress
- Rainbow Quilt Designs: 9 Ways to Make Inspired Rainbow Quilts
- Hexagon Quilts Roundup
- Aurora Block of the Month
- Quilt Coloring Pages: 4 Methods for Successful Color
Make a modern triangle in my free class and learn the magic of Freezer Paper Piecing! Download the free pattern and I’ll walk you step-by-step through the technique. Get started here!

Frequently Asked Questions
How Can I Improve My Quilt Photography on a Budget?
- Use natural light and experiment with different locations in your home.
- Create a DIY reflector using white foam board or aluminum foil.
- Invest in a tripod to stabilize your camera or smartphone.
What Are the Best Times of Day for Quilt Photography?
- The best times for quilt photography are during the golden hour, which is the hour after sunrise or before sunset.
- The soft, warm light during this time creates a beautiful and flattering glow on your quilts.
How can you capture the intricate details of a quilt in photography?
To capture the intricate details of a quilt in photography, use natural light to enhance textures, focus on specific areas like stitching or patterns, and consider shooting at different angles. A macro lens can also help bring out the fine details. You can purchase different lenses for smartphones.
Lighting is crucial for capturing the true colors and details of your quilts. Natural light is the best option, but if you’re shooting indoors or in low-light conditions, consider investing in a lighting setup or using reflectors to bounce light onto your quilt.

Great article, thank you. I like to use natural back drops as the contrast is good with my bright colors
Thank you for posting your tips without pop up ads!
It’s sooooo tempting tho… 🙂