
We’re celebrating our Aurora BOM big tada finishes in this final post of our series on Aurora.
In this post, I’ll show you how quickly the top comes together because, yeah, you’ve done all of the hard work already. Then I’ll show you our members’ Aurora BOM finishes. Whooooop!
This is the last post in a series of four posts about the Aurora BOM quilt. If you want to circle back for the full scoop in the last three posts, I introduced the inspiration for Aurora, showed you how I plan a BOM quilt and how we piece modern triangles in the Make Modern Triangles Club.
When you’ve made it this far, it’s easier to find your groove to get it done!
Sewing the Quadrants for the Aurora big TADA finishes
Completing the top by sewing the blocks into rows, and then rows into sections (rinse, repeat) is an easy way to build the quilt top into four large quadrants. Let me show you how because, believe it or not, there are no Y-seams!

OUTER quadrants assembly

I added a background triangle and square to enclose the point.

RIGHT FACING sub-quadrant assembly
Next, we’re sewing together a mashup of blocks from Months 3, 5, 7 and 8 plus one background rectangle.
The neutral blocks fill in to complete the square quadrants.


LEFT Facing sub-quadrants assembly
Next, we’re sewing together a mashup of blocks from Months 3, 4, 6, 8 and 9 plus one background rectangle and a base half square triangle. See below how they easily form into rows without using Y-seams, and then into one larger block.


INNER SUB-QUADRANTS ASSEMBLY
The inner sub-quadrants are made from all of the triangles and half square triangles.
Take all of the remaining pink and magenta HST triangle units and 2 neutral triangles from Month 1 blocks.

Then do the same with blue and violet units, orange and yellow units, and green and teal units.

After sewing the blocks together, I made sure I matched the seams for the rows.

Close enough is good enough for me.


I could sew up rainbow colors all day.
assembling the Four quadrants
We’re almost to the Aurora BOM big tada finishes with the large quadrants.
I love how this large quadrant sews together with each sub quandrant section: a right facing, left facing, outer and inner quadrant.

Pair up each color set for each quandrant then sew the four quadrants together, two at a time. Join two quadrants at a time in a row and sew the pairs together in a row. The borders are super easy because they are large rectangles on the sides and top.
TADA TIME!
Who made these gorgeous quilts? Members of the Make Modern Triangles Club made their own versions based on my pattern design. Wherever you are, sitting or standing, these quiltmakers deserve an Aurora ovation!

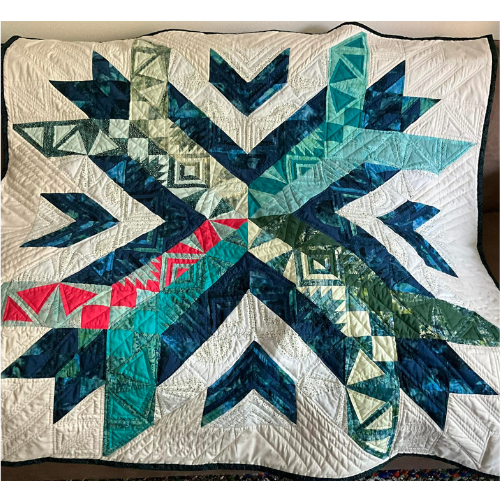


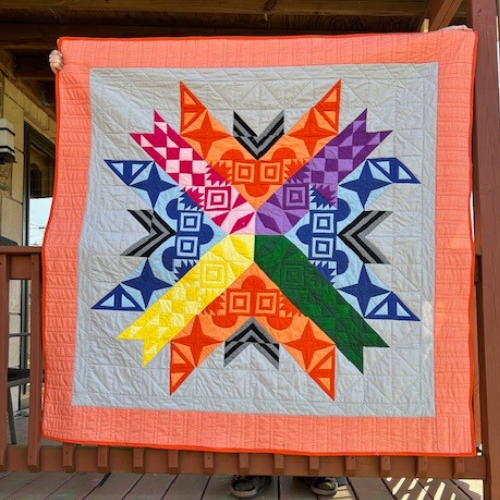
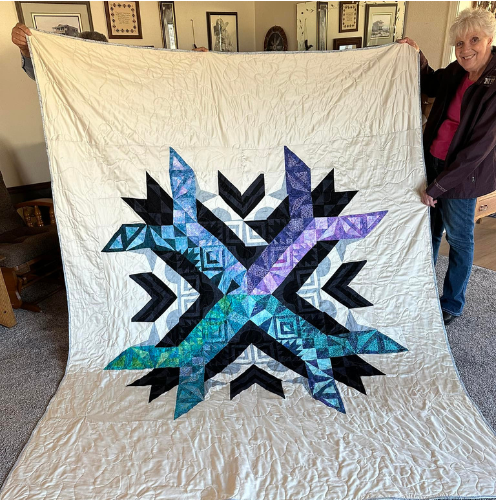
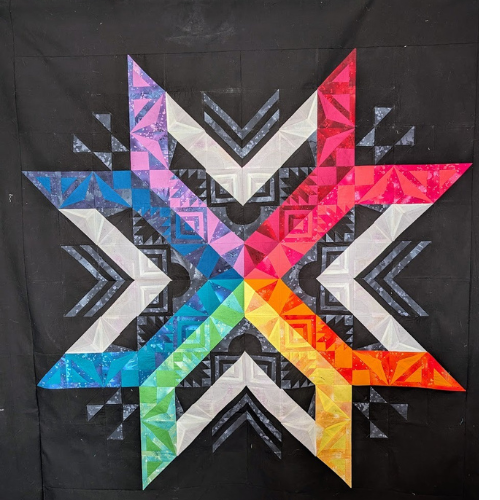
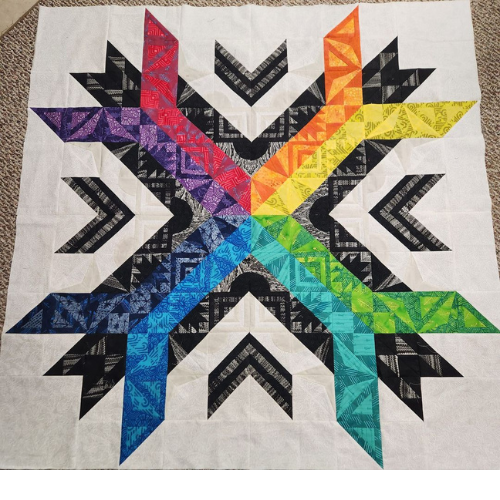
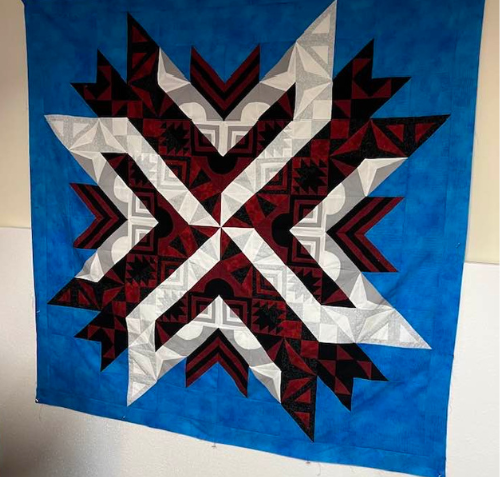
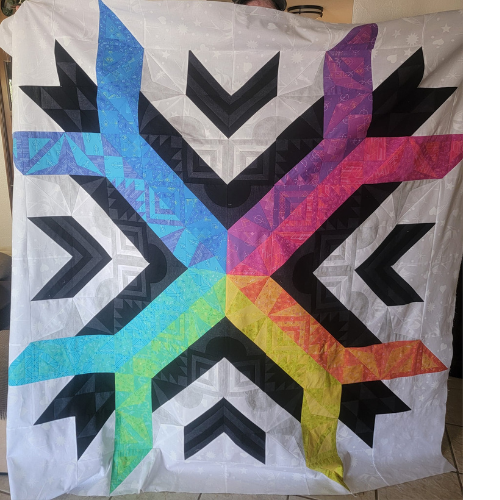
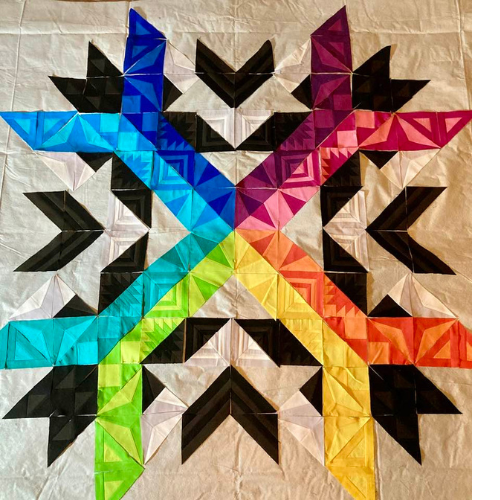
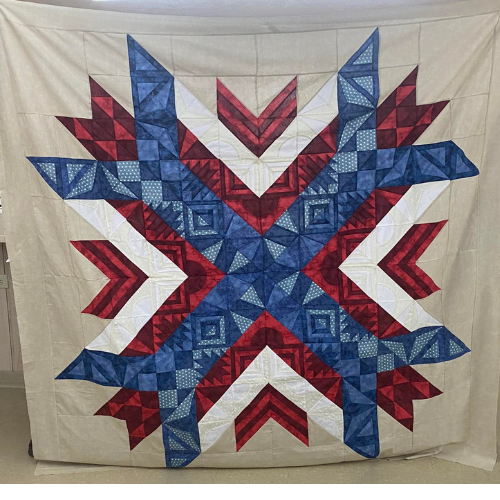
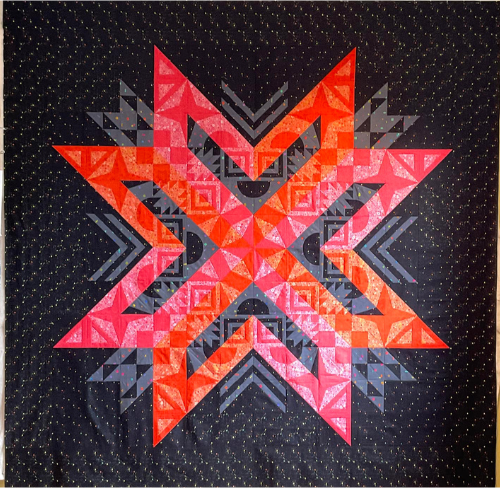
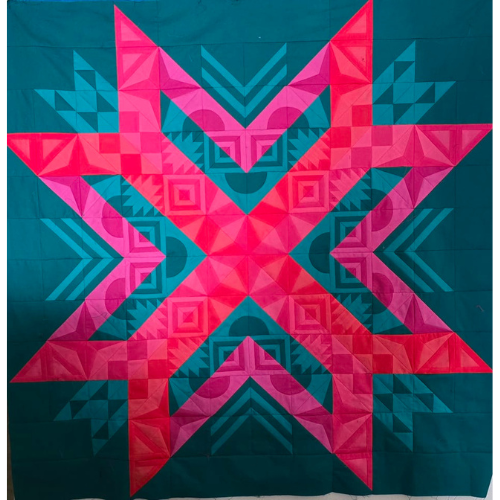
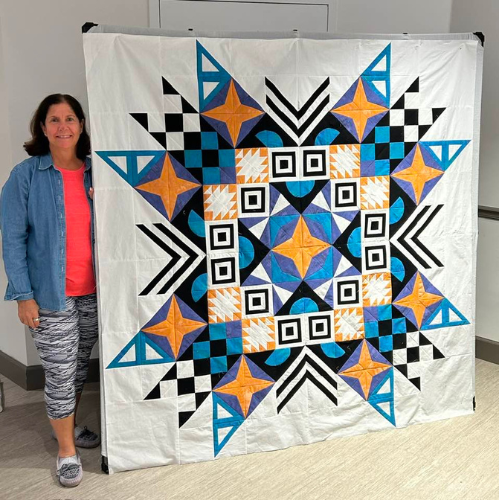


Congratulations on your finishes! You’re amazing!
