Make jelly roll strips from your own fabrics using a winning combination of prints, blenders and solids. Pull it all together with color and you’re ready to sew a quilt anytime.

Key Highlights
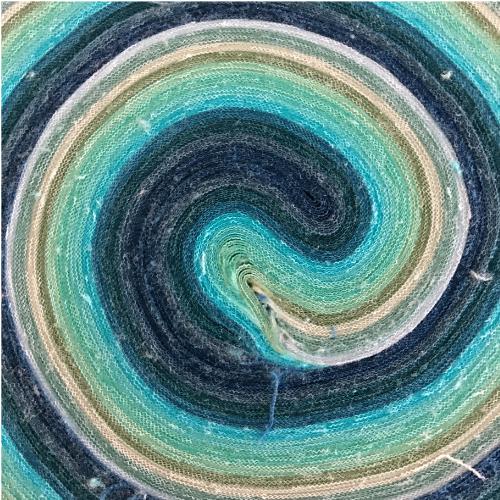
- Jelly rolls are popular pre-cut fabric bundles for quilting. pre-cut strips of fabric, measuring 2.5 inches wide and 42 inches long.
- They’re ideal for quilters looking for convenience or a sampling of fabrics from a collection.
- Making jelly roll strips at home saves money and uses the fabric you have.
- Essential tools include a rotary cutter, cutting mat, and ruler.
- Homemade jelly roll strips customize your quilt.
Why Make a Quilt with a Jelly Roll?
Jelly roll strip bundles are appealing to quilters for many reasons. They save time, are easy to store, offer a wide variety of fabrics from a collection, and work with hundreds of patterns designed for jelly roll strips.
Pre-cut bundles are great to have on a hand for convenience but they can be pricey. I buy them occasionally but I prefer to customize my color palette and use fabrics from my stash. In this blog post, learn how to make your own jelly roll strips into bundles with simple tools and choose fabrics for a curated bundle. By using fabrics you already love, you’re an A+ stash manager. You could even make the bundles ahead of time.

What is a jelly roll for quilting?
A jelly roll for quilting is a collection of 40 2.5-inch wide strips, each measuring 2.5 inches wide and cut across the width of the fabric bolt, usually 42 inches long. These pre-cut strips are curated from a single fabric line, guaranteeing matching patterns and color schemes.
Normally manufactured with pinked edges to prevent fraying, they come bundled with a variety from a collection and few duplicates. Tightly wound into a roll, they are also easy to store.
Jelly Rolls Are Sewing Time-Savers

Jelly rolls are pretty, colorful bundles of time-saving goodness. Ditch the cutting and choosing, mixing and matching fabrics. The whole process is simplified and sped up at the same time. Quilters grab the bundles and dive straight into quilting. Plus, patterns designed for jelly rolls guarantee the right amount of fabric on hand for a design.
Yes, they are great, but you can also save time and dollars if you make your own jelly roll strips.
4 Reasons to Make Jelly Roll Strips from Your Fabrics
Making jelly roll strips from your own fabrics is worthwhile. Here are four “why’s” to consider:
- Utilize your fabric scraps and leftovers: Use leftover yardage, strips and scraps from previous projects to create jelly roll strips. This reduces waste and lets you repurpose every fabric piece creatively.
- Tame and use your stash: When I have too much fabric, I can’t remember what I have! And then I don’t use it like I could. Whittle away your yardage by turning them into bundles you’ll love and use.
- Save money: Pre-cut jelly rolls can be pricey. By cutting your own fabric strips, you turn your sewing stash into a budget-friendly resource for quilting.
- Customize fabric choices: Homemade strips allow you to personalize your quilt with unique colors, patterns, or themes. It’s ideal for quilters who want to create one-of-a-kind designs.
Choosing the Right Fabrics
A ready-to-sew jelly roll is a combination of fabrics that include different types of prints and solids by design, blenders and background fabrics. The other big player, of course, is color. We all know color is a big deal!
In Fabric 101: Types of Prints by Color, I show how prints are used in terms of color complexity (also known as color harmonies and color schemes): monotone fabrics, analogous fabrics, and multicolored fabrics as well as hue and saturation.
All of the above comes down to creating contrast and saturation in colors and prints from lightest to darkest. Honing your skills in creating contrast with both color and prints will help you make dynamic quilts and create your own jelly roll strip bundles.
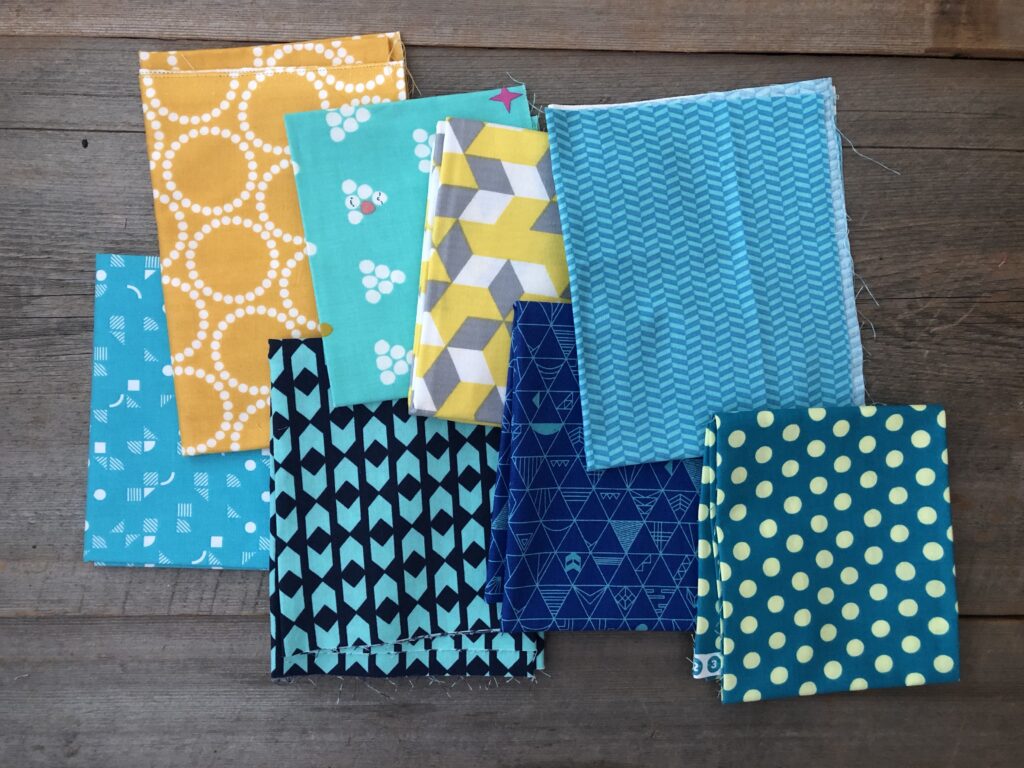
Build your bundle with:
- at least 3 colors including their tints, tones and shades.
- a minimum of five values of fabric, from light to dark.
- smaller prints that read as solids, solids and blenders,
- large-scale motifs
- 50% or more of the fabrics are prints, unless its a solid color bundles
Select your color palette first. Next, you pull lots of those colors from your stash, more than you will use. Separate the fabrics into piles by value – light, medium and dark piles.
Check to make sure you have the right amount and types of prints by subdividing the piles in to low-volume, small and large prints. Keep editing and playing with selections until the selection is balanced with all of the colors and elements. Permission granted to roll around in fabric all afternoon – whatever it takes, right?
How to Make Jelly Roll Strips
To make your own strips, you need a few tools to help you make precise cuts.
First, a rotary cutter is a must-have; a sharp blade makes clean, straight cuts every time. I like using an ergonomic cutter. Pair this with a large 18 x 24 inch cutting mat to provide a stable surface and gridlines for measurements. Your ruler needs to be at least 6 inches wide and 24 inches long in order to cut a long strip.
Standard jelly roll strips are cut on the crosswise grain (perpendicular to the fold and straight grain).
Step-by-Step Guide to Making Jelly Roll Strips
Consider the width of the fabrics you’ve selected; a standard jelly roll strips are cut across the full width of the fabric (around 42 inches). If using leftover yardage, measure to make sure it’s long enough.
Creating jelly roll strips involves a simple yet precise process. Begin by preparing your fabric; starching and pressing it flat on an ironing board ensures clean cuts and accurate strips.
Step 1: Preparing Your Fabric
Proper fabric preparation is key to achieving precise jelly roll strips. Begin by starching your fabric to add firmness, remove wrinkles and folds, and reduce fraying. Steam can help eliminate stubborn creases.
Next, align the selvage edges of the fabric—the woven edge that prevents unraveling. Make sure that the fabric hangs straight without ripples when folded on the manufacturer’s fold line.
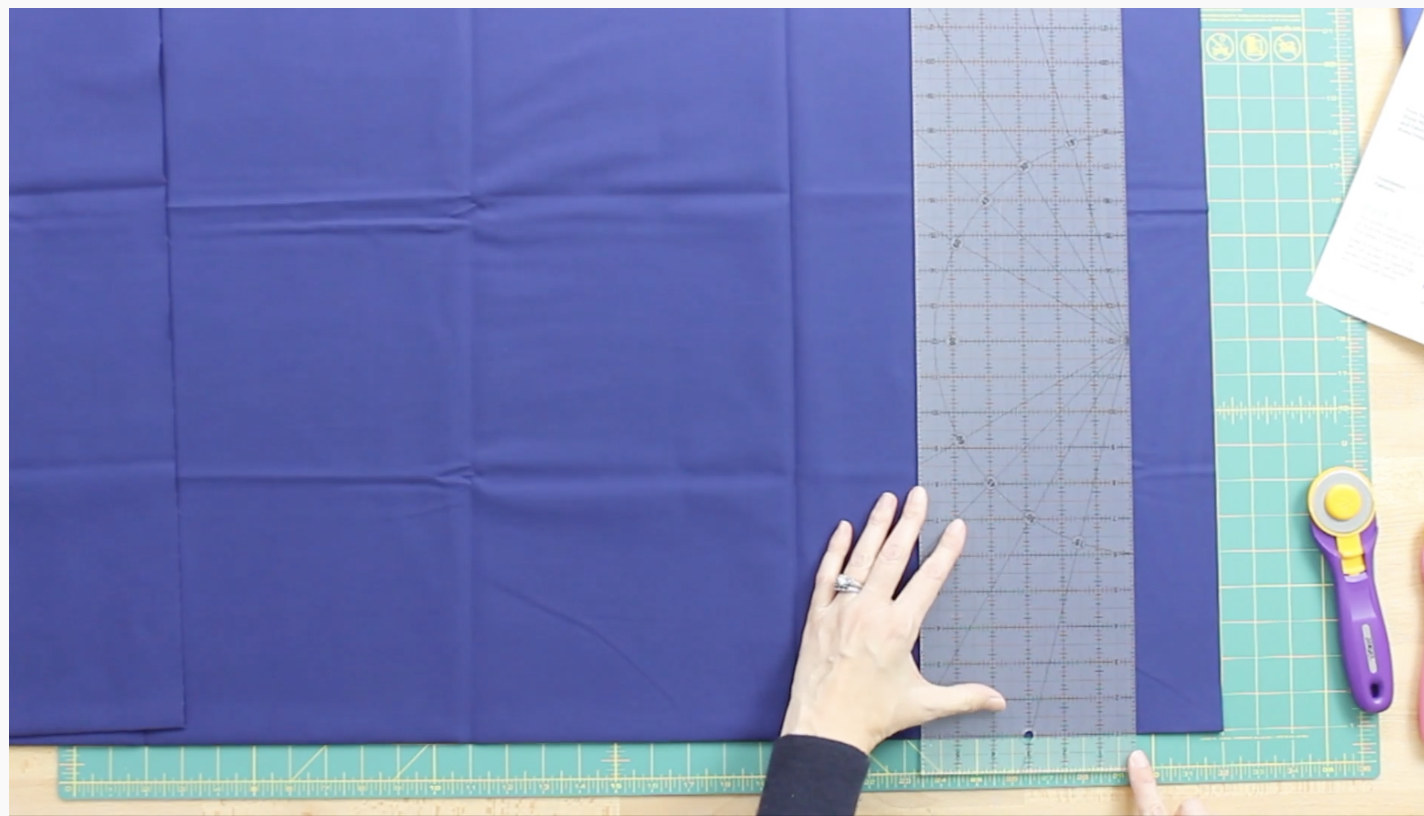
Step 2: Measuring and Cutting Strips
First, I squared the cut edges, which usually aren’t straight. The folded edge and cut edge should form a 90-degree angle.
- Lay the folded fabric edge closest to you along the 1-inch grid line on the cutting mat.
- Using a rotary cutter, trim the edges to eliminate uneven ends using the cutter and ruler.
- Lay the ruler on the fabric and measure out 2.5 inches from the cut edge.
- Hold the ruler steady and cut away toward the top edge.
- After each cut, slide the ruler 2.5 inches over for the next cut.
You’re almost done! Stack your strips into a neat pile, ready for sewing.
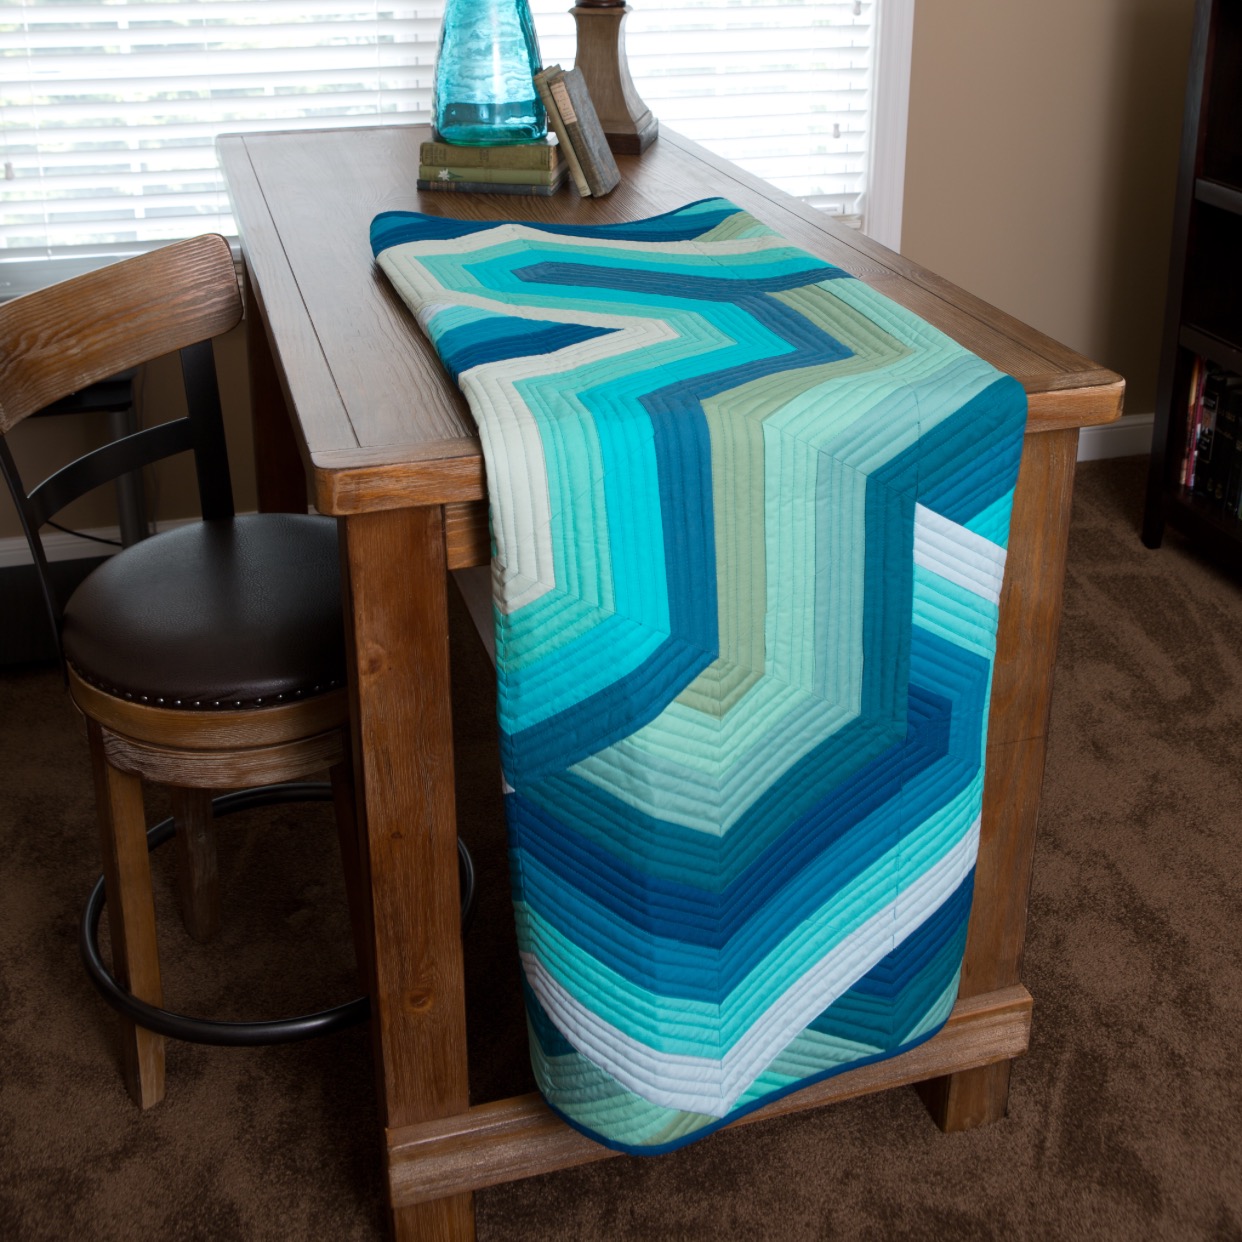
Pathways Jelly Roll Quilt
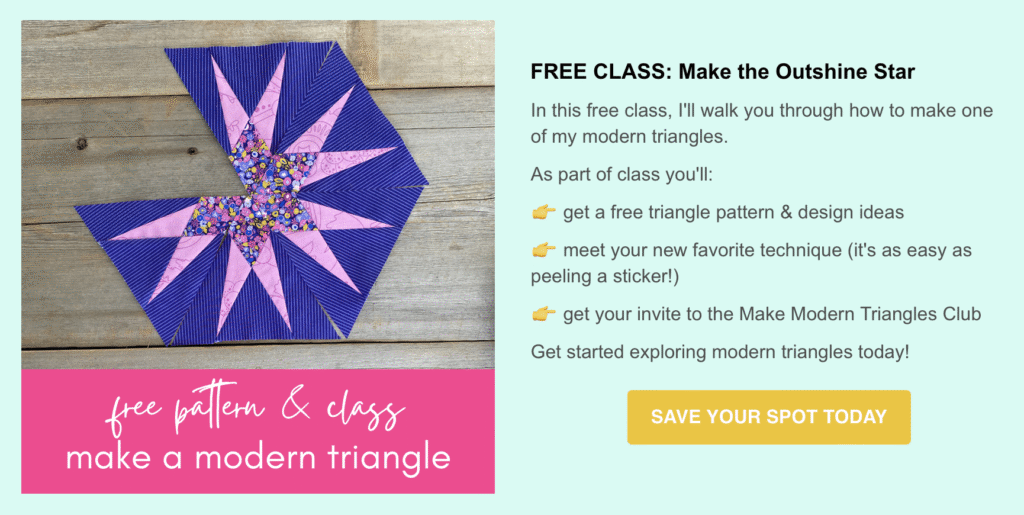
Try my super-friendly jelly roll design – Pathways. It’s a super creative way to put your new jelly roll strips to good use!

Learning how to make jelly roll strips is a fantastic way to use your fabric stash and curate fabrics you already love. Now that you know the benefits of using precuts, you can easily transform your fabrics into perfectly sized strips. Remember, the key to a successful jelly roll is in the preparation and measuring, so take your time with those steps. Whether you’re a seasoned quilter or just starting out, making jelly roll strips opens up creative possibilities. So start cutting!
MORE QUILTING RESOURCES
- Press Flatter Quilt Seams Like a Pro
- Paper Piecing Using Freezer Paper: 12 Expert Tips
- How to Choose Types of Batting for Quilt Projects
- Applique Quilt Tutorial for Beginners

Leave a Reply