Do you need a quilting design wall? Mine is a super helper – from organizing my blocks to creating layouts. I’ve had different kinds of design walls over the years and all of them were essential for making quilts.
In this post I’m sharing a roundup of DIY and B-U-Y ideas for your own. And you don’t need a massive wall in your sewing studio. Unless you, lucky you, ALREADY HAVE A HUGE BLANK WALL in your sewing room!
Crafting a cost-effective design wall is within reach. I’ll outline steps to make and tuck them out of sight and clever places to hang them. Materials like foam insulation board, batting, and duct tape are all you need to make your very own.
You’ll employ the same sewing skills for making a DIY board. If you can use a measuring tape and make a straight line, you’re in business!
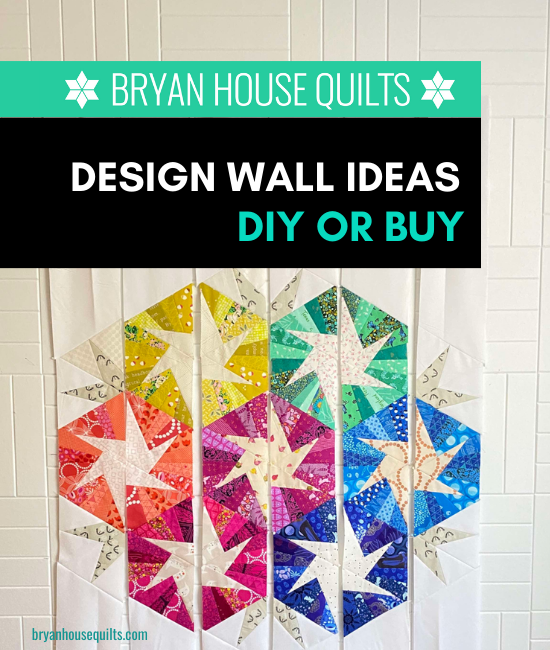
My Latest Design Wall (splurge)
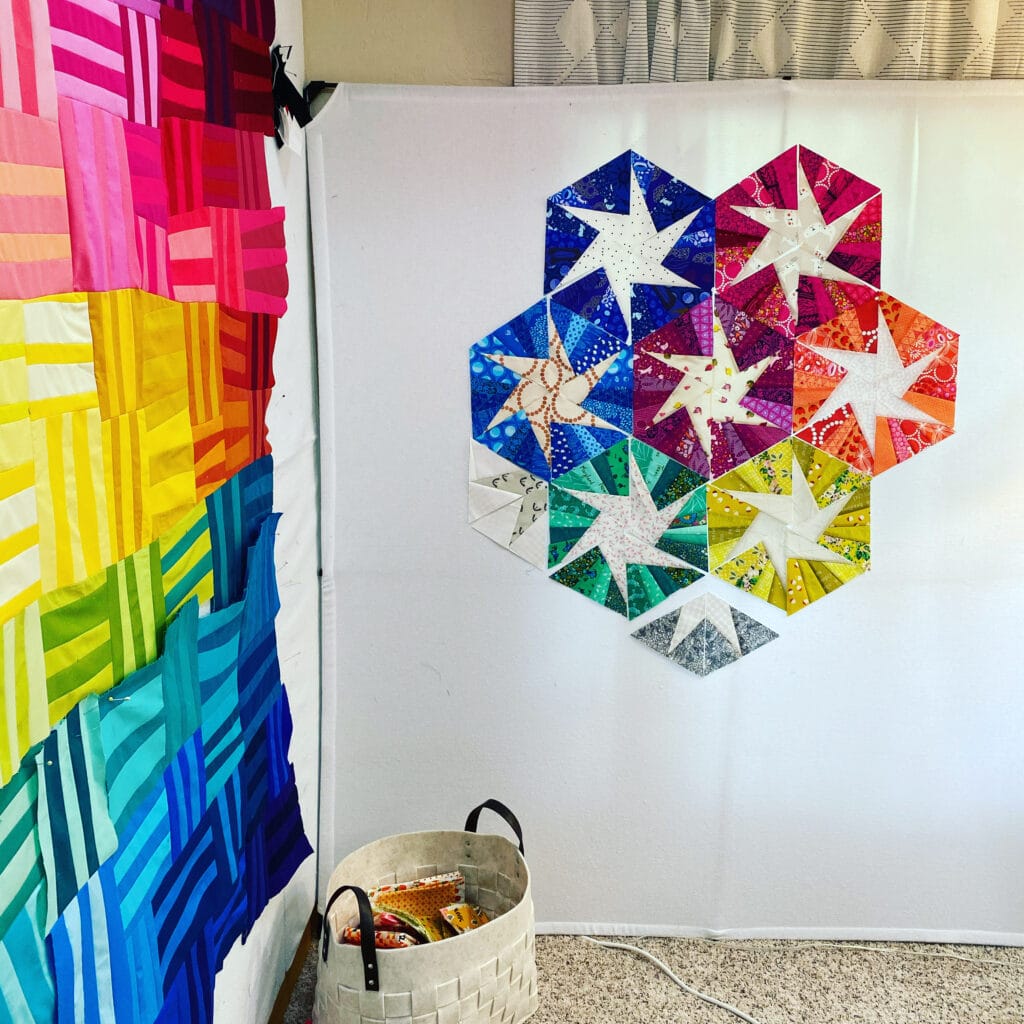
But first, lemme brag on my newest sewing room addition. This wall and me were destined to sew together. I’ve wanted Felt Right tiles for a loooooooong time. When I moved into our new home, IT WAS TIME. Besides it’s sublime beauty, this wall is my favorite quilting notion.
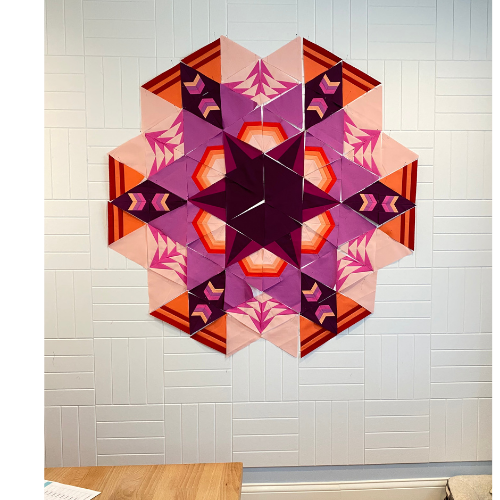
A quilt design wall gives you a big picture view of your quilt and room for arranging blocks. Organize your piecing process, watch your progress happen before your eyes and create layouts in full view while you sew.
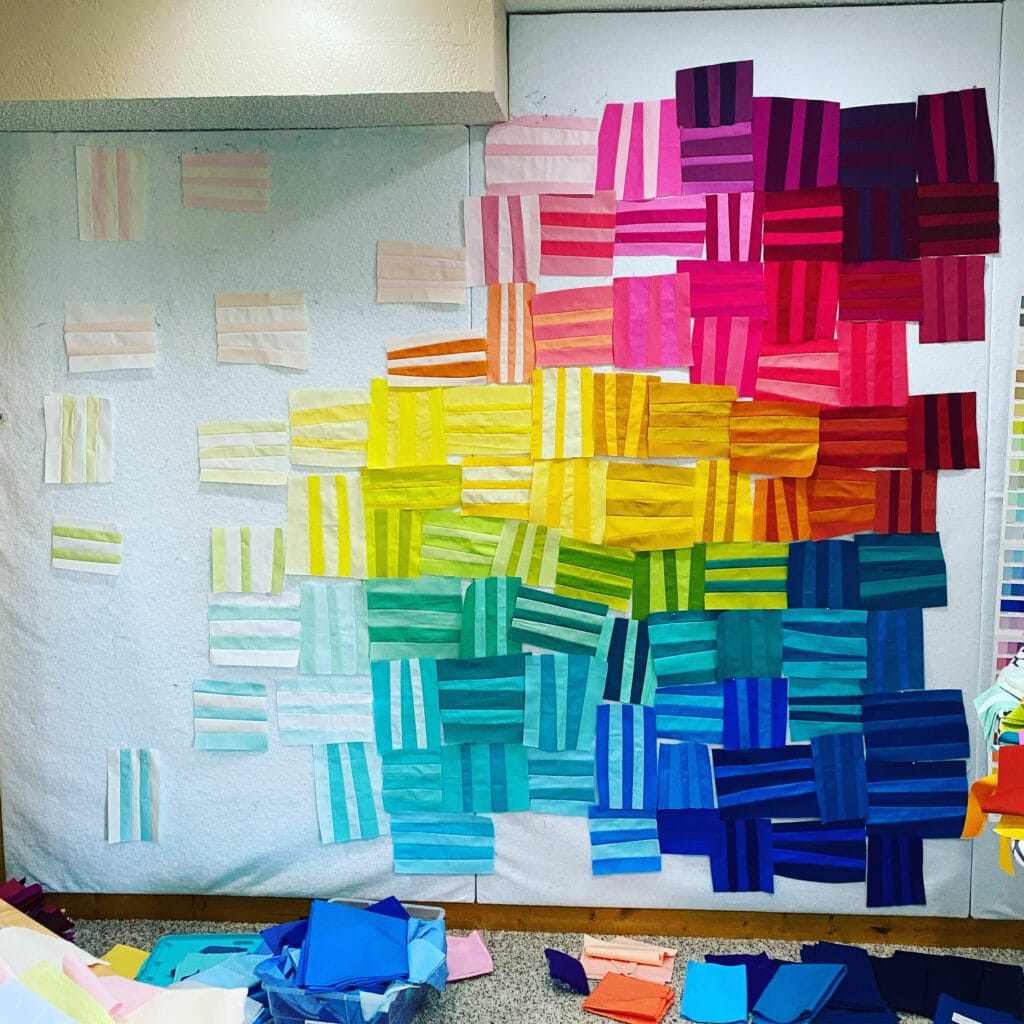
Choose the best option for your wall by measuring and assessing your space, function and budget.
A quilt design wall is a creative tool in your sewing room. My wall is a storage space, mistake-catcher and imagination station! I’m guilty of layering blocks because I squirreled off to another project. I’m the only quilter in North America that does that, right?
Space is relative. Design walls are made from all kinds of materials in different ways and sizes. You can hang, hook, tack, roll, fasten, glue and Velcro them. You can DIY one or B-U-Y.
Addition by subtraction: Going vertical saves and expands your sewing room space says every organizational expert. Get up off the floor for good.
Take better quilt photos. Goofy angles are gone without the shadows – a flat quilt photography surface holds your quilt in place with clips and pins. Taking quilt photos from a distance offers a clearer perspective.
Pet-friendly! Your blocks stay intact, well, mostly. (Cats, I’m looking at you.)
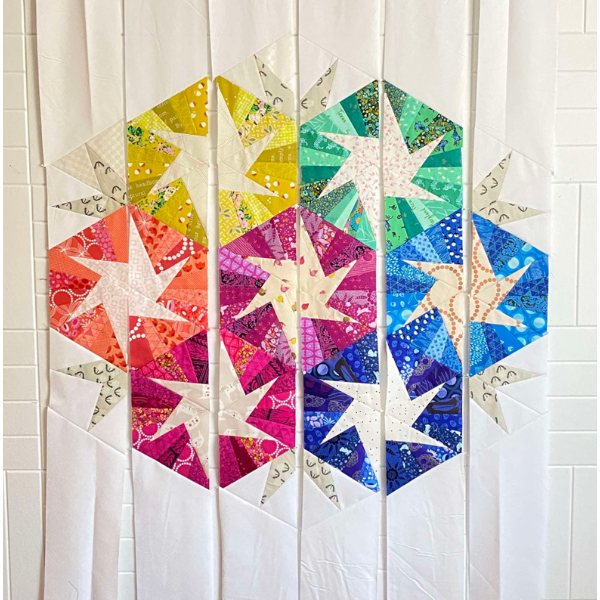
What is a Quilting Design Wall?
Um…the best quilting notion in the quilt-i-verse?
Quilting design walls come in many shapes and sizes with three main features in common.
First, a design wall is a vertical flat work surface with a straight-on view of your quilt blocks. You can easily see what’s working in the design and what isn’t, especially with some distance between you and the blocks. Play with your quilt pieces and store them on the wall until you’re happy with the result. Improv quilting is a blast on a design wall as you create.
Second, design walls are made of a variety of materials. Quilt blocks “stick” to textured surfaces like flannel, felt fabric, felt tiles, fleece and batting.
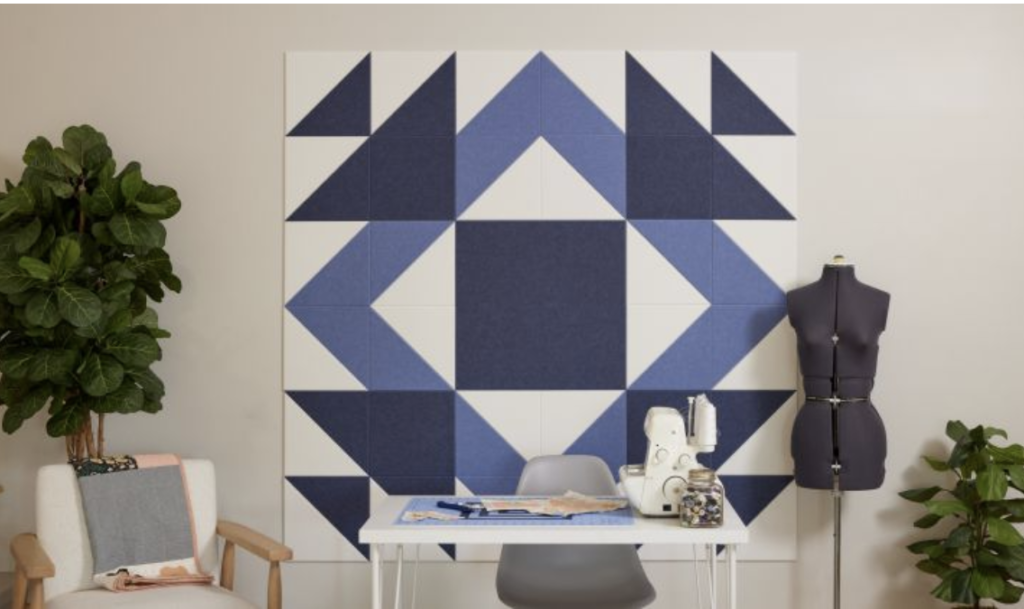
Just for grins, check out the Felt Right tile designs. The pros on Felt Right tiles: fabulous-looking and cinchy to install. Each tile has an adhesive square on the back. The only pesky downside is that fabrics don’t “stick” to the wall – pins are a must.
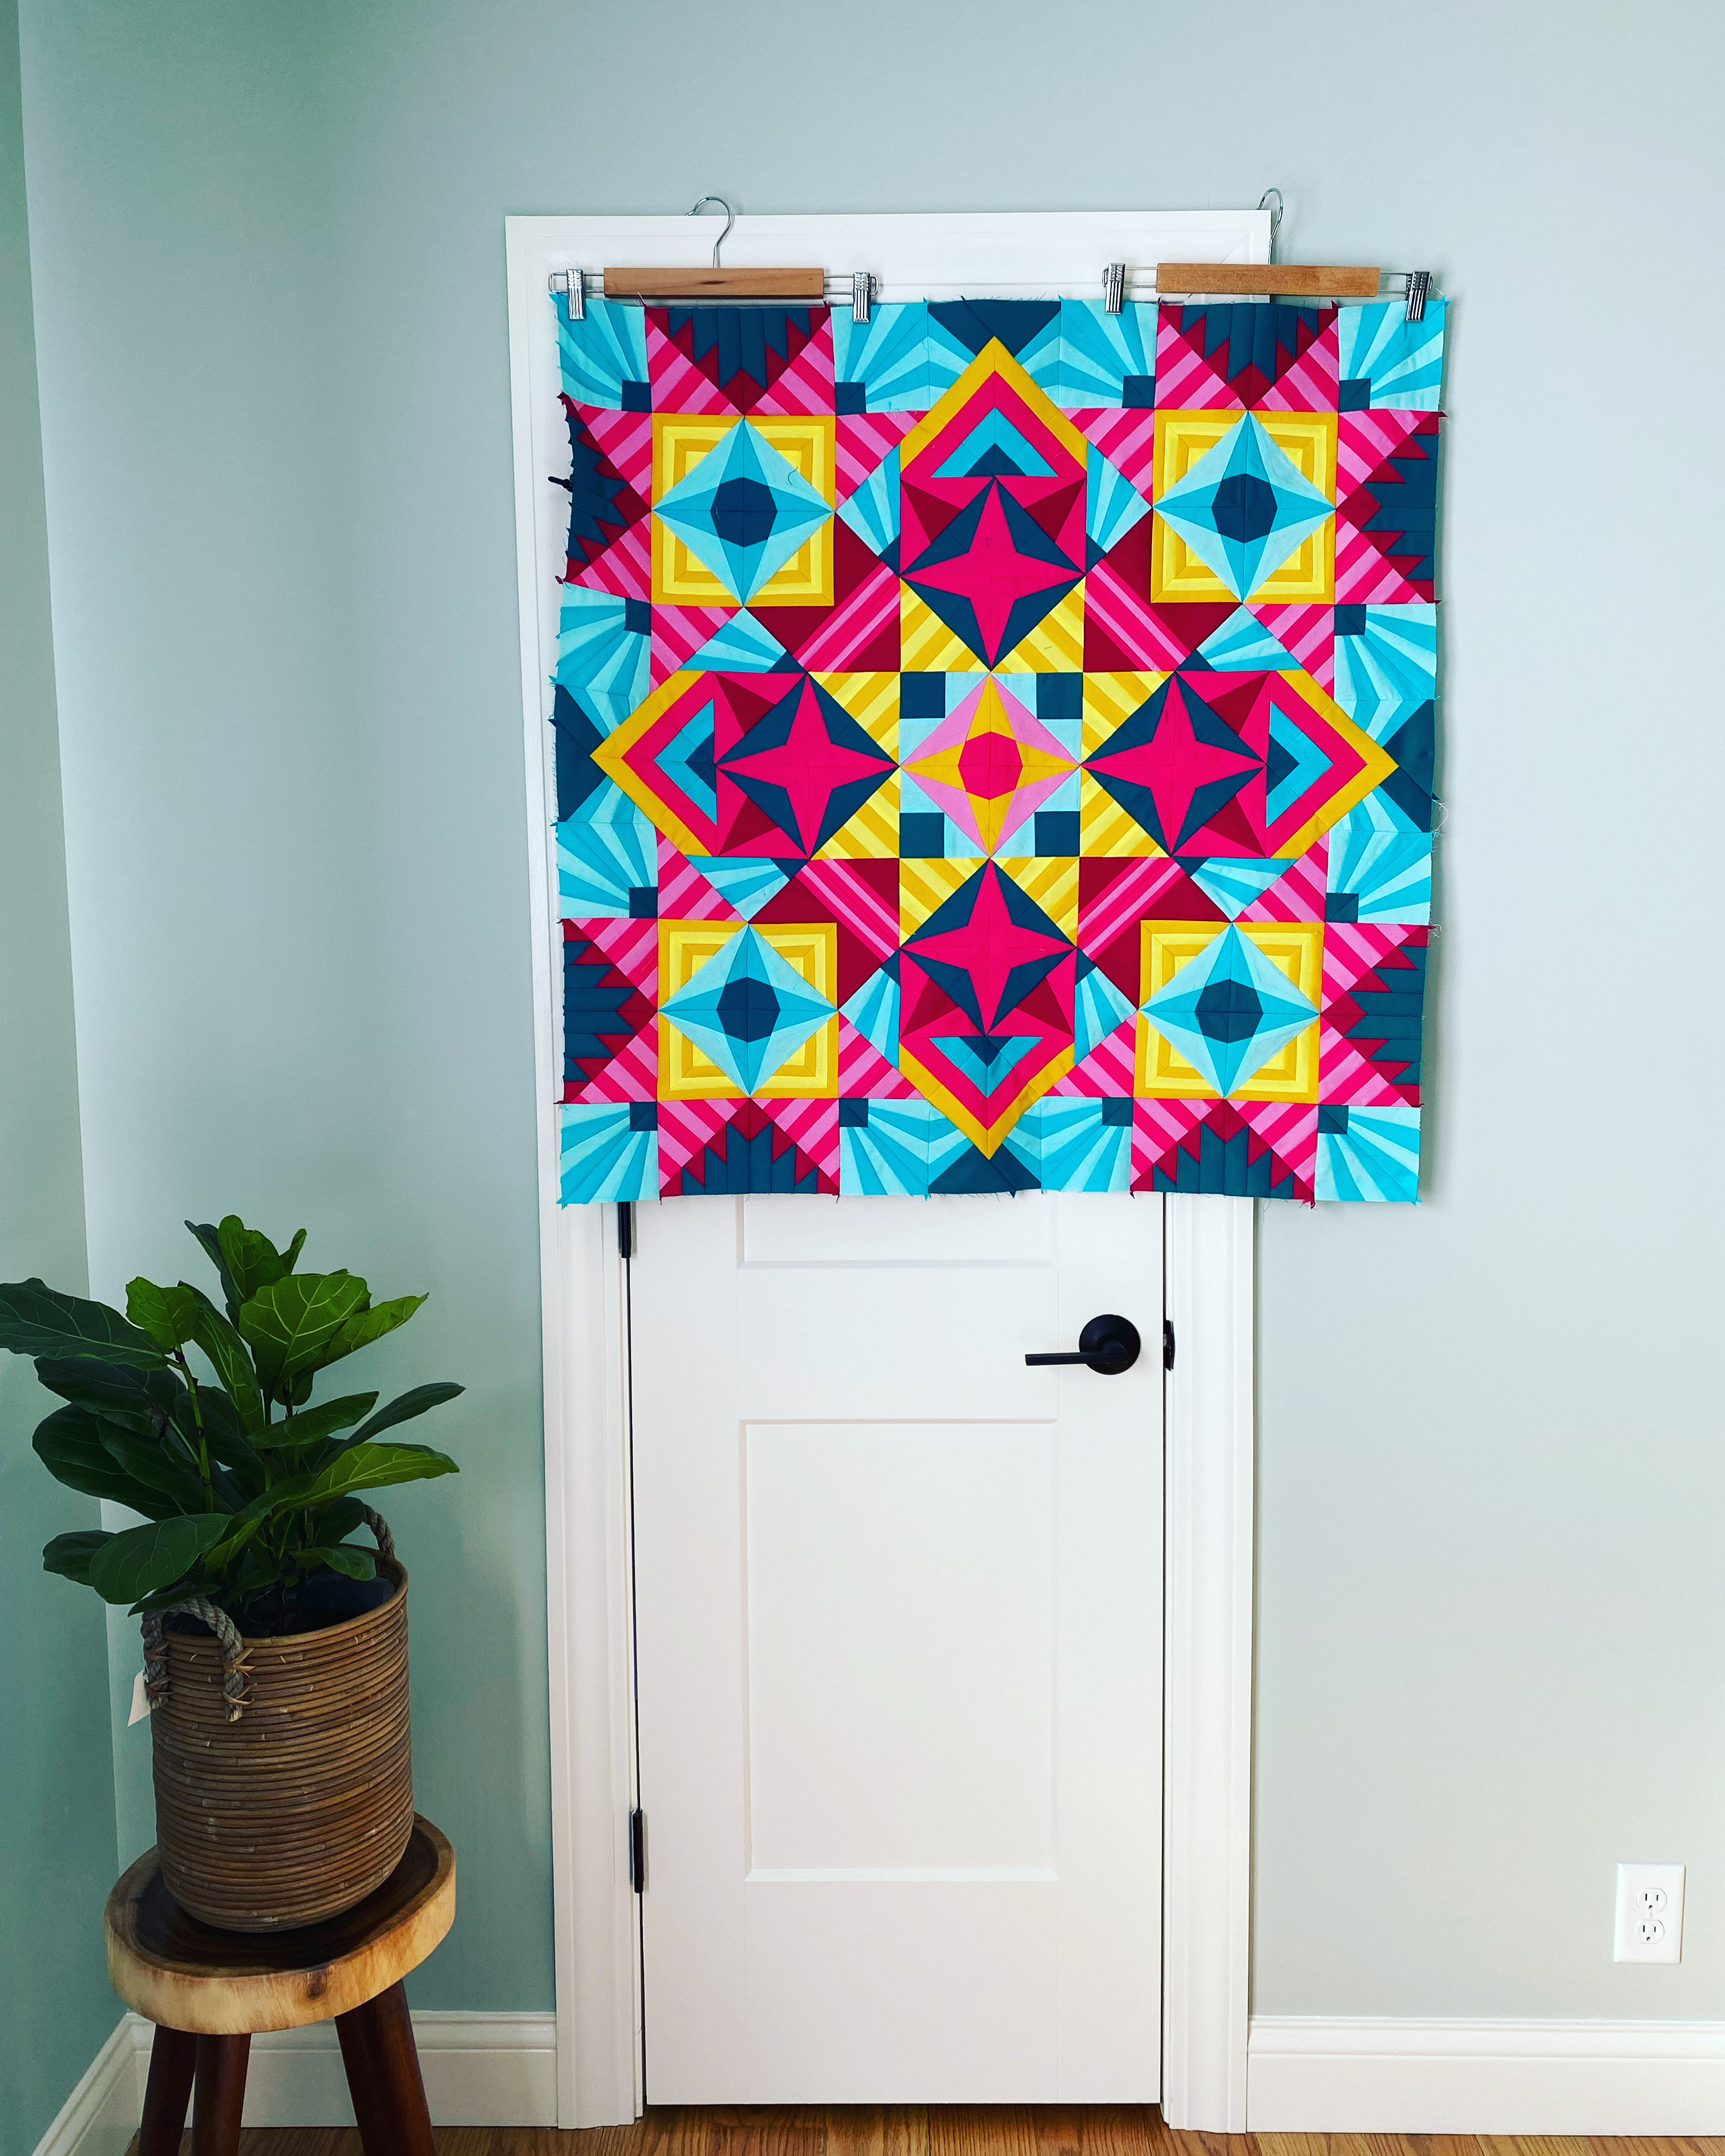
Third, design walls are can be freestanding, portable, temporarily attached or anchored. I used wooden pants hangers to hang the top – VERY temporary.
- A moveable wall is the Murphy bed of sewing rooms – you only see it when you need it. They are perfect for shared and multi-functional spaces.
- Portable walls go where you go: quilt retreats, vacations and a friend’s house – or another room. They are lighter, folded or rolled, and packable. And don’t rule out a portable design wall instead of a permanent wall – make it, take it and bring it back all in one piece.
Design Wall: Quilting Style and Space
Now it’s time to give your space a look-see and measure. This will help you determine how large your design wall could be. Consider your maximum and minimum must-have sizes.
What size quilts do you usually make? If you make throw size quilts or smaller, you have more options for easily storing or adding a permanent quilt design wall. For example, throw size quilts (50 x 65 inches) can fit on a wall above a sewing table or desk. An 8-foot ceiling is 92 inches tall so subtract the desk height (30 inches) and you have 62 vertical inches of space to work with.
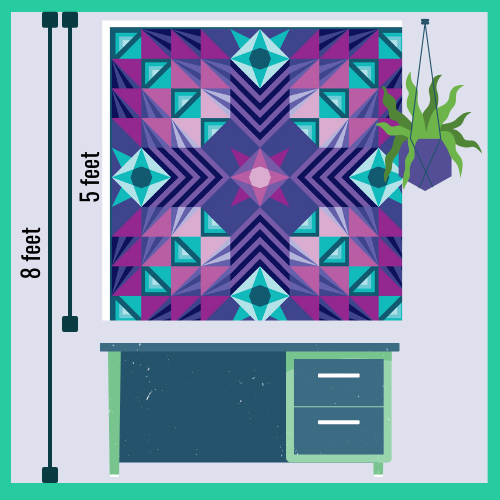
Larger quilts require a place to spread out, even if temporary, which explains why we use the floor! For example, you can make a floor-to-ceiling version with two 4 x 8 foam core insulation boards. Attach to the wall or rest them at an angle against the wall.
- Do you quilt daily/weekly or less often?
- If you quilt often, consider rearranging your space to make a permanent spot, or opt for an easy storage solution to pop out.
- Do you have a dedicated or shared sewing space?
- Shared sewing spaces may require nailing or attaching your design surface to the wall – otherwise your blocks may be knocked about!
- Look up. Ceilings are great options for rigging design walls that disappear by rolling them up or sliding aside. More on those options below.
- Position the sewing table so that it faces the design wall or you can swivel to see it.
Soft Options for Quilting Design Walls
I love a simple, crafty DIY that uses what I have on hand. If you haven’t made a design wall, these softies are to easy whip up.
Many quilters use either felt or flannel on their design walls. Gravity tends to get its way, even with flannel and felt. But they are still go-to fabrics.
Be sure to hang a soft design wall along the vertical grain line – the fabric will stretch less over time.
Vinyl Flannel backed tablecloths
Flannel backed vinyl tablecloths are low-priced multi-taskers. A 52 x 90-inch vinyl tablecloth from Joann Fabrics is a great size with a great price for smaller projects – cut it down to size – or sew two together for larger spaces.
The flannel side is white (yawn) but isn’t the top sooo cute?
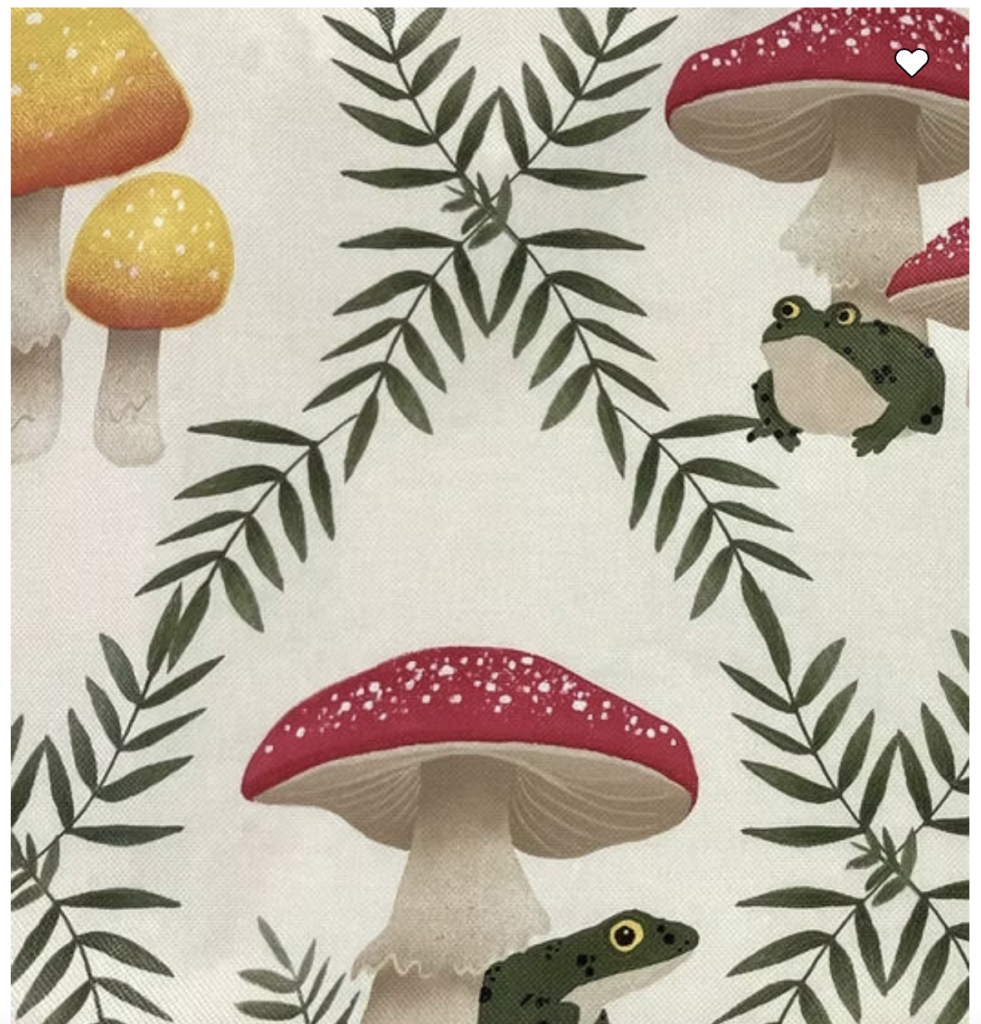
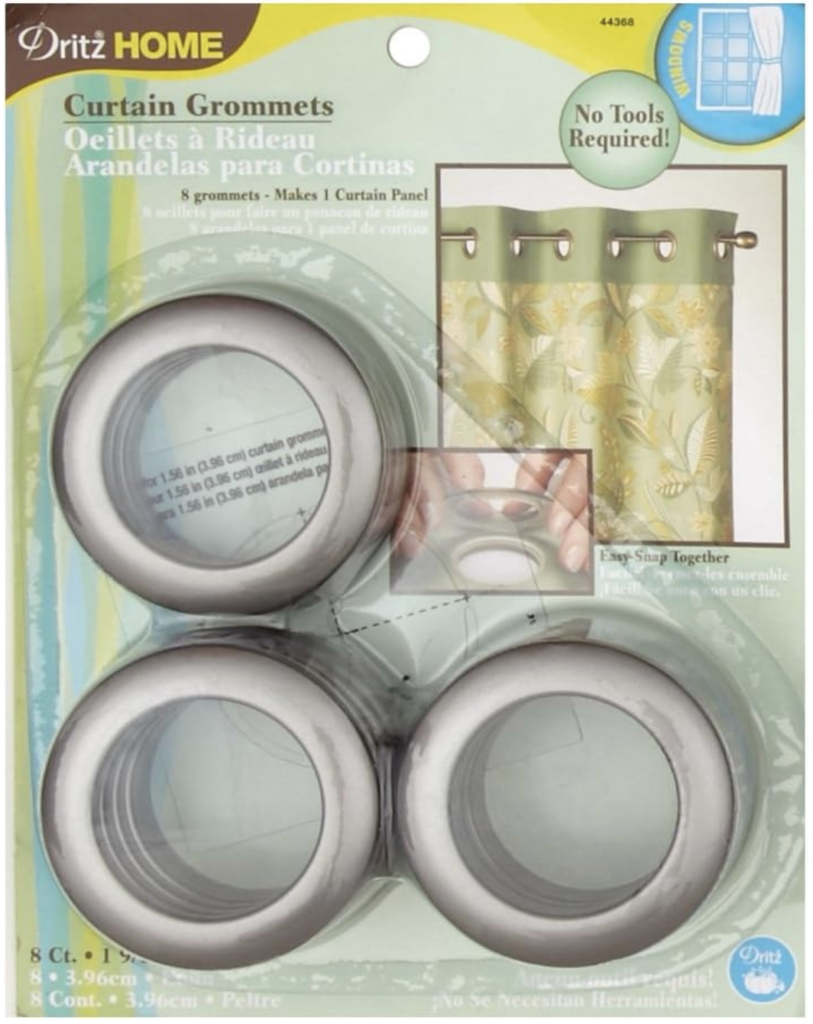
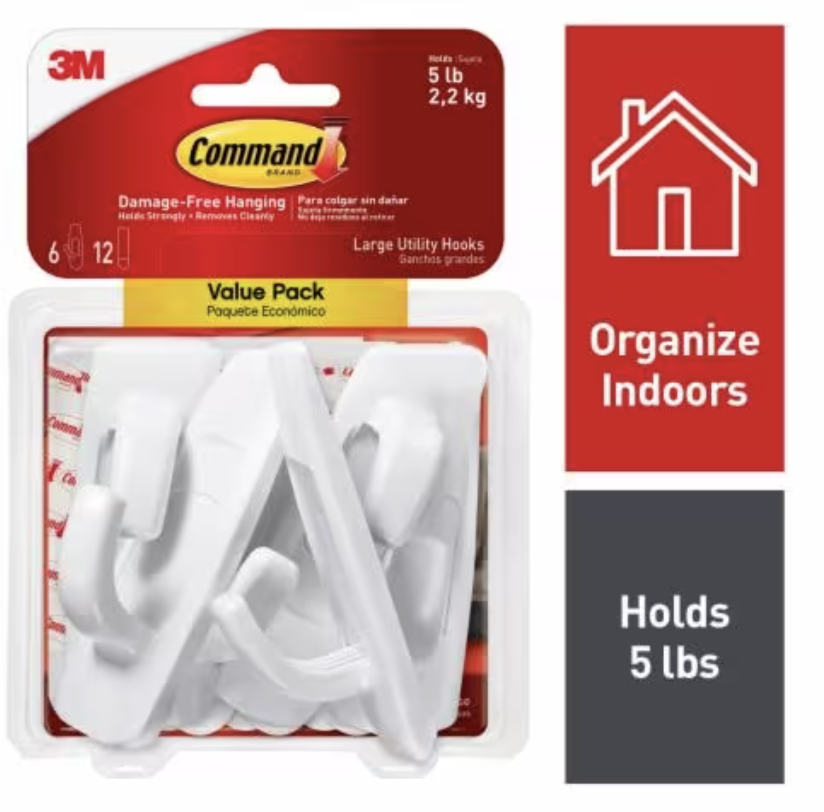
Add 1-inch home decor grommets spaced about 6 inches apart at the top edge and hang on Command hooks. A pack of eight grommets works perfectly for a 52-inch wide tablecloth.
The edges may curl and wave on the sides and bottom half. Fix this by making a rod pocket at that bottom edge (turn up the bottom edge and sew a seam) and insert a lightweight adjustable curtain rod. Tame those edges – you’re the boss of tablecloths.
When taking it down for a go-and-sew, roll the cloth up by starting at the bottom – your pieces will stay in place.
Pros: Easy to install, stiffer fabric, felt holds fabric well, use pins
Cons: None
Cost: $30
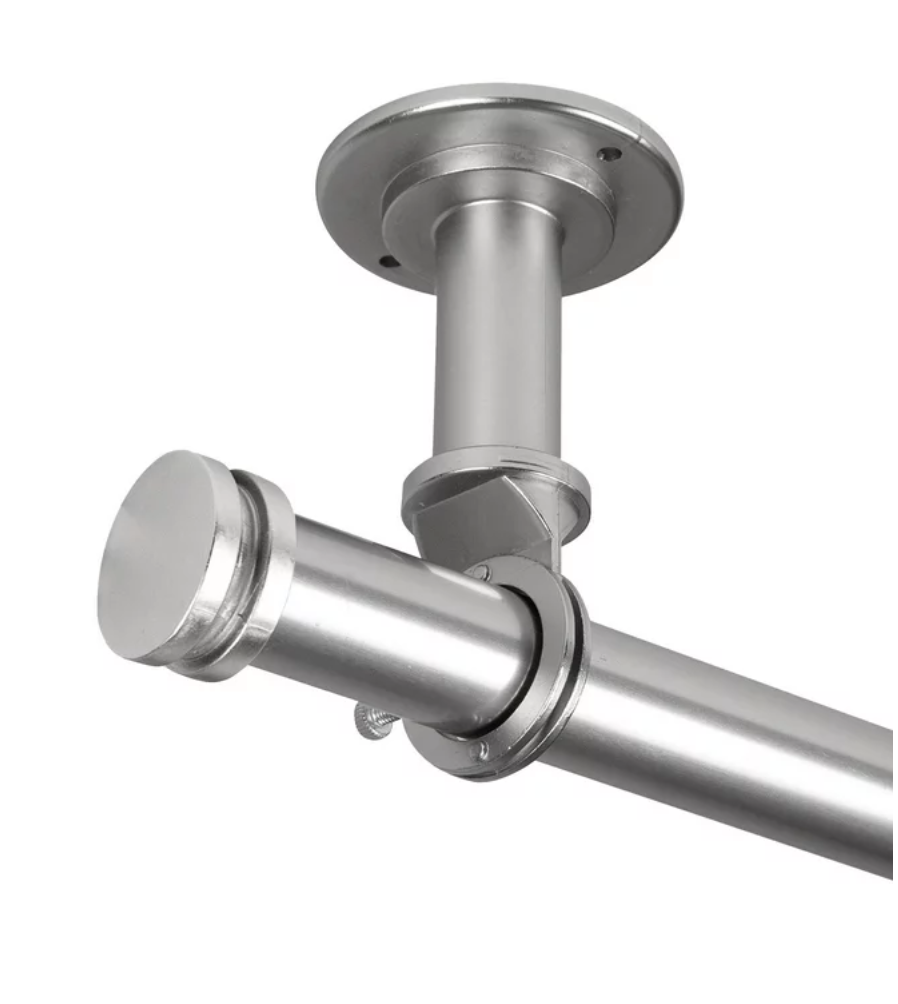
Ceiling mounted curtain brackets
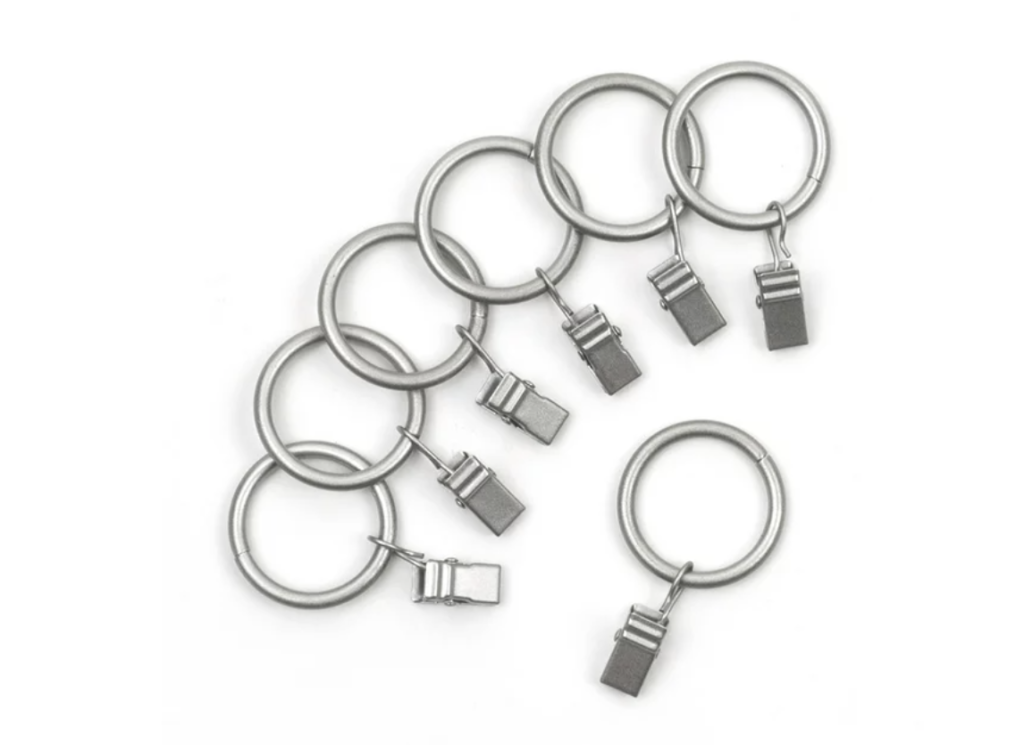
Consider this solution when you can’t find space right against a wall. Attach a flannel sheet or felt fabric with ring clips.
Pros: Great solution if you don’t have any floor to ceiling space on a wall.
Cons: Need use tools (hand held screwdriver and drill, two-person job, may not have items on hand.
Cost: $20 – $40
Magnetic Tool Strips
One of my quilting pals uses her tall metal cabinets and clip magnets to hold the fabric wall. She quickly discovered that she couldn’t open her cabinets without taking down the wall! I suggested Gorilla magnetic tool strips – each strip holds up to six pounds. They easily mount into walls with screws (she bought three 10-inch strips and spaced them apart). Small heavy duty magnets secure the flannel wall to the strips. Verdict: She loves it!
Pros: Modern stainless steel finish, fast and easy to install (one person and a hand drill.) Easy to remove fabric and use different sizes.
Cons: Requires tools.
Cost: $50 (3 strips and magnets)
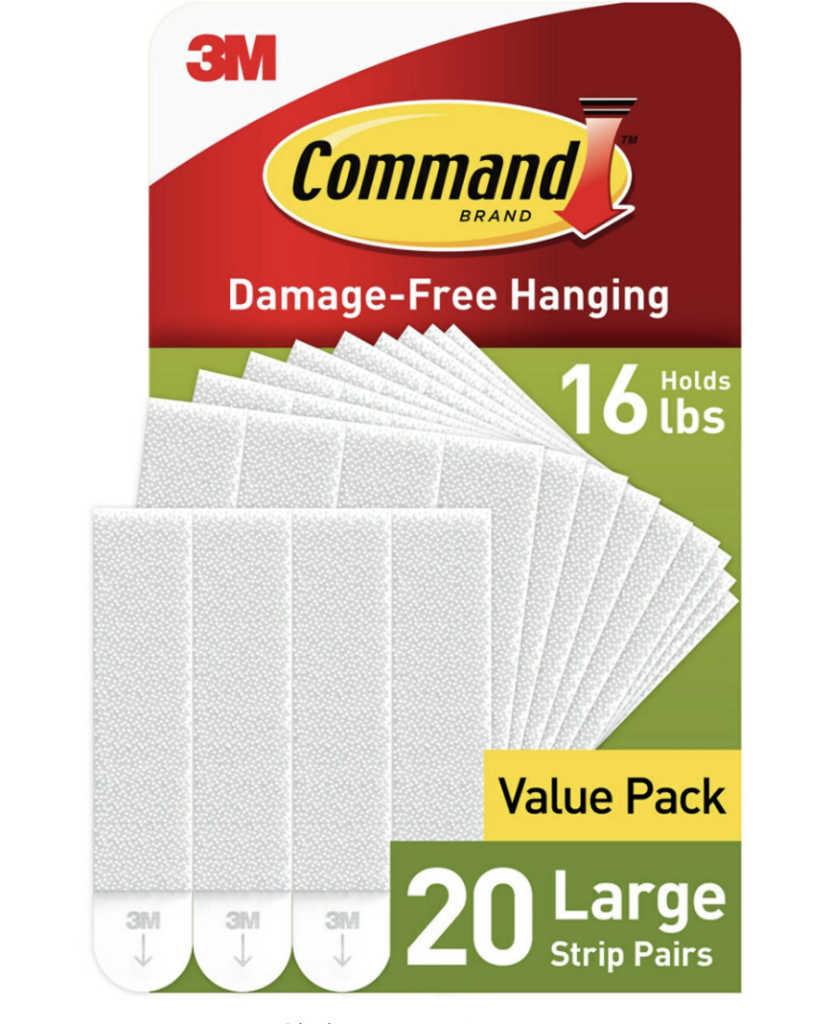
Command Strips – One of the easiest ways to attach fabric to a wall is with Command strips. Buy a jumbo pack of Command Strips for Large Picture Hanging. Four strips holds up to 16 pounds, They work many smooth surfaces: painted walls, finished wood, painted concrete cinder walls, laminate, glass, metal and tiles. No hole in the wall, no sticky residue.
PORTABLE DESGN WALLS
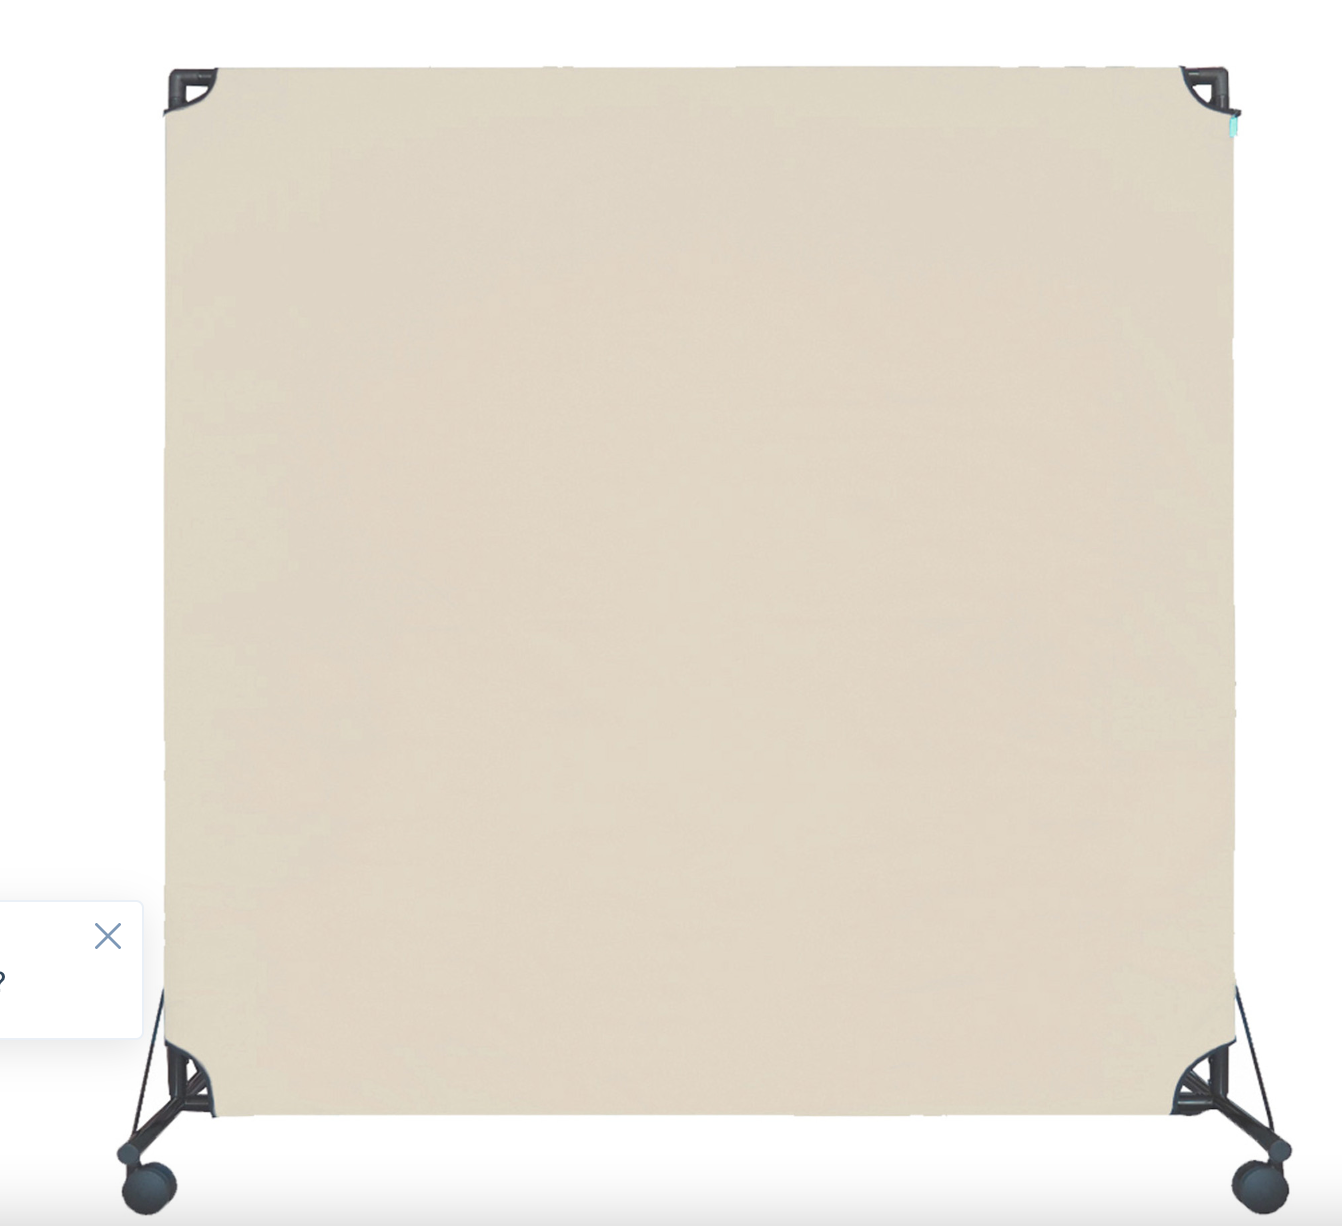
Cheryl Ann’s Design Wall from Sewing Machines Plus measures 54 inches square and weighs less than 7 pounds. The wall is easily assembly in a few minutes and broken down – it comes with a carrying bag. Premium cotton flannel is tightly stretched on a stable frame with a stabilizing rear kickstand. The wall is also available in a 72-inch square.
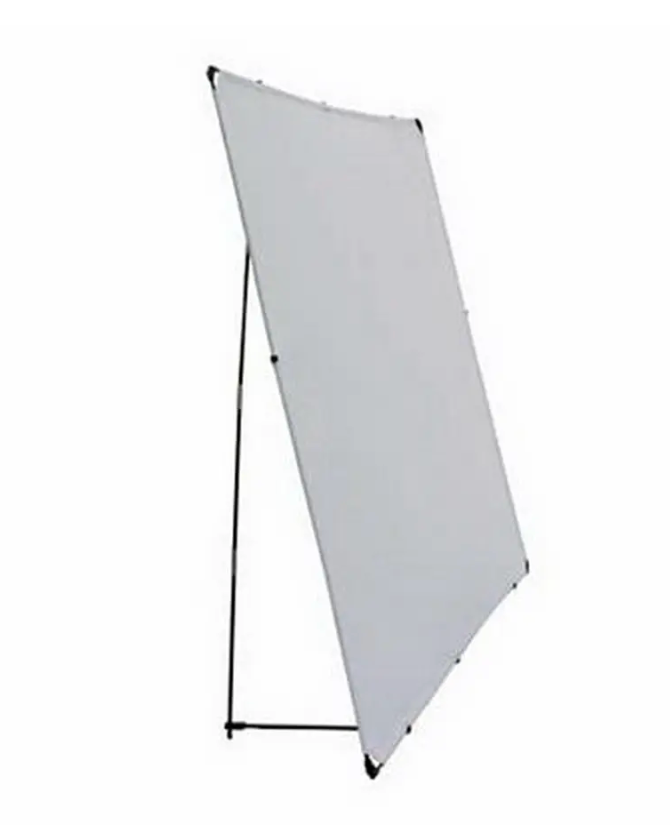
Room Dividers and Mobile Design Walls. One of our Make Modern Triangles members purchased a sturdy canvas room divider because she had to move her blocks at bedtime. The divider moves on wheels and it’s useable on both sides. The divider has been a game-changing solution.
CLEVER LOCATIONS FOR SOFT WALLS
When your sewing space is transient – bedroom, basement, dining room table – your design wall must be portable, too. Try these clever spots with a door stopper, painters tape and heavy duty Velcro.
Closet door: Attach your fabric wall with painters tape. I’ve folded mine into thirds to make a mini hanging wall.
Bookcase : Tuck the tops of fabric underneath the books on the top shelf. Or stack books on the top as weights. Even better: Add heavy duty Velcro out of sight on top of the bookcase and sew their mates to the top edge of the fabric wall. You can find it at hardware and home improvement stores. I love heavy duty Velcro.
China cabinet: Anchor the fabric on top – place weighted soft door stoppers on them. No Kettlebells or antique pottery. What if they fall?!
Solid Options: Foam Board and Corrugated Plastic
The solid options range from easy DIY to a full wall installation with bolts and screws and extra hands. Soft design walls aren’t the definition of sturdy – check out these firmer options if you want some solid heft behind your blocks. And if you like to pin your blocks, you need a solid board, period.
Foam core insulation Panels
I had two large foam core insulation boards in my previous “living room turned sewing room” studio. That was an awesome quilting space. Squeeee!
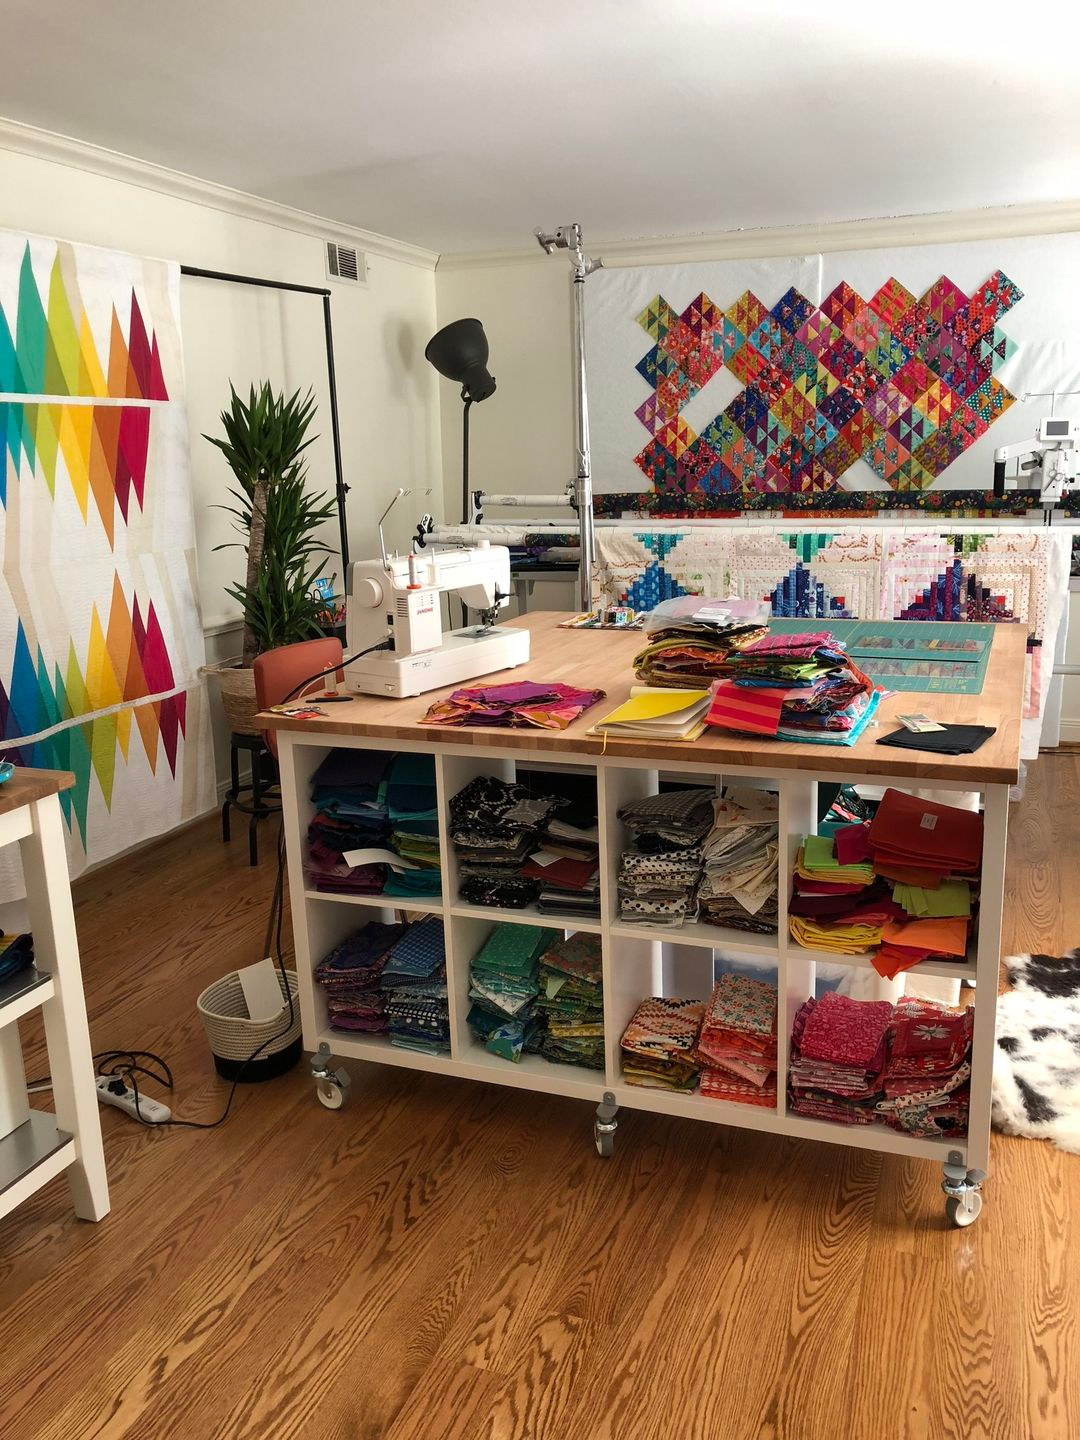
Foam core board and foam core insulation panels are super popular among quilters with a dedicated sewing room and enough wall space. The insulation boards are pinnable with a huge surface area.
- Each board is 4 x 8 x 1 and in stock at hardware and home improvement stores.
- Attach the long edges together where the boards meet with with Gorilla tape.
- Then cover the boards with 108-inch wide felt, flannel, poly/cotton batting or just the top sheet of a king-size flannel set. Attach with a staple gun or thumbtacks – use a lot of them!
- Use the thickest flannel sheet for the best results.
Another version is covering the boards separately and hanging them side by side. When you don’t have enough floor space to join them, opt for this method without a back middle seam.
Want one? Katie Blakesly (awesome quilt designer) has a great tutorial on building your own design wall. Mine were installed pretty much the same way and they became a big part of my quilting process – craft projects, too.
NOTE: This option makes holes in your wall behind the boards with drywall anchors and screws attached. Could be a dealbreaker if you’re renting.
Pros: This baby is solid and stable but light enough to move if necessary. Can use pins!
Cons: Need a space large enough to put it together.
Price: 2-board wall is $75, depending upon what you have on hand.
DIY Boards for Small Projects and Quilt Blocks
Are you lacking vertical space? Small design boards double as portable walls. Let’s look at some easy options for little spaces and small projects.
A simple design board is a sturdy, portable and smaller version of a foam core insulation board. You won’t need any crazy equipment to whip these up. Check out these light weight materials for the job.
Corrugated Plastic Board
Corrugated Plastic Board (Coroplast and Plastikort) is lightweight and easily cut with a rotary blade. You’ve seen these as yard signs.
- Cut it down to size with an Exacto knife or rotary cutter.
- Cut your fabric three inches larges on each side.
- Make two boards the same size and stack them together.
- Glue in between the foam board or use duct tape around the edges.
- Cover with neutral colored flannel – spray adhesive works well.
- Smooth the fabric in place working from the center to one side at a time. A large metal ruler is perfect for the job.
- Wrap the fabric around to the back. Add a few staples to hold the fabric on the back. The corner folds may be a bit bulky.
Use two stacked foam boards if you use push pins for notes and photos:
- Cut a 48 x 96 piece in half, then stack them together with glue or duct tape before covering it with flannel.
- Trust me, if a board isn’t thick enough, those pins will pull themselves out!
ADhesive Help
Quik-Stick Adhesive Foam Core Board is available at Dick Blick’s in individual 32 x 40 inch sheets. Anything that has built-in adhesive gets my vote.
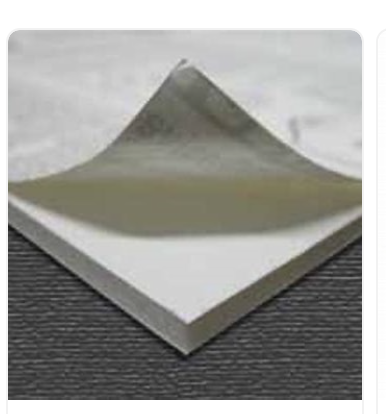
- Peel back the adhesive cover.
- Tackle covering the board with fabric one half at a time!
- Crease your fabric in half then unfold. Make sure the fabric is centered halfway on the board.
- Smooth down one side from the center to the edges with a ruler. Do the same on the other half.
- Trim the edges off by drawing a faint line for scissors or use a 60mm rotary cutter.
UPCYCLED
Picture Frame – I like this option because foam core topples over when bumped. The frame provides stability and weight.
- Remove the glass or acrylic.
- Measure and cut the adhesive foam core board pieces to fit flush over the frame.
- Join the pieces together (if needed) with duct tape on the smooth cardboard side.
- Remove the adhesive cover and place your fabric on the board. Trim excess.
- Spread Gorilla glue all the way around the front of the frame. Lay the back side of the board on top of the frame front over the glue. Clamp the edges to dry.
MORE FABRICS FOR A DESIGN WALL
Flannel grid printed fabric is a fantastic option for the same price as a plain flannel sheet. The gridlines are spaced every 2 inches. Lining up quilt blocks on this design wall is easy, fast and satisfying for the precise among us.
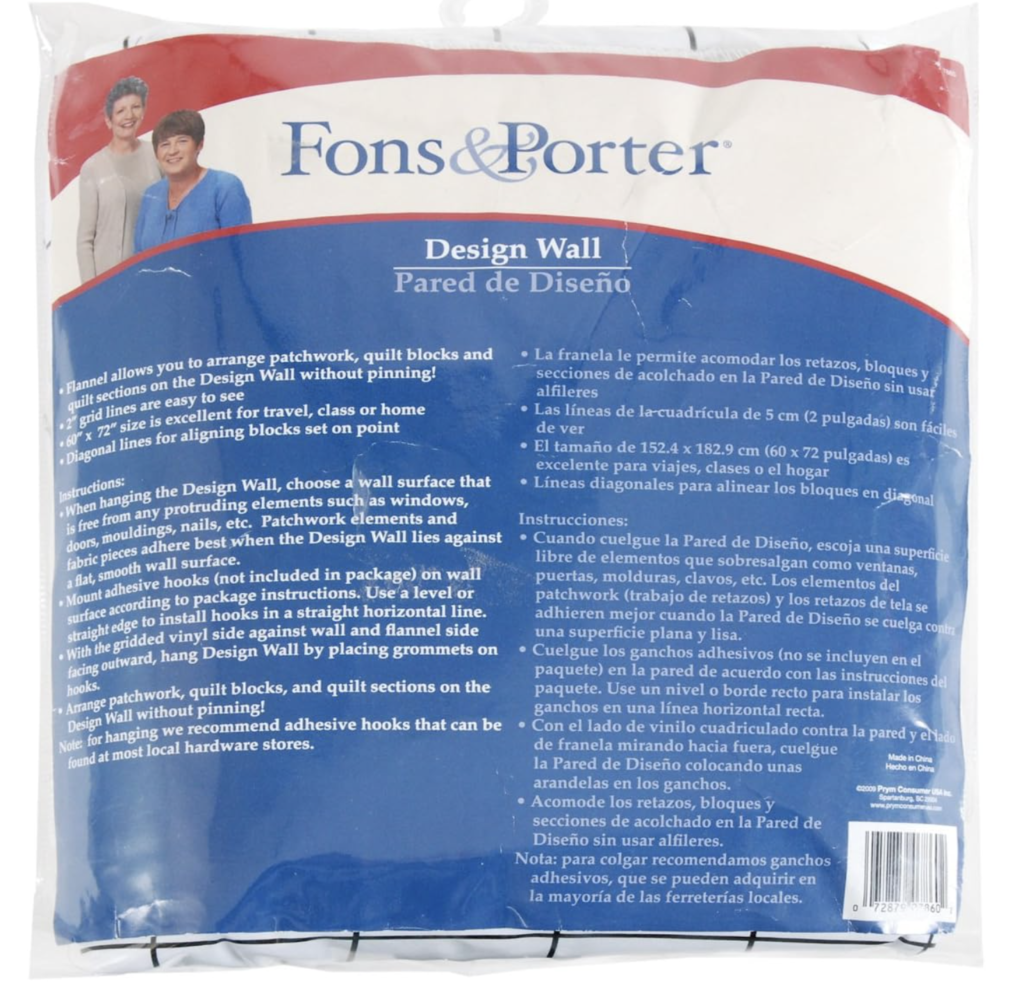
Fons and Porter – 60 x 72 flannel grid
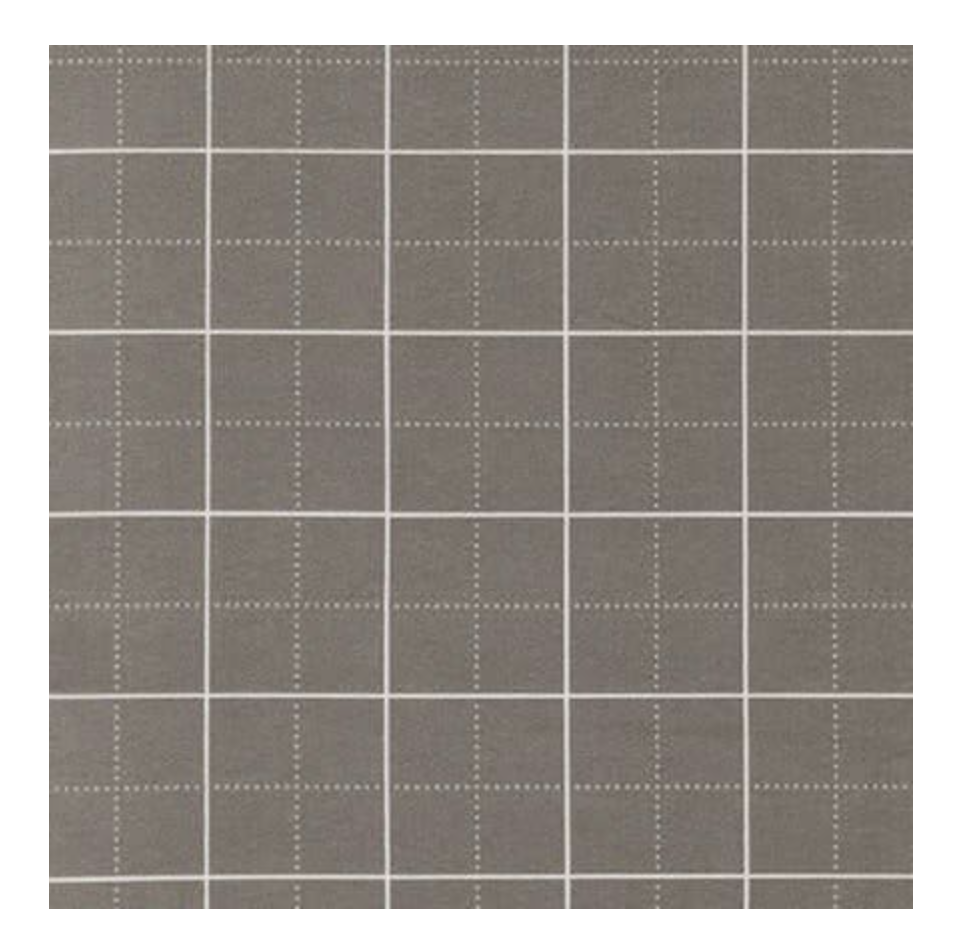
Robert Kaufman, gray flannel gridded fabric by the yard, 54 inches wide.
Pellon Fusible Fleece (987F) This product fuses to cardboard and foam core board covered with cardboard.
- Place the bumpy glue side against the cardboard. The fuzzy side is facing up.
- Cover the fleece with a pressing cloth and use high heat to melt the adhesive, holding your iron in place over sections for 8 – 10 seconds.
- Trim excess from the sides.
Batting
Any lightweight thin poly cotton batting with scrim works well. The scrim prevents the batting from stretching. Gluing fuzzy surfaces is tricky so wrapping and stapling your board is a better option. Learn more about how to choose batting and brands.
Summary
A quilting design wall is a must-have tool for quilters. Use a quilt design wall to help organize and visualize your quilt as you sew.

If necessity is the mother of invention, then quilters are the best inventors around.
Have you had a brilliant idea for a design wall? Share your idea or what you made in the comments below.
Rebecca xo
FREQUENTLY ASKED QUESTIONS
What is the best fabric for a quilt design wall?
Flannel and felt are the best fabrics because cotton fabrics stick to them without pins.
What materials can you use for a quilt design wall?
For your quilt design wall, opt for a 1-inch thick insulation board and drape it with a flannel sheet. To properly install it, have screws, washers, anchors, Gorilla tape, and a staple gun.
How do you make a portable quilt design wall?
A simple design board is a sturdy, portable and smaller version of sturdy insulation foam board. Check out these materials for the job.
Corrugated Plastic Board (Coroplast and Plastikort) is lightweight and easily cut with a rotary blade.
- Cut it down to size with an Exacto knife or rotary cutter.
- Make two boards the same size and stack them together.
- Glue in between the boards or use heavy duty tape around the edges.
- Cover with flannel or felt – spray adhesive works well to keep in place. Smooth the fabric in place working from the center to one side at a time.
- Add a staples to hold the fabric on the back. The corner folds may be bulky.
Use two stacked foam boards if you plan to use push pins for notes and photos:
- Cut a 48 x 96 piece in half, then stack them together with glue or duct tape before covering it with flannel.
- Rest the bottom foam board on the ground for a sturdier design wall.
- Trust me, if the board isn’t thick enough, those pins will pull themselves out!
BY THE WAY, YOU CAN TAKE MY FREE CLASS
Make a modern triangle with my free pattern and class. Start right here for some sewing fun.

Great post! I’m interested in your cat troubles. My cat likes to jump and cling! I’ve had batting and a thick backed table cloth on my foam board insulation before. They only last so long. Thinking of trying flannel but don’t think it is strong enough. Do your blocks stick on the Felt Right tiles? I don’t want to have to pin all the blocks up. Also, how do the cat and the tiles get along? Thanks.
I’m in a finished attic space without high walls. I’ve made this: https://youtu.be/okfgWd11QWg?si=THbBD0EimQ1IzVqs
I found a soft white flannel and sewed a pocket. I never use the foot extender. But it straddles my big ironing board and I simply fold it up when not in use. I have a clamp lamp on the midbar which gives ironing board light and bottle holders clamped onto hold spray starch and water bottles. I generally pin blocks onto it as I work. If needed I can fold up the wall to iron. Due to space limitations in limited to throw sized. When designing a larger quilt I work in quadrants.
Great post! I use Cheryl Ann’s Design Wall as you mentioned. Instead of it being free standing, you can use 2 command hooks one in each corner opening and hang it on the wall. Then when needed for a retreat it is easy to lift off of the command hooks , and fold up again to transport.
I enjoyed this blog immensely! Gave me “thinking” thoughts as I figure out my sewing space. And your quilts are all so beautiful!
I watched a video of the making of a small design board.. They used an Ikea blanket (Vitmosso) She turned the board upside down and shook it, nothing fell off. The blanket cost about $3.00 , here in Canada, so cheaper than batting, or a flannel sheet.