• About
    • Privacy Policy
  • Teaching
    • Member/Student Login
    • Online Programs
  • Shop
  • Member/Student Login
  • Blog
    • Free Quilt Patterns – Scrappy Whirligig Quilt

Bryan House Quilts

How to Sandwich a Quilt

fabric· finished quilts· Tutorial

29 Oct

How to Sandwich a Quilt is part 3 of a six-part series on finishing a quilt. So far, we’ve covered types of batting and choosing fabrics for the back.

While many quilts are finished with free motion quilting on a longarm machine – and don’t require a basted sandwich – many are completed by hand or on a domestic machine.

Today, I’m step-by-stepping through basting the layers together – finished quilt top, batting and back.
Tutorial how to sandwich a quilt
How to Sandwich a Quilt
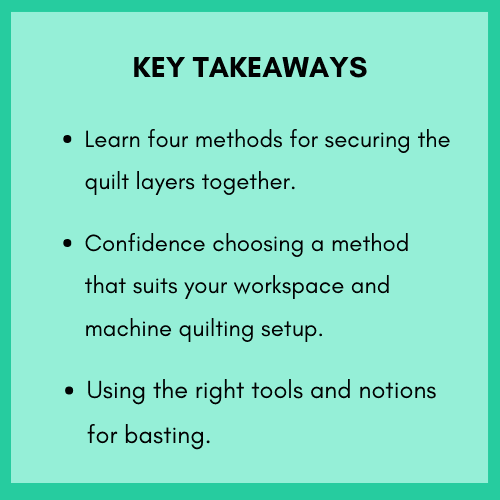
How to sandwich a quilt Key takeaways - learn four methods for securing quilt layers together. Confidence choosing a method that suits your workspace and machine quilting setup. Using the right tools and notions for basting.

Finished Quilt, Happy Quilting

No longarm machine? Use your home sewing machine or quilt by hand. Many quilters do this and you can, too with a few supplies. Round up your quilt tops! You’ve got this.

  • Learn about different methods for securing the quilt layers together.
  • Feel confident about choosing a method that suits your workspace and your machine quilting setup.
  • Learn about supplies and notions so you have the right tools.

What’s Inside the Sandwich?

Prepping your layers is the crucial step before your quilt is hand stitched or machine quilted.

The sandwich has three parts: quilt top, a middle batting layer and a back fabric layer.

The quilt front is the pretty part and the batting makes it warm and sturdy.

The backing gives your quilt a finished appearance and protects the batting from wear and tear.

Tips for Choosing Backing Fabrics and Batting

Choose the best batting and quilt fabric backing you can. These need to hold up from use and washing. Learn the finer details of choosing batting here and backing here.
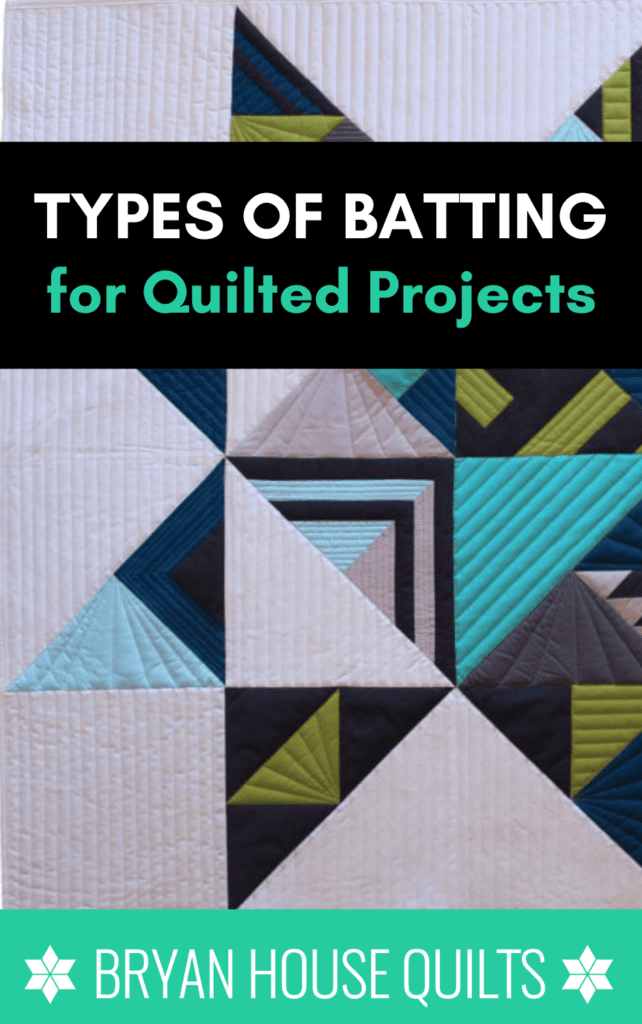
Types of batting for quilted projects
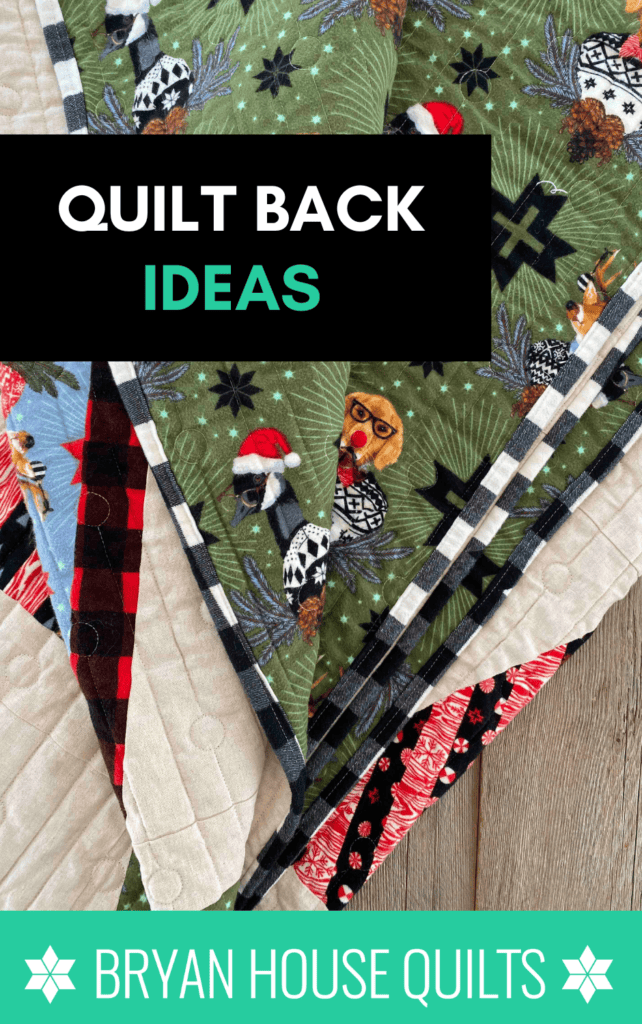
Quilt Back ideas

Pressing and Nesting the Seams on the Quilt Top

Pressing is an important part of the sewing and quilting process and impacts how “finished” a quilt looks. I don’t like sewing over lumps and bumps.
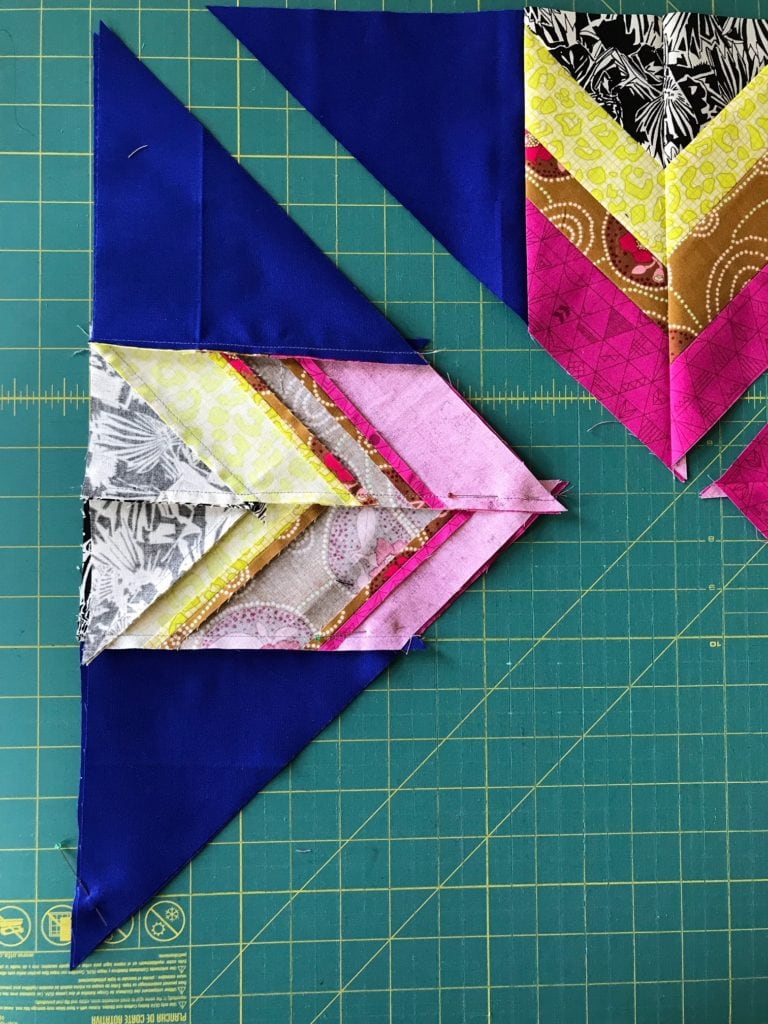
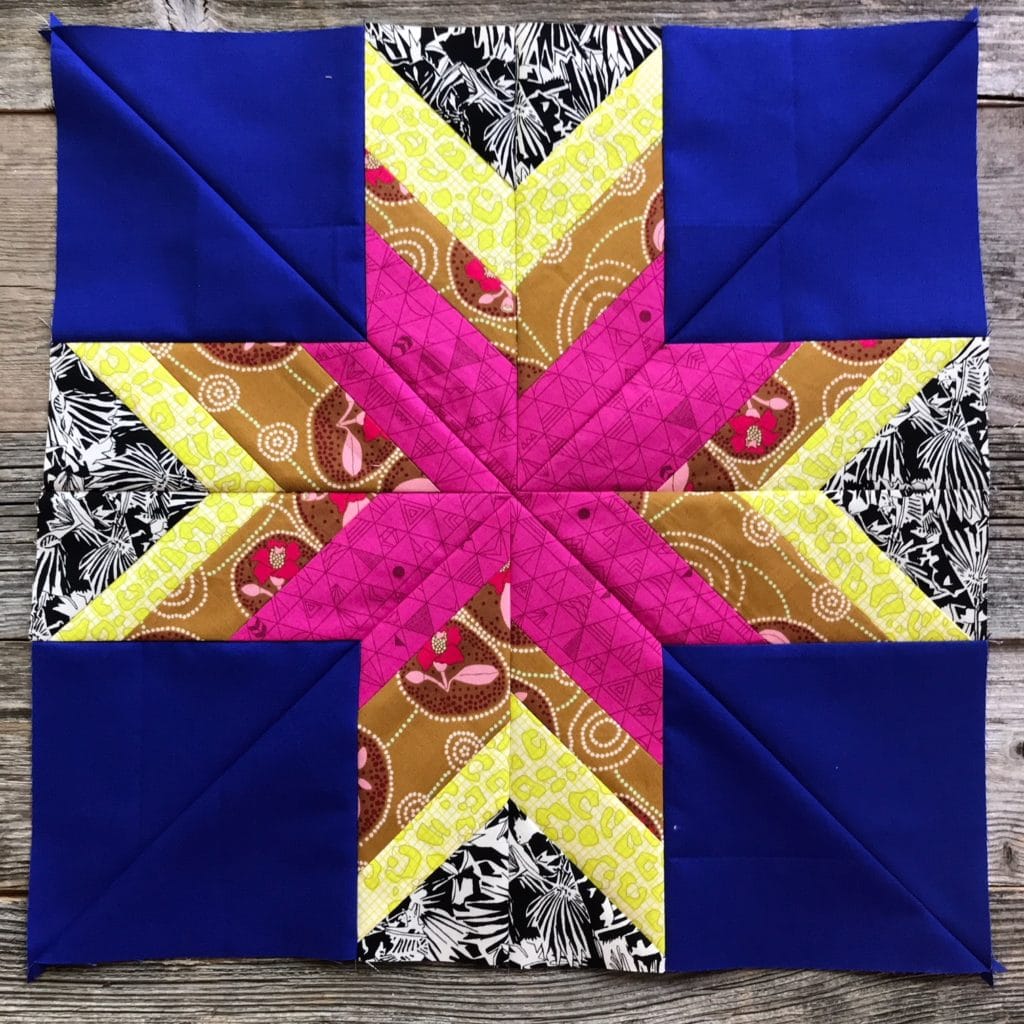
Nested seams example is iimportant to do before making a quilt sandwich
Nested seams photo here
pieces ready for pressing
Ready for pressing

Before assembling your layers, press the seams to opposite sides where they meet other seams so they nest them together. Pressing them open reduces bulk, especially where pieces intersect – though you will still need to nest them at intersections. You need to sew close to or through the intersections when quilting the top.

Flip over, press and starch the right side of the quilt top thoroughly.

How to Make a Quilt Sandwich

Workspace

You need a clean flat surface – the larger the better. I have to move things around to make room – me and my piles!

Measuring and Cutting

TIP: The backing is always the largest piece of the sandwich.

  • Batting is at least 4 inches wider than the top on each edge.
  • The backing is cut 2-4 inches wider than the batting on each edge.
  • Cut the quilt backing on the lengthwise grain (which doesn’t stretch) for the longer edges of your quilt, usually running top to bottom. This helps prevent waves and puckers while quilting the top. Prep is everything.
  • Excess fabric is good insurance! It can always be cut off later.

When in doubt, go wide and long! You won’t come up short on fabric at the edges after quilting. The quilt layers are “taken up” and reduced by the amount of stitching and thickness.

Note: If you hire a longarm quilter, the quilt batting should be at least 4 inches wider than the quilt top on all sides, and then the quilt backing is at least 4 inches wider on all sides, too. This helps the quilter load the quilt onto the machine evenly with stability.

Measure your fabric twice, cut once!

How to make a quilt sandwich 4 ways

Basting: Four Common Ways

There are four common ways to secure the layers:

  1. Pin basting with curved quilting pins,
  2. Fusible fleece/batting,
  3. Thread basting
  4. Temporary adhesive spray.

I’ll walk you through each method below. Also, I’ve linked to video tutorials that show you methods for spray basting and thread basting.

PIN BASTING WITH CURVED QUILT PINS

Use curved quilt pins s- they are sold with quilting notions. They are easier to open and close than regular safety pins – you’ll notice a big difference.
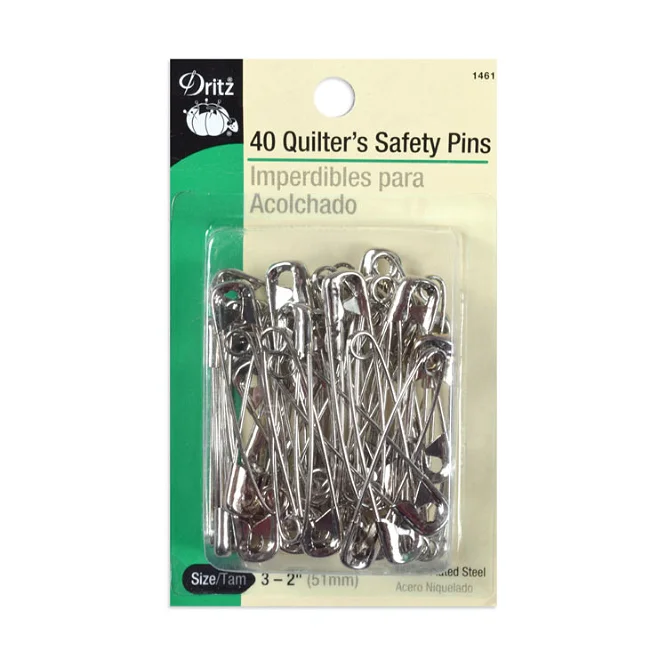
pin basting with curved quilting pins - how to make a quilt sandwich
Curved Quilting Pins image

Smaller quilts (under 40 inches per side) work well with pins unless you’re a speedy thread baster and plan to quilt by hand.

Step 1: Lay the batting on a large table, hardwood floor or carpet. Lay the quilt front face up on top of it. Roll them up together from top to bottom. The quilt top should be on the inside of the roll.

Step 2: Lay your backing fabric right side facing down on a large table or clean floor, smoothing it out.

Step 3. Place painters tape on the corners and edges. Or place small weights on the backing fabric to prevent slipping and bunching. by putting sewing weights on the corners and sides. Any hefty items work – soup cans, etc.

Step 4: Carefully unroll the layers flat over the backing and smooth it out.

Step 5. Pin every 3-4 inches starting in the middle and working outward to the edges. Keep smoothing the layers flat with a light hand.

When you’re done pinning, turn the quilt sandwich over and check for missed spots.

Ta-da! You quilt sandwich is ready for machine quilting.
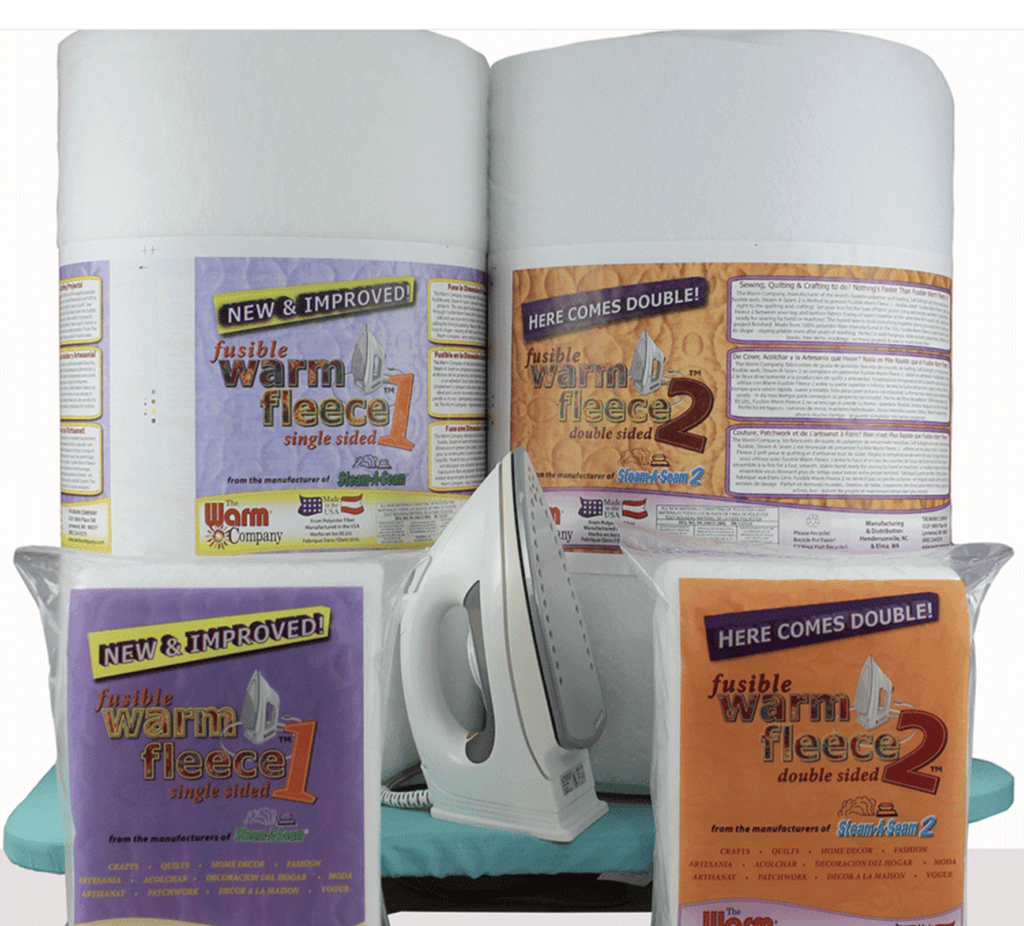
Fusing layers with fusible/fleece batting - how to make a quilt sandwich
Warm company products for fusible batting

FUSING LAYERS

Double-sided fusible batting is a game changer for quilts, home decor, art quilts and accessories. Both sides are fusible, which is safer than using a basting spray (more on basting sprays below). And no safety pins in the way when machine quilting.

One side adheres to the wrong of the quilt top and the other side fuses to the backing. All the layers are fused together. I like how well it holds the sandwich together. Be prepared to spend more time fusing the layers together.

Fusible Warm Fleece 2 by the Warm Company comes in a 36 x 45 inch package, by the yard, or 45-inch x 20-foot rolls. It’s low loft and very sturdy. No need to worry about glue residue on the machine needle. Let the quilt cool down after “basting” before quilting. I’ve listed other brands below.

Warm Company products

Single-sided is also available. Use single sided fusible with curved quilting pins to stabilize the top, then pin baste the back to it.

Fuse the adhesive side to the wrong side of the top. The fuzzy side will “stick” (sort of like felt) to the back while pinning.

Learn more about fusibles from these manufacturers:

  • The Warm Company
  • Pellon – Pellon® 985F Sandwich Fuse or all batting products here.

How to Baste with 2-Sided Fusible Batting

Step 1: For small quilts under 40 inches, lay a long sheet of parchment paper over your ironing board or a long pressing cloth. Large Goddess Sheets work well, too. Pin or clamp them to the surface.

For larger quilts, lay an old sheet on a large cutting table or clean floor. For extra protection, place old towels on the surface first.

Hack: I like to use spring clamps to tightly hold any layers on my cutting table.
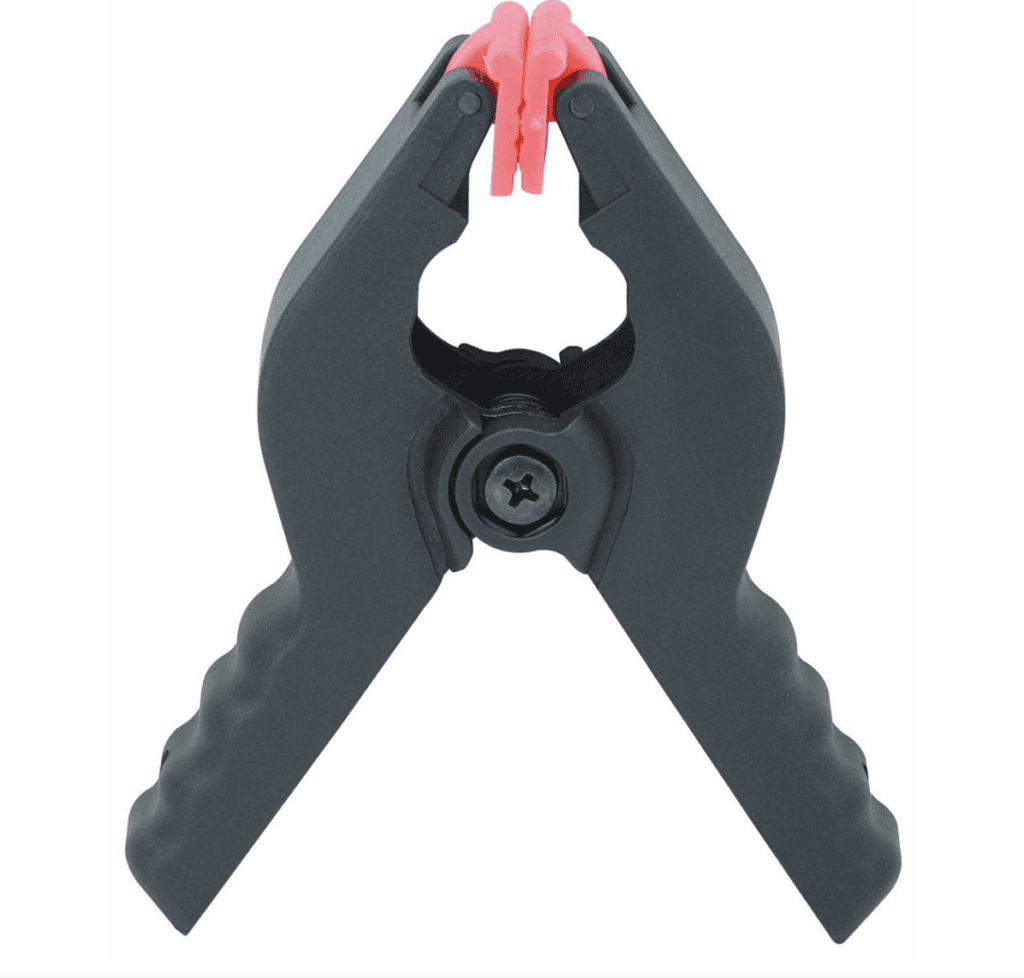
clamp

Step 2: Lay the batting over the paper or sheet. I have a cordless 360 Panasonic iron that’s perfect for using on a design wall, floor and cutting table.
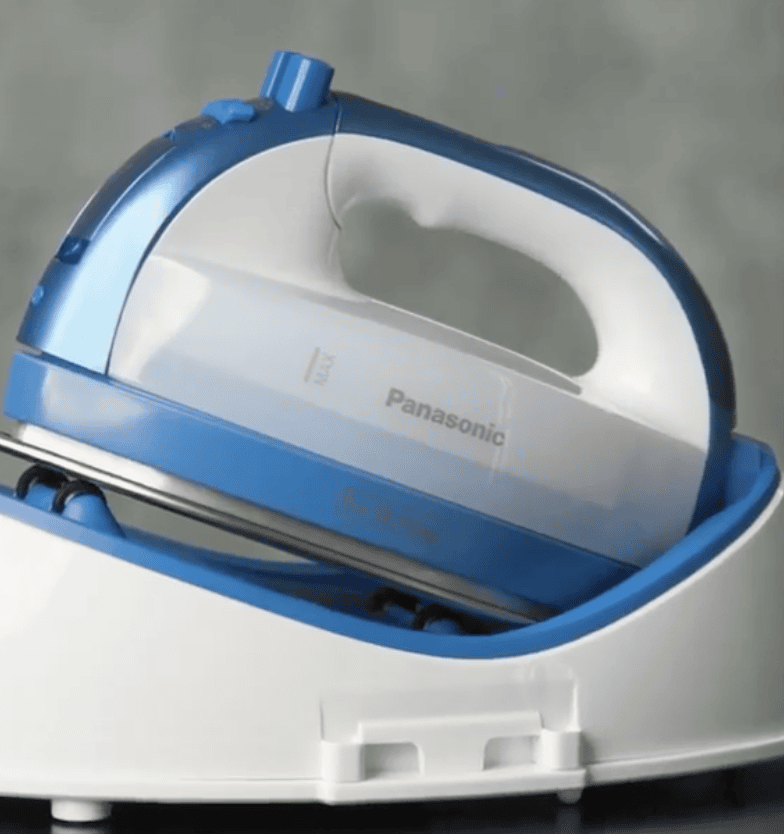
cordless iron for pressing

Step 3: Place the backing on top of the batting then smooth out the wrinkles.

Step 4: Using an up-and-down motion, press your iron onto the fabric for no more than 5 seconds to lightly adhere them together. Work out from the center of the backing.

Step 5: Flip backing/batting over, and lay the quilt top with the wrong side facing the batting. Now press the top onto the batting using an up-and-down motion for 8 to 10 seconds. If your slides like an ice skater, hello bubbles and wrinkles. Go for smooth!

Step 6: Flip it over with the backing face up. Give it a good press!

TA-DA! TA-DONE!
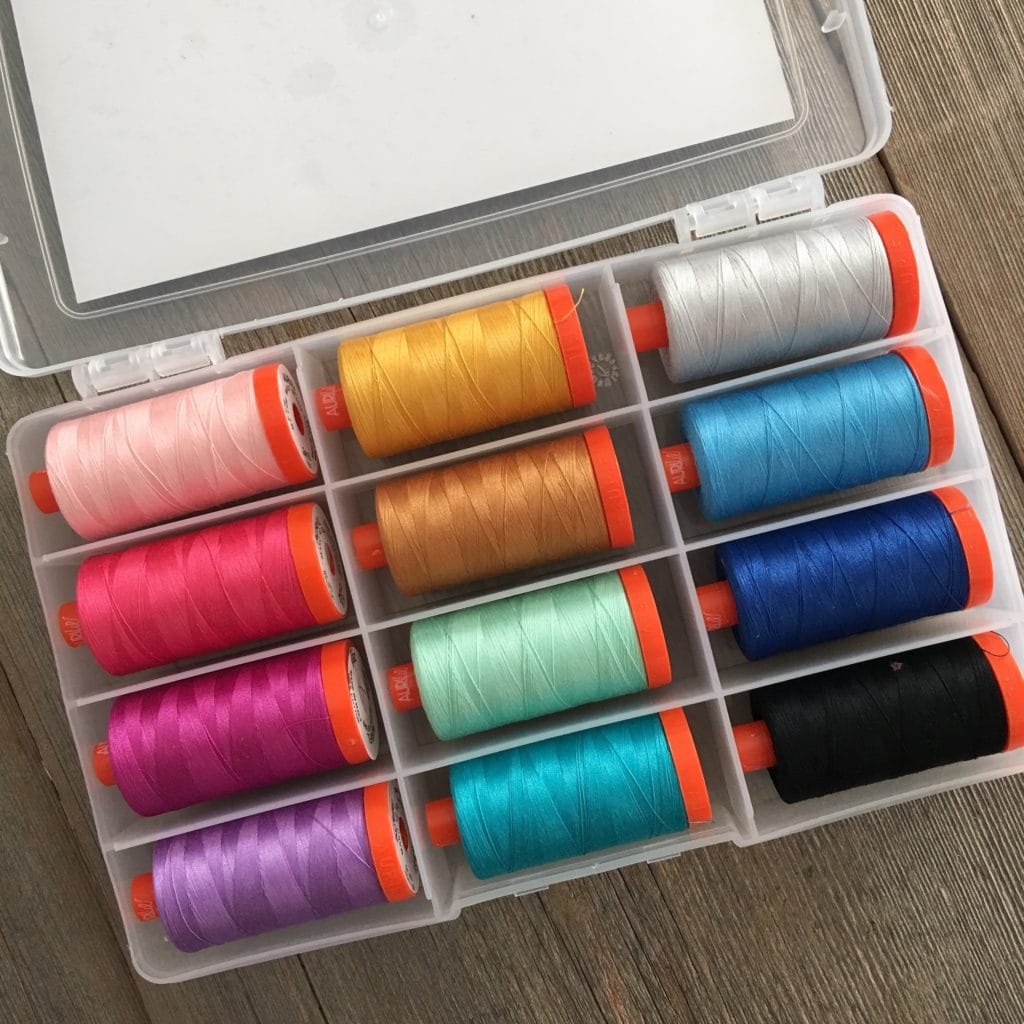
thread basting - how to make a quilt sandwich
colorful threads

THREAD BASTING to sandwich A QUILT

Hand quilters often thread baste layers together with long stitches in one large spiral pattern. Stitching usually takes longer than other techniques. If you love to hand quilt, this is in your wheelhouse.

Choose a contrasting thread from the quilt top colors so it’s easy to see.

Here is an excellent video tutorial on thread basting a large quilt by Patchwork and Poodles. She has a bird’s eye view of the whole process. Love it!

Thread basting is also done on longarm machines. I tried a great idea (that actually worked, ha!) to baste my Pickledish quilt. I asked a friend to sew a loopy stipple pattern with soluble thread on her longarm.

When I finished sewing, the threads dissolved in the washer. It worked so well for a hand quilted project. Fast and easy.
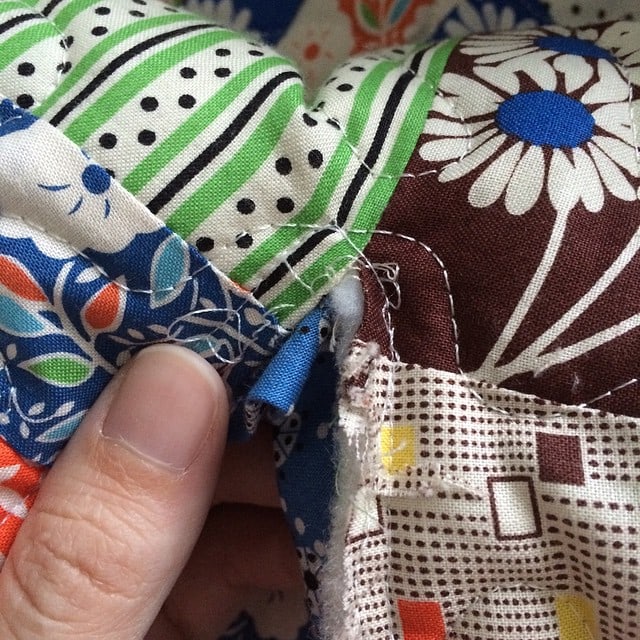
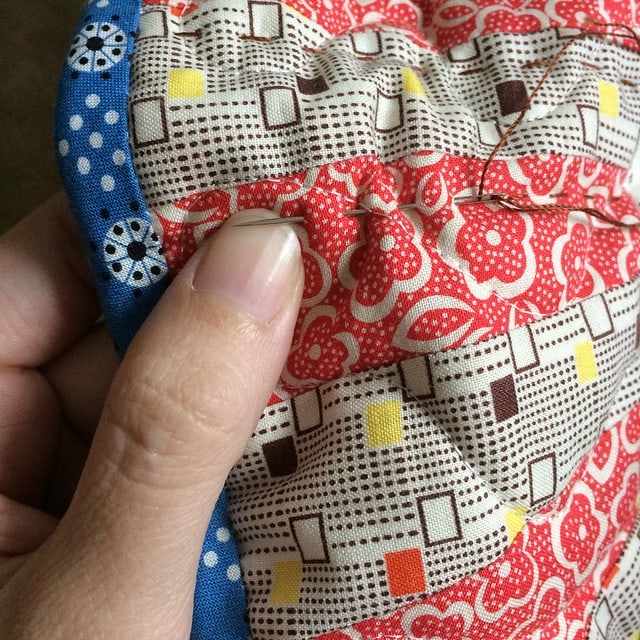
Stippling with water soluble thread
hand quilting
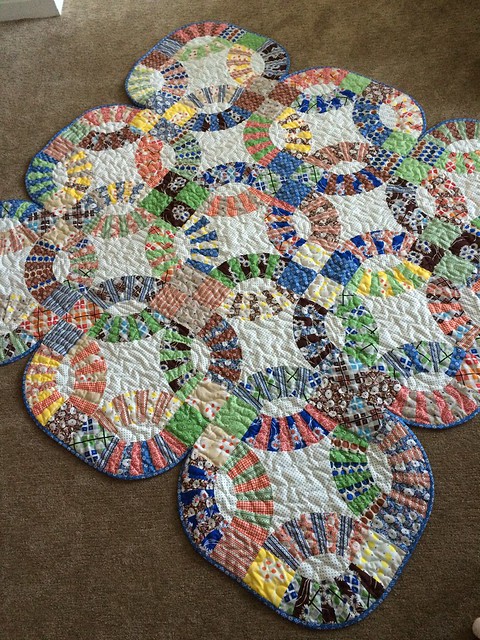
finished quilt
My Pickledish quilt

SPRAY BASTING to sandwich a quilt

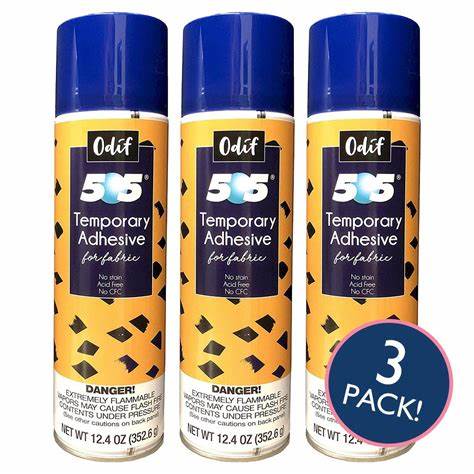
temporary adhesive spray basting - how to make a quilt sandwich
Odif 505 temporary adhesive spray

How to Use Temporary Adhesive Spray to Sandwich a Quilt

Basting spray fumes are toxic so manufacturers recommends wearing a ventilator mask and spraying in a well-ventilated area or outdoors. I’m linking to Christa Watson’s video on YouTube on spray basting quilts because she has it down!

Final Steps Before You Start Quilting

Before you start quilting, make sure your top and back are wrinkle free. The back of the quilt is a common offender.

Fused: Wrinkles should be smoothed out and fused again. Fused quilt layers that are still warm will separate more easily. You can fix a section instead of the whole quilt, as long as you can work those wrinkles out. Relief!

Add a little heat from the iron, and gently slide a thin metal ruler (or a wooden yardstick) between the layers to release it. Smooth out the fabric. Press to secure the layers.

Thread basted: Well, darn. You will need to remove some of the stitches and sew again. Pin basting will stop the parts from shifting. Add painter’s tape at the corners and sides if you have to restitch a large portion. Go slowly and continue to smooth gently as you sew.

Temporary adhesive spray: Luckily, the spray stays moist for days. If you have large wrinkles, divide the quilt into sections so you don’t have to start completely over. Smooth each part again and reattach.

Many quilters sew a 1/2 seam around the perimeter of the quilt with a longer stitch length (3mm).

Finishing this stage is a long process! And so worth every minute you put into it.

Now you know how to sandwich a quilt. Onward!

What’s Coming Up Next

In the next 3 weeks, I’ll share my go-to machine quilting methods: straight lines with a walking foot, free motion quilting and hand quilting. To finish it off, I’ll share my fool-proof method for sewing the binding onto quilts and other methods you need to know.

MAKE A MODERN TRIANGLE IN MY FREE “Outshine” CLASS

Don’t miss my free tutorial and pattern featuring a versatile modern triangle block called Outshine. Make your first block and turn a bunch into a colorful stars quilt.

Click here to take the free triangle class.
free modern triangle class

More RESOURCES FOR FINISHING QUILTS

  • Types of Quilt Batting
  • Quilt Back Ideas
  • My Favorite Quilt Binding Method (Tutorial)
  • Quilt Binding: 25 Creative Idea for Fab Finishes
Previous Post: « Quilt Back Ideas
Next Post: Quilt Finishes, Progress and More! »

Reader Interactions

Comments

  1. Darlene Dallas Sills says

    November 4, 2023 at 11:04 am

    I have used coil-less safety pins so the fabric doesn’t get caught and snag in the coils of regular safety pins, but my all-best method is thread basting. It’s way more accurate and does not get in the way of intricate quilting.

  2. Marta Perosio says

    November 4, 2023 at 2:20 pm

    Thanks for the refresher. I haven’t sandwiched quilts in a few years. I had forgotten what a time consuming pain it is. Thanks.

Primary Sidebar

New 2026 Block of the Month!

Graphic of Alchemy Quilt

Join the 2026 Block of the Month Program

Get my Modern Triangles Quilt Book

Get my Modern Rainbow Quilts Book

Image shows cover of the book "Modern Rainbow Quilts"

Make the Solstice Quilt!

Solstice Block of the Month by Bryan House Quilts

Get Your Invite!

Make Modern Triangles Logo

Make the Sparkler Quilt!

Image Shows Sparkler Quilt Top by Rebecca Bryan

Make the Echo (Echo!) Quilt

Echo BOM now open to join

Make the Wildflower Quilt!

Wildflower Block of the Month by Bryan House Quilts

Make the Stargazer Quilt!

Anne's Stargazer BOM

Make the Rainbow Triangles Quilt!

Rainbow Triangle BOM, modern triangle quilt, Rebecca Bryan

About

Hey there! I’m Rebecca, an author and teacher and freezer paper piecing evangelist. I’m also the founder of the Make Modern Triangles Quilt Club.

Disclosure

Just so you know, my site includes affiliate links from which I (it’s me! Rebecca!) receive payment or compensation. Something to consider as you peruse my website. Thanks!

Latest on Instagram

I will never tell you that it is always going to b I will never tell you that it is always going to be easy, but I will tell you that it is always going to be worth it. ✨

Alchemy is my most challenging block of the month quilt yet, and I feel so lucky to see so many of them coming to life inside the Make Modern Triangles Club! 

We’re learning so much with this quilt, and It’s going to be worth every stitch in the end. 

If you’re on the hunt for a new hobby, something to do with your hands, a new skill to learn, or simply a way to get offline, take my free class and give quilting a try. 

Comment ‘FREE’ for the link to sign up. 💌

#modernquilting #paperpiecing #foundationpaperpiecing #quiltingtechnique #quiltteacher
I will never tell you that it is always going to b I will never tell you that it is always going to be easy, but I will tell you that it is always going to be worth it. ✨

Alchemy is my most challenging block of the month quilt yet, and I feel so lucky to see so many of them coming to life inside the Make Modern Triangles Club! 

We’re learning so much with this quilt, and It’s going to be worth every stitch in the end. 

If you’re on the hunt for a new hobby, something to do with your hands, a new skill to learn, or simply a way to get offline, take my free class and give quilting a try. 

Comment ‘FREE’ for the link to sign up. 💌

#modernquilting #paperpiecing #foundationpaperpiecing #quiltingtechnique #quiltteacher
I’ve made enough quilts to know that I am NOT the I’ve made enough quilts to know that I am NOT the only one who has been riding this roller coaster. It’s just part of the creative process that every quilter will go through. 😅

Every project starts with excitement, and then somewhere along the way I convince myself I’ve made terrible color choices, wonder if it’s ever going to come together, and seriously consider putting it back on the shelf. Then, almost without fail, there’s a moment where it all clicks, and the excitement returns. 

If you’ve ever felt this way, I hope you know you’re not doing anything wrong. You’re just making a quilt. 

Which part of the roller coaster are you on right now? Comment below! 👇

#modernquilting #paperpiecing #foundationpaperpiecing #quiltingtechnique #quiltteacher
Month Three already... can you believe it? 😅 This Month Three already... can you believe it? 😅

This is usually the point in a block of the month program where things start to shift. 

The blocks aren’t just individual blocks anymore. You’re beginning to see the design of the quilt come to life, your confidence is growing with every block, and suddenly the project that you once questions was possible starts to feel completely doable.

That’s one of my favorite things about Block of the Month quilts.

You don’t have to tackle the whole quilt at once.

You simply keep showing up, one month at a time, one block at a time, and one sewing session at a time, and you’ll have my tutorials and resources to guide you every stitch of the way.

Before you know it, you’ll have created your very own beautiful quilt! I can’t wait to see all of the Alchemy quilts being made inside the Make Modern Triangles Club keep coming to life. ✨

Comment ‘ALCHEMY’ if you want to make this beautiful quilt with us! 💌

#modernquilting #paperpiecing #foundationpaperpiecing #quiltingtechnique #quiltteacher
In the beginning, it can be so frustrating as a ne In the beginning, it can be so frustrating as a new quilter. 👇

There is more to learn than you imagined, things seem to take way longer than you expect, and let’s not even talk about how bad my fingers hurt from ripping paper bits out of my seams. 

I had gotten to a point where I just wanted to give up. I wasn’t enjoying quilting anymore. 

But I stayed the course and got introduced to freezer paper piecing. It saved me so much time and made life so much easier. 

It honestly made me fall in love with quilting again, and now I teach it to thousands of quilters, of all skill levels and experience. 

Comment ‘FREE’ to take my free class. 💕

#modernquilting #paperpiecing #foundationpaperpiecing #quiltingtechnique #quiltteacher
If you’re anything like me, you spend way more tim If you’re anything like me, you spend way more time than you’d like to admit scrolling Pinterest and Instagram, saving pretty quilts, and thinking, “I want to make something like that one day.” 😅

You tell yourself you’ll make one someday, when you have more time, when you feel more confident, when you finally know where to start.

But you don’t become a good quilter by collecting more inspiration. You don’t need any more inspiration. What you need is to just start sewing. 

All you have to do is choose your pattern, shop your stash, and pick your fabrics, sit down and start sewing! 

That’s exactly why I created the Make Modern Triangles Club.

Inside, you’ll get access to a growing library of Block of the Month programs that walk you through beautiful modern triangle quilts one manageable step at a time, plus bonus workshops and classes to help you learn new techniques and keep creating. ✨

It’s the perfect place if you want to actually make more pretty things, instead of scrolling and saving every pretty thing you see online. 

Comment ‘CLUB’ for details on how to join. 💕

#modernquilting #paperpiecing #foundationpaperpiecing #quiltingtechnique #quiltteacher
Follow on Instagram

Browse by Category

Archives

  • Instagram
  • Facebook
  • Pinterest
  • email
I will never tell you that it is always going to b I will never tell you that it is always going to be easy, but I will tell you that it is always going to be worth it. ✨

Alchemy is my most challenging block of the month quilt yet, and I feel so lucky to see so many of them coming to life inside the Make Modern Triangles Club! 

We’re learning so much with this quilt, and It’s going to be worth every stitch in the end. 

If you’re on the hunt for a new hobby, something to do with your hands, a new skill to learn, or simply a way to get offline, take my free class and give quilting a try. 

Comment ‘FREE’ for the link to sign up. 💌

#modernquilting #paperpiecing #foundationpaperpiecing #quiltingtechnique #quiltteacher
I will never tell you that it is always going to b I will never tell you that it is always going to be easy, but I will tell you that it is always going to be worth it. ✨

Alchemy is my most challenging block of the month quilt yet, and I feel so lucky to see so many of them coming to life inside the Make Modern Triangles Club! 

We’re learning so much with this quilt, and It’s going to be worth every stitch in the end. 

If you’re on the hunt for a new hobby, something to do with your hands, a new skill to learn, or simply a way to get offline, take my free class and give quilting a try. 

Comment ‘FREE’ for the link to sign up. 💌

#modernquilting #paperpiecing #foundationpaperpiecing #quiltingtechnique #quiltteacher
I’ve made enough quilts to know that I am NOT the I’ve made enough quilts to know that I am NOT the only one who has been riding this roller coaster. It’s just part of the creative process that every quilter will go through. 😅

Every project starts with excitement, and then somewhere along the way I convince myself I’ve made terrible color choices, wonder if it’s ever going to come together, and seriously consider putting it back on the shelf. Then, almost without fail, there’s a moment where it all clicks, and the excitement returns. 

If you’ve ever felt this way, I hope you know you’re not doing anything wrong. You’re just making a quilt. 

Which part of the roller coaster are you on right now? Comment below! 👇

#modernquilting #paperpiecing #foundationpaperpiecing #quiltingtechnique #quiltteacher
Month Three already... can you believe it? 😅 This Month Three already... can you believe it? 😅

This is usually the point in a block of the month program where things start to shift. 

The blocks aren’t just individual blocks anymore. You’re beginning to see the design of the quilt come to life, your confidence is growing with every block, and suddenly the project that you once questions was possible starts to feel completely doable.

That’s one of my favorite things about Block of the Month quilts.

You don’t have to tackle the whole quilt at once.

You simply keep showing up, one month at a time, one block at a time, and one sewing session at a time, and you’ll have my tutorials and resources to guide you every stitch of the way.

Before you know it, you’ll have created your very own beautiful quilt! I can’t wait to see all of the Alchemy quilts being made inside the Make Modern Triangles Club keep coming to life. ✨

Comment ‘ALCHEMY’ if you want to make this beautiful quilt with us! 💌

#modernquilting #paperpiecing #foundationpaperpiecing #quiltingtechnique #quiltteacher
Follow on Instagram
© 2026 Bryan House Quilts