• About
    • Privacy Policy
  • Teaching
    • Member/Student Login
    • Online Programs
  • Shop
  • Member/Student Login
  • Blog
    • Free Quilt Patterns – Scrappy Whirligig Quilt

Bryan House Quilts

Sewing with Fabric Selvages

fabric· finished quilts· Tutorial· Uncategorized

15 Jun

Sewing with fabric selvages is fun way to make quilt blocks and DIY projects from the yardage in your fabric stash.
Have you bought a yard of fabric only for the selvage? Okay, yeeeeeees. (A Ruby Star Society fabric comes to mind) Collecting and creating with selvage edges adds color and texture to your quilty projects. Designers have added whimsical touches and personality to their selvage designs and we can’t resist them!

Even better, nothing goes to waste. Better than better? No fraying. None.

Noted: If you’re reading this in the UK or Canada, the accepted spelling in British English is selvedge. Both versions are correct based on where you live.

In this how-to “selvage/selvedge edges” post, I’ll share everything about sewing with fabric selvages from cutting to blocks to the finished selvage binding. Yes, even binding! Join me on the cutting edge for fun sewing. Wah-waaah.
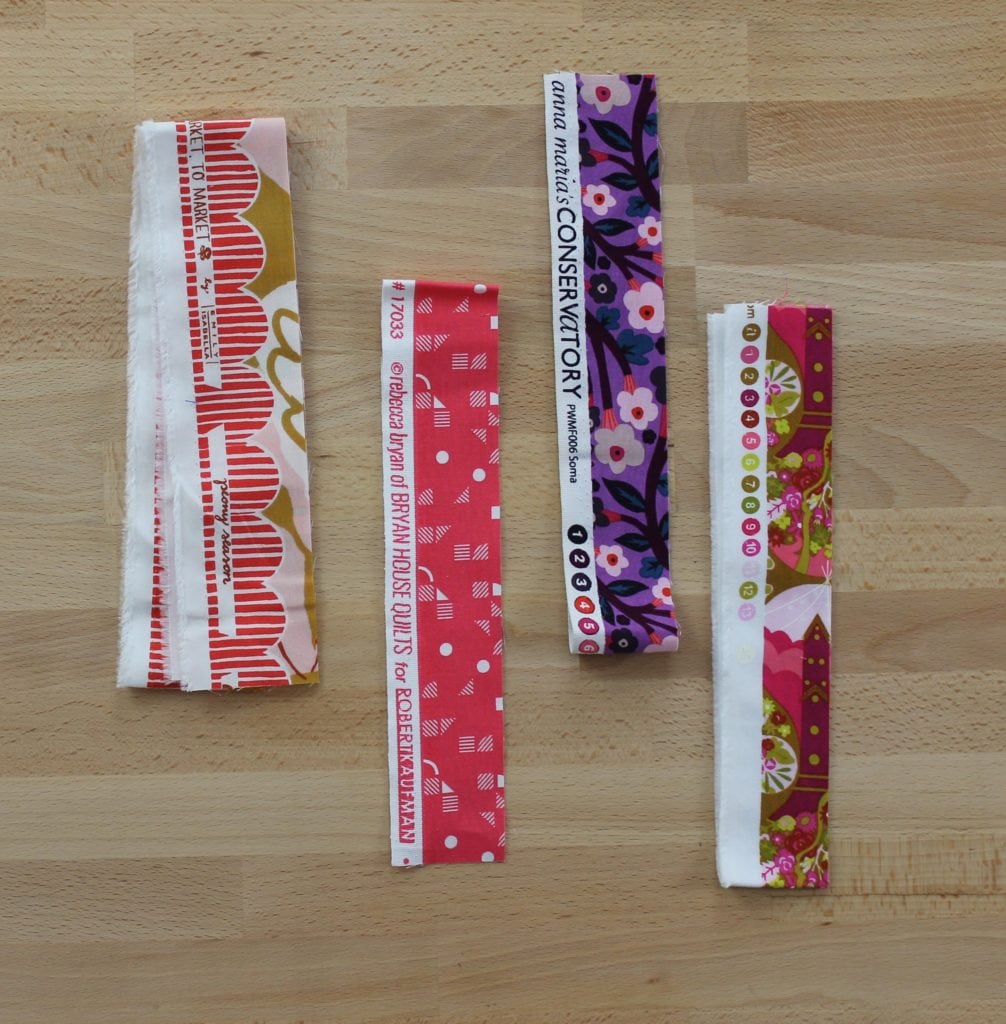
Sewing with fabric selvages - strips
Cute selvage (selvedge) strips

What is a selvage edge on fabric?

Fabric selvage is the tightly woven edge that runs lengthwise along the fabric – the straight grain (warp) direction. Selvages are stiffer with a tighter weave than the rest of the woven fabric. It has also been called a self edge. Fuzzy cut threads sometimes line the the selvages where the loops were cut during manufacturing.

The selvage edge helps determine the grain direction, bias and right side of fabrics. The printed edge indicates the right side. Premium quilt fabrics usually have a printed selvage – basic cotton fabric may not. You won’t see a printed edge on solids unless a solid color or blender was printed onto the fabric, not woven.
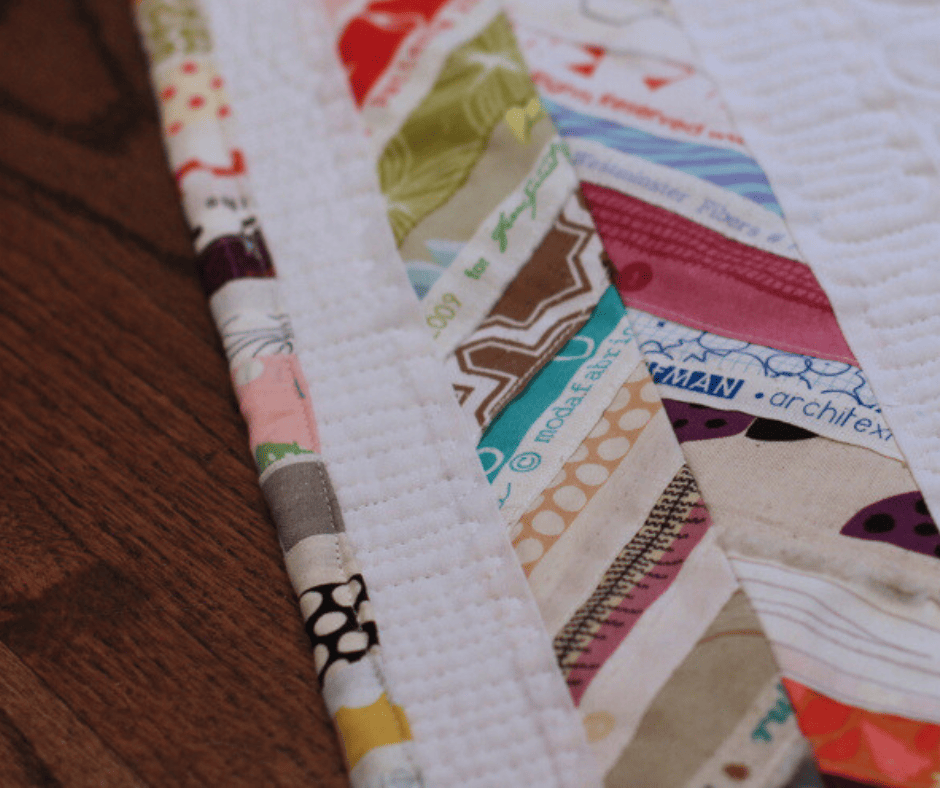
Quilt made with selvage blocks and finished with selvage binding

Why do fabrics have selvage edges?

Mainly, selvages keep the fabric grain straighter, and prevent unraveling and fraying during the printing process. Selvages are created during the weaving process when the fabric is manufactured.

It’s all about the weaving process. The weft threads weave and loop around at the edges of the fabric, which self-seals and becomes a denser woven selvage edge. Essentially, the raw edge is eliminated along the straight grain of woven fabrics. The rest of the threads are woven once horizontally and vertically, which makes it softer and less tightly woven.

A catchy way to remember which direction weft threads run is “weft to right”. In my brain, that means horizontal. Remember warp threads direction by imagining the vertical strings of a “warped harp”.

Those little holes along the edge of the fabric? Left by the machinery that holds the fabric while printing.

Decode printed fabric: Read the selvage edges
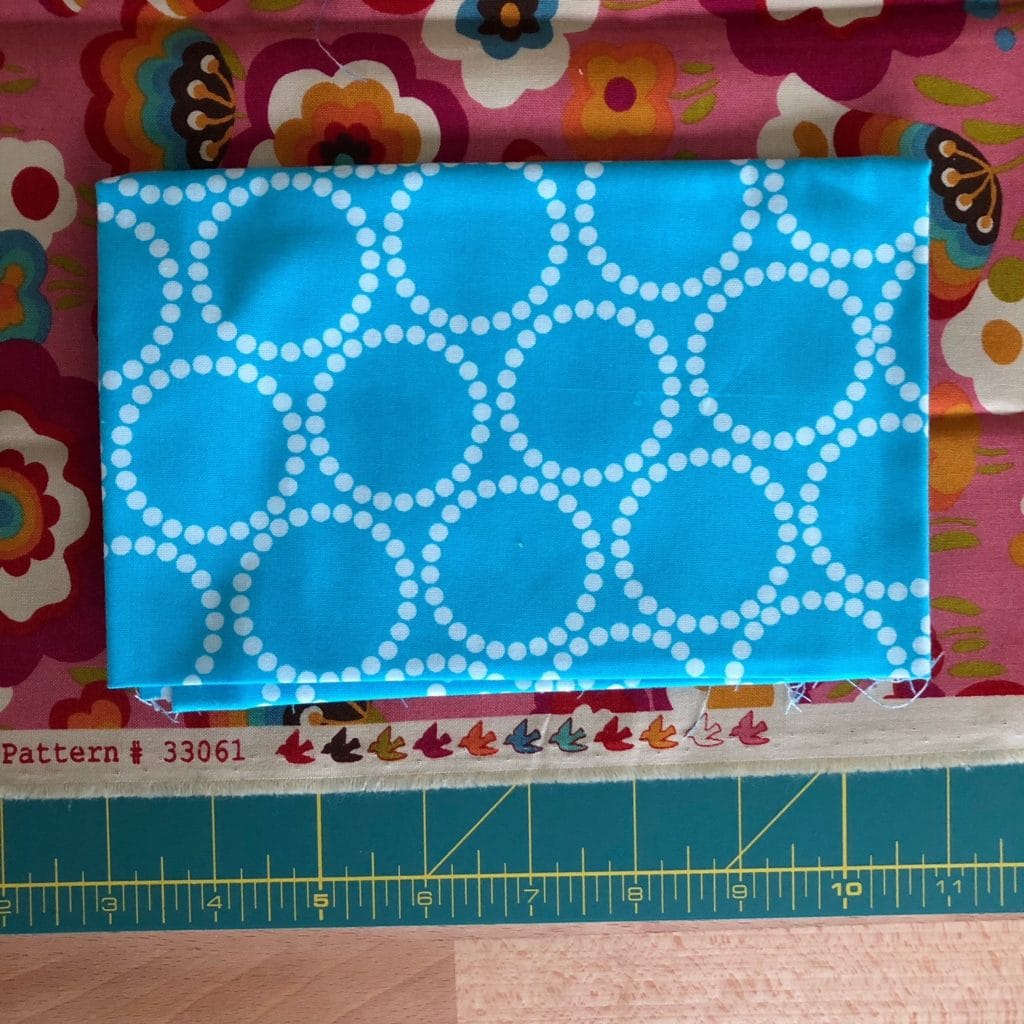
selvage edge of fabnic
Helpful information on the edge

Most quilting fabric manufacturers print useful information on the fabric’s selvage – the brand, designer, collection and colors used.

What are the colored circles for? (er…colored doves?)

The little dots are like a painter’s palette. They show the number of colors printed on the fabric. A rule of thumb: more circles on a selvage create more color nuance, variety and depth. And very collectible.

Tutorials galore: Sewing with fabric selvages

Ready to start saving selvages?

Most selvages are a useful, bonus cut from your fabric – a self-finished edge with many uses. I love turning my selvage collection into fabric for blocks.

What else can you make with these colorful strips?

  • Zipper pouches, wallets and tote bags
  • Pillow cover
  • Trim for a garment
  • Binding
  • Ribbons
  • Wrapped cord bowl and more!

First, you’ll need to build your selvage collection from your fabrics.

Tutorial: Cutting Off Selvage Edges

In this YouTube video, I demo my favorite method to cut fabric for selvages.

My method gets the most color from selvages while saving enough usable fabric for a quilt pattern.

WATCH THE TUTORIAL

TUTORIAL TAKEAWAYS

  • Cut selvages from fabrics that aren’t pre-washed or already cut. It’s just easier.
  • Beware of narrow! If you cut narrow widths, you’ll cover (oh no!) the colorful edge of the fabric when you sew the selvages together. Narrow is less than a 1-inch wide selvage edge. Most selvages are ½ to ⅝ inches wide plus another inch of usable fabric. Be generous.
  • When cutting from yardage, leave at least a 40” width of the rest of the fabric so it’s usable. Most quilts assume 40 – 42 inches of usable fabric width in the pattern.
  • When cutting from a fat quarter, leave at least an 18” x 20” rectangle of usable fabric.
  • Store these cuties in a large jar for display. Too pretty to hide.
  • The length of the fabric matters. If you cut the edge from shorter pieces (less than 12 inches) they won’t be as versatile.
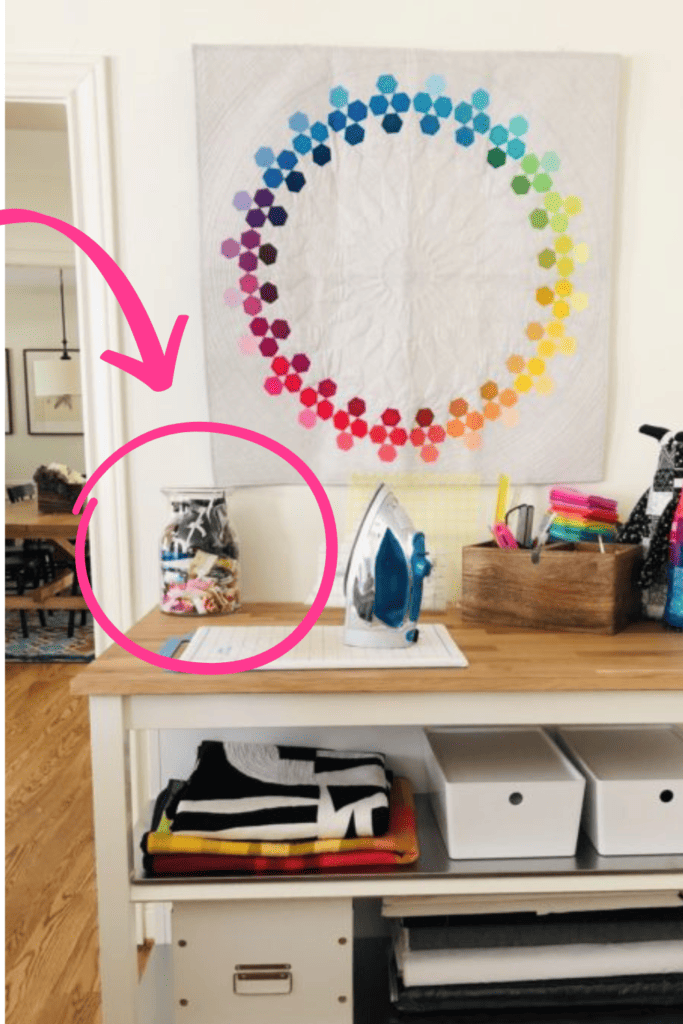
Storing fabric selvage strips in a jar
Strips on display in a glass jar

Tutorial: How to Make Selvage Fabric

WATCH THE TUTORIAL

Follow along in the video tutorial and read the key takeaways below. I’m going to show you how to use the fabric’s selvage to make usable material. The contrast between the colors, white edges and printed pattern creates fun material for all kinds of DIY projects.

KEY TAKEAWAYS

  • I use muslin for the foundation because it’s thinner than quilting cotton, but use what you have on hand.
  • Make a fat quarter size stripped piece – a common size used in patterns.
  • Sewing the strips to a foundation makes it sturdier and easier to cut apart.
  • Monofilament thread is clear so the stitches won’t show on different colored selvages.

I love the colorful result and the alternating stripe-y pattern!

Make fabric using selvages, tutorial by Bryan House Quilts
Fat quarter selvage fabric piece

How to Make Selvage Quilting Blocks

Did you know you can make entire quilts out of selvages?

I made Lucky Selvage Medallion with the selvage edge from favorites in my stash.

Lucky, a quilt made with selvage blocks by Bryan House Quilts
Lucky Medallion quilt made with selvage blocks and binding.

WATCH THE VIDEO TUTORIAL

Watch this quick video tutorial to learn how to sew selvage blocks – Selvage Criss Cross – also known as a lattice block.

The Criss Cross block design is an ideal way to show off fabric selvage. Plus, you can arrange these fun little blocks tons of ways – like X’s, O’s, and arrows.

Criss Cross Selvage Quilt Block Tutorial, by Bryan House Quilts
Criss Cross selvage blocks

KEY TAKEAWAYS

  • Pressing creases into the blocks provides visual cues for placement.
  • I use the creases throughout the piecing process to match and sew.
  • Turn any ruler into a template! Use washi tape on a smaller ruler to make a trimming template.
  • Consider buying a spinning cutting mat for faster trimming. I love mine!
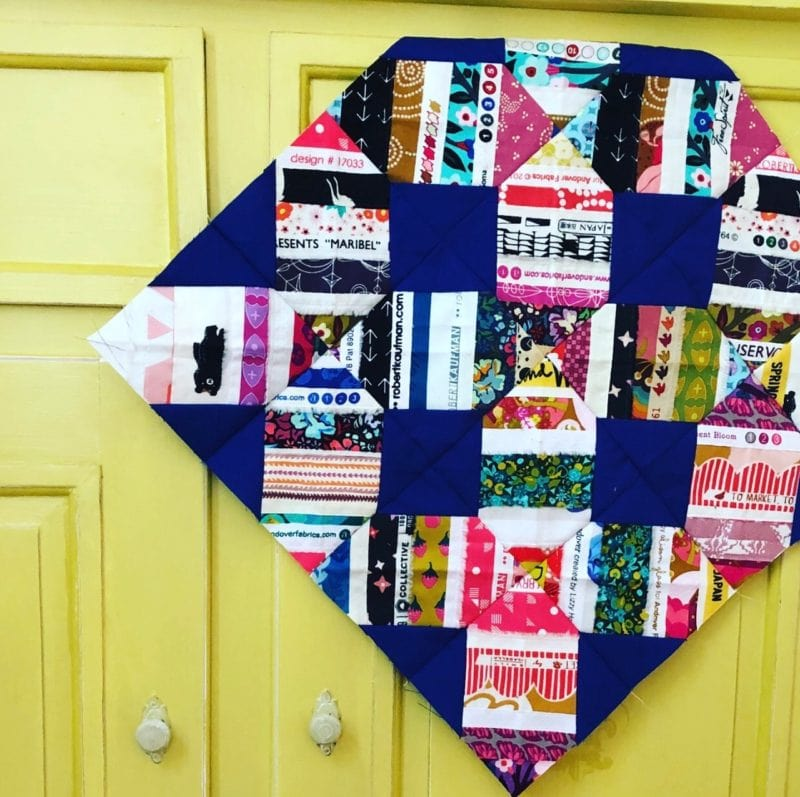
4 selvage quilt blocks

I plan to keep sewing Criss Cross blocks to make a large selvage quilt. Inspired? I plan to make make 60 more and I’ll need more selvages from…more fabric. I’m okay with that. – hehe-

TUTORIAL: How to Make Binding with FABRIC SELVAGE
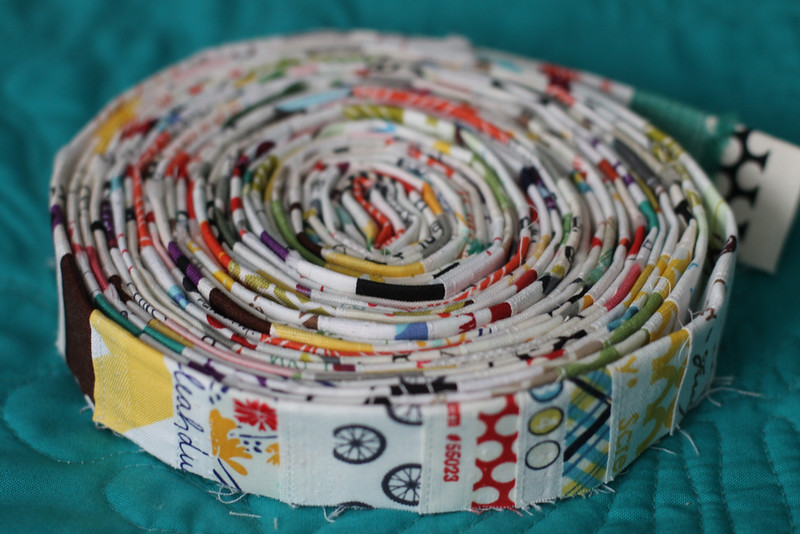
selvage binding
Selvage binding waiting for a quilt to finish

Binding from selvage fabric is my very favoritest way to use selvage fabric. Selvage edge binding works best for binding straight edges. (Bias tape or bias binding works better on curved edges). Even though the strips are densely woven, sewing through them is very doable.

Follow along in the video tutorial and read the key takeaways below.

TUTORIAL

KEY TAKEAWAYS
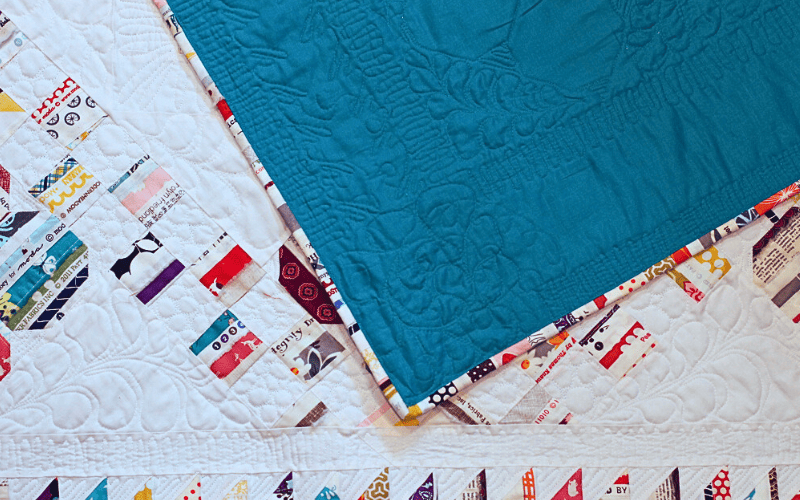
Selvage binding sewn to a finished quilt.
Selvage quilt binding on Lucky Medallion quilt
  • Start with a fat quarter of selvage fabric and straighten the cut edge made with a ruler.
  • Turn the fabric selvage so the strips run horizontally. Cut the vertical raw edge to straighten it along the ruler.
  • Hide the unfinished edge under a selvage edge and topstitch to join the pieces.
  • Fold the fabric over lengthwise just like bias and straight of grain binding. Even though its folded over, sewing through the layers is easy.
  • Selvage binding isn’t like bias binding or bias tape – it won’t work well for neckline edges or armholes.

Read how to calculate how much binding you need here. You can use the same calculation for bias binding.
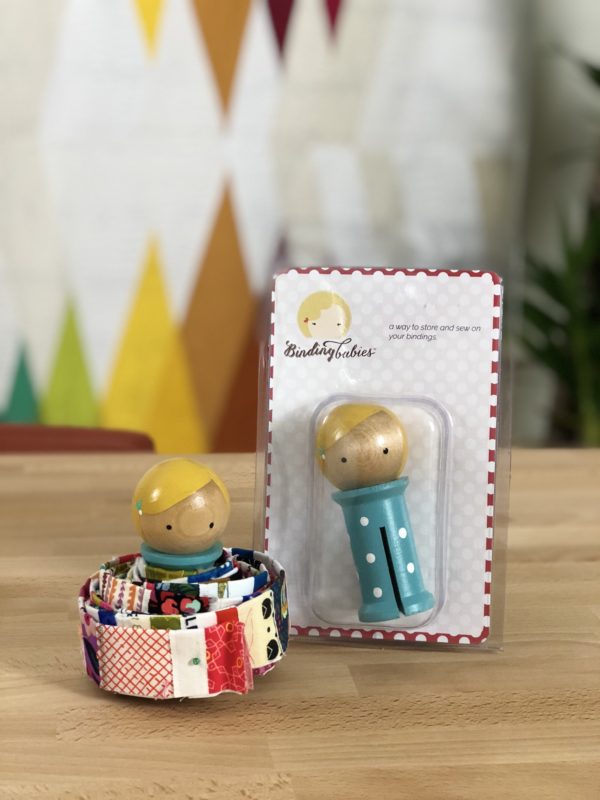
Selvage binding and Binding Babies spool.

Wind it on a Binding Babies until your quilt is ready. Pretty darn cute!

I hope you had fun learning about sewing with fabric selvages!

I LOVE selvages, however, my greatest love is making modern triangles! Take a free class and get free pattern download here.
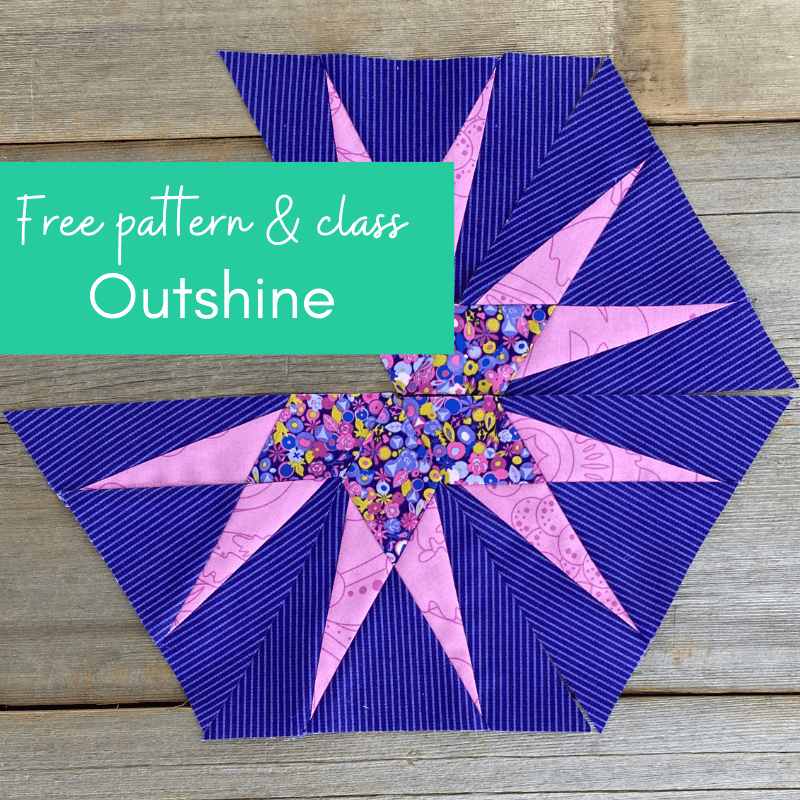

Outshine star block

MORE RESOURCES FOR YOU

  • Quilt Binding Ideas: 25 Fab Finishes
  • Tutorial: My Favorite Quilt Binding Method
  • Take a free class to make a Scrappy Whirlgig modern triangle block.
Previous Post: « Colorful Member Makes Take Shape
Next Post: Members Monthly Progress »

Primary Sidebar

New 2026 Block of the Month!

Graphic of Alchemy Quilt

Join the 2026 Block of the Month Program

Get my Modern Triangles Quilt Book

Get my Modern Rainbow Quilts Book

Image shows cover of the book "Modern Rainbow Quilts"

Make the Solstice Quilt!

Solstice Block of the Month by Bryan House Quilts

Get Your Invite!

Make Modern Triangles Logo

Make the Sparkler Quilt!

Image Shows Sparkler Quilt Top by Rebecca Bryan

Make the Echo (Echo!) Quilt

Echo BOM now open to join

Make the Wildflower Quilt!

Wildflower Block of the Month by Bryan House Quilts

Make the Stargazer Quilt!

Anne's Stargazer BOM

Make the Rainbow Triangles Quilt!

Rainbow Triangle BOM, modern triangle quilt, Rebecca Bryan

About

Hey there! I’m Rebecca, an author and teacher and freezer paper piecing evangelist. I’m also the founder of the Make Modern Triangles Quilt Club.

Disclosure

Just so you know, my site includes affiliate links from which I (it’s me! Rebecca!) receive payment or compensation. Something to consider as you peruse my website. Thanks!

Latest on Instagram

All these triangles come together to make one STUN All these triangles come together to make one STUNNING quilt! 🤩

The Echo was such a fun, unique design that was unlike anything I had made with triangles yet.

It felt bold and different, yet symmetrical. ✨

And of course, made with modern traingles blocks, some were simple, and some were challenging.

But the whole process from start to finish is so much fun! If you want to learn as you go and make your own version of the Echo, comment ‘ECHO’ and I’ll send you the details to my Block of the Month program, where you get ALL the tools, tutorials, and resources to make this quilt! 🫶

All you have to do is pick your color plan, shop your fabric stash, and get ready to start sewing! 🪡

#moderntrainglequilts #modernquilting #quiltpattern
If this found you maybe it’s because... 👇 👉 You w If this found you maybe it’s because... 👇

👉 You want to feel what it’s like to create something beautiful with your own two hands. 
👉 You crave quiet time just to yourself. 
👉 You want to tap into your creativity in a new way.
👉 You want a new hobby that doesn’t involve screens and the internet. 
👉 You want to experience seeing a loved one’s face light up when you gift them something handmade with love. 
👉 You simply want to try something new and learn. 

Whatever the reason may be, you’re in the right place, and I am so so glad that you found your way here. My free class is a perfect place to start, and once you take the class, I’ll give you options on where to go next. Comment ‘FREE’ if you’re ready. 💕

#modernquilting #paperpiecing #foundationpaperpiecing #quiltingtechnique #quiltteacher
We’ve already got two months of sewing in for the We’ve already got two months of sewing in for the Alchemy block of the month program. ✨

This quilt is already coming together so nicely! 

You might be wondering, “What is a block of the month program?” 🧐

It’s basically making a quilt one month and one block at a time! Each new month, you will get instructions and tutorials on how to sew the block for that month. 

You’ll sew your batch of blocks and wait for the next block the following month! It breaks the projects up into smaller, more approachable pieces so that you actually finish the quilts that you start. 

ALL of my programs are structured this way, and we even have a private community of quilters that you can join, sew with, and get to know along the way. 

These are the first two blocks of our Alchemy quilt! Comment ‘ALCHEMY’ if you want to make this with us! 💫

#quiltteacher #quiltingtutorial #quiltingtips #modernquilting #quiltcommunity
Comment ‘FREE’ if you want to learn this technique Comment ‘FREE’ if you want to learn this technique and take my free class! 💕

My last (and maybe most important) tip for you this week is to ALWAYS make a test block. 

I always remind myself that I have NEVER regretted making a test block, but have regretted not making one too many times! 😅

Raise your hand if you make test blocks! 🙋‍♀️
If you like ANY of these designs, the Make Modern If you like ANY of these designs, the Make Modern Triangles Club is for you. 😍

Make one, or make them all! 

When you join, you instantly get access to the entire library of workshops, patterns, and block-of-the-month programs, so you can start making any of these today! Comment ‘CLUB,’ and I’ll send you the details to join. 💕

#quiltpattern #quilttips #quiltingtips #quiltblock
I used to tell my students to make their iron HOTT I used to tell my students to make their iron HOTTER if their freezer paper foundation wasn’t sticking to the fabric... 👇

But over the years of teaching hundreds of quilters this life-changing technique, we’ve discovered that you can actually have it TOO hot! 🔥

So there is a sort of happy medium that seems to work well for getting your freezer paper to stick just right! 

If you’re struggling to get your freezer paper to stick to your fabric, try adjusting the temperature of your iron and finding what works best for you!!! 

Every iron is a bit different, so play with yours and find your happy medium of not too hot, not too cold. 🙌

Comment ‘FREEZER’ if you want to learn this amazing technique! ✨

#modernquilting #paperpiecing #foundationpaperpiecing #quiltingtechnique #quiltteacher
Follow on Instagram

Browse by Category

Archives

  • Instagram
  • Facebook
  • Pinterest
  • email
All these triangles come together to make one STUN All these triangles come together to make one STUNNING quilt! 🤩

The Echo was such a fun, unique design that was unlike anything I had made with triangles yet.

It felt bold and different, yet symmetrical. ✨

And of course, made with modern traingles blocks, some were simple, and some were challenging.

But the whole process from start to finish is so much fun! If you want to learn as you go and make your own version of the Echo, comment ‘ECHO’ and I’ll send you the details to my Block of the Month program, where you get ALL the tools, tutorials, and resources to make this quilt! 🫶

All you have to do is pick your color plan, shop your fabric stash, and get ready to start sewing! 🪡

#moderntrainglequilts #modernquilting #quiltpattern
If this found you maybe it’s because... 👇 👉 You w If this found you maybe it’s because... 👇

👉 You want to feel what it’s like to create something beautiful with your own two hands. 
👉 You crave quiet time just to yourself. 
👉 You want to tap into your creativity in a new way.
👉 You want a new hobby that doesn’t involve screens and the internet. 
👉 You want to experience seeing a loved one’s face light up when you gift them something handmade with love. 
👉 You simply want to try something new and learn. 

Whatever the reason may be, you’re in the right place, and I am so so glad that you found your way here. My free class is a perfect place to start, and once you take the class, I’ll give you options on where to go next. Comment ‘FREE’ if you’re ready. 💕

#modernquilting #paperpiecing #foundationpaperpiecing #quiltingtechnique #quiltteacher
We’ve already got two months of sewing in for the We’ve already got two months of sewing in for the Alchemy block of the month program. ✨

This quilt is already coming together so nicely! 

You might be wondering, “What is a block of the month program?” 🧐

It’s basically making a quilt one month and one block at a time! Each new month, you will get instructions and tutorials on how to sew the block for that month. 

You’ll sew your batch of blocks and wait for the next block the following month! It breaks the projects up into smaller, more approachable pieces so that you actually finish the quilts that you start. 

ALL of my programs are structured this way, and we even have a private community of quilters that you can join, sew with, and get to know along the way. 

These are the first two blocks of our Alchemy quilt! Comment ‘ALCHEMY’ if you want to make this with us! 💫

#quiltteacher #quiltingtutorial #quiltingtips #modernquilting #quiltcommunity
Comment ‘FREE’ if you want to learn this technique Comment ‘FREE’ if you want to learn this technique and take my free class! 💕

My last (and maybe most important) tip for you this week is to ALWAYS make a test block. 

I always remind myself that I have NEVER regretted making a test block, but have regretted not making one too many times! 😅

Raise your hand if you make test blocks! 🙋‍♀️
Follow on Instagram
© 2026 Bryan House Quilts