In this post, I’ll be introducing improv quilting while I show my two Rainbow Remix modern quilts. Along the way, I’ll share more about the colors and about how I made it.
What is improv quilting?
When you’re in the mood to create without a plan, why not sew an improv quilt? It’s a wonderful creative exercise for modern quilters.
Put simply, improv quilting happens when you make a quilt without a plan or pattern. There are myriad ways to go about making an improvisational quilt, so even though there may not be a plan, there are certainly processes quilters follow when improvising.
Importantly, traditional rules don’t apply and the experience can be a wonderful way to explore your own designs.
Typically when making a quilt, a quilt maker follows a step-by-step pattern. But in improvisational quilting, you’ll follow a process, not a pattern. By doing so, you’ll mimic the look, but you’ll end up with a unique, one of a kind, finish.
So, instead of trying to define improv quilt making precisely, it’s best to think of improv quilting as process based creativity.
What are the three types of quilting?
Improvisational quilting is just one way to sew a quilt. When I wrote my first book, Modern Rainbow Quilts, Improvisational Quilts was one of the three sections I covered. Aside from improv quilts, I also included sections on Modern Traditional Quilts and Modern Quilts.
These two types of quilts start with a plan or a pattern and are more easily replicable. You can follow the pattern to recreate a specific quilt following a step by step plan. Many improvisational quilts cannot be replicated exactly because you don’t follow a pattern.
Following a process and not a pattern really sets improv piecing apart from other forms of quilt making.
Meet Rainbow Remix & Rainbow Remix 2.0
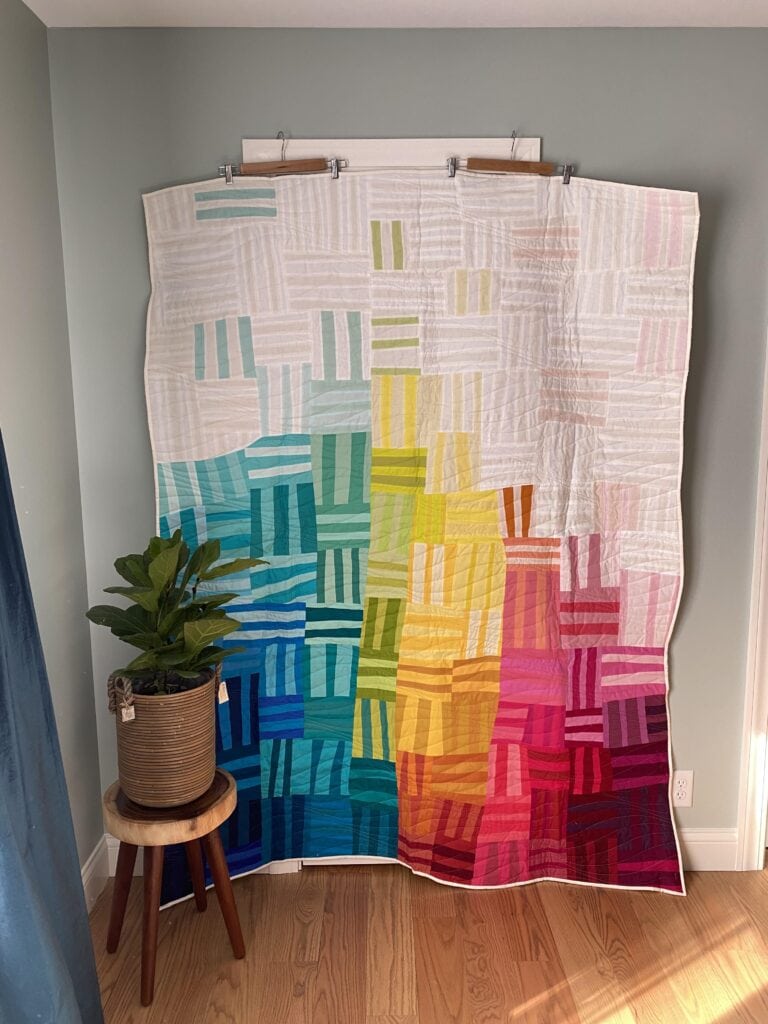
My quilt Rainbow Remix from my book Modern Rainbow really challenged me to move outside of my piecing comfort zone of straight lines and square corners. I’ve always really admired the quilts made by the Quilters of Gee’s Bend, so I looked forward to the challenge of sewing a quilt emulating their free flowing improv geometric style.
Rainbow Remix
Rainbow Remix ended up being one of my favorite makes and in fact if you came to my home, you’d see it hanging on the walls in my foyer.
Below, you can see a behind the scenes photo of the quilt on my design surface, er floor I mean. 🙂 It looks like the left part of the quilt top is assembled already.
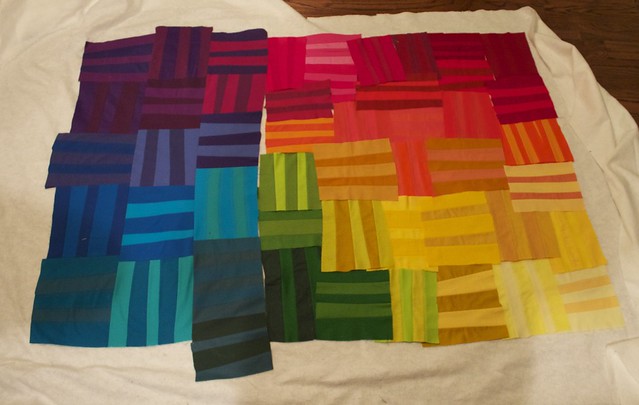
In all, it was fun and playing with the arrangement of color and then trying to fit the arrangement into the quilt. Because the blocks are irregular, the finished quilt looks a bit different than the rough draft layout on my design surface.
The changing look of the project in varying stages is all part of the improv piecing experience. Some quilters love to open ended experience of improv piecing, while other quilters prefer to know what exactly they’re making in the end.
Personally, I aimed to keep the general movement of color consistent but to be surprised by the specific color alignment of the finished quilt top.
While, I played with irregularity in both the composition of and in the construction of the quilt it was interesting to me to see how I can manipulate the “rules” of classical piecing and free form of improvisational piecing to create a truly unique quilt.
Rainbow Remix 2.0
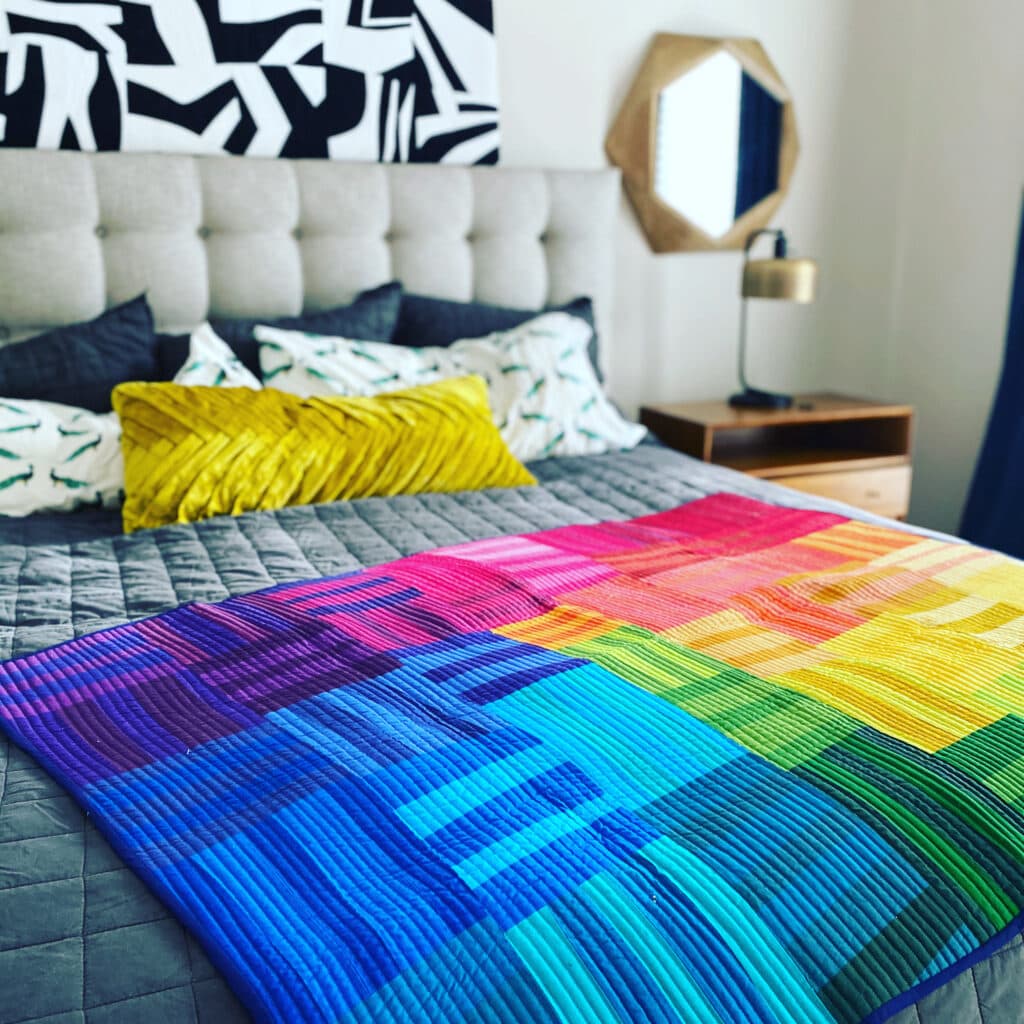
I love it so much, I wanted to make a throw sized version so I could cuddle up and wrap myself in color.
So, I made a bigger version and documented the progress. Here’s me showing off Rainbow Remix 2.0, like a goober, ha! But look how cute!
For the rest of the post, I’ll share a look at how I created my second version.
Beginners Improv Quilting
Though improvisational quilting can look complicated, there’s no reason a confident beginner couldn’t try it. The hardest thing about improv is actually all the decisions that go into the design. To get started with beginners improv quilting, I’d recommend starting with a improv mini quilt, like a small Rainbow Remix, as opposed to the larger 2.0 version shared below.
To introduce you to my favorite way to improv piece these block you can check out this tutorial or video demonstration I created.
While I show a different project, the sewing technique is nearly identical.
Rainbow Remix would be a great first improv quilt.
Improv Quilting: The Parameters
Setting parameters is very important in improvisational quilting. Because you’ll be following a process and not a pattern, parameters can prevent the project from spiraling into an unwieldy mess. These rules will also provide guidelines that will help you keep moving forward towards your finish.
Probably most importantly, these rules will help keep you consistent so that your finished quilt feels and looks cohesive.
My parameters for Rainbow Remix 2.0 are fairly simple:
- Sew “bar and rail” blocks made from just two colors
- Work in color order to make blocks from 50+ different colors
- Vary the sizes of the blocks to vary the thickness of my bars and the length and width of each block
- Make a big enough quilt top for a throw size quilt
- I could use neutral bar and rail blocks to make my quilt top bigger
These are the parameters I gave myself so that my end project will feel cohesive. And these rules do help me just keep sewing, just keep sewing!
Adding Control to Improv
By keeping tight control of my parameters, I can really let the design and color do all the play. The simple design of the bar and rail block serves as a design element but also serves to move the color from one end of the rainbow to the other in slow progression.
By varying the sizes of my blocks, I’m able to add visual interest and an improvisational feel as no two blocks are quite the same. But because I set tight parameters, my project looks cohesive.
The control allows me to enjoy creating without feeling overwhelmed by decision making.
Improv Quilting: The Process
Now that you know my parameters let’s take a closer look at how I created this improv quilt, Rainbow Remix.
Start with the Fabric Stash
For my original quilt, I used fifty different rainbow colors. By looking at my progress pictures you can see that while I a rainbow of color, more importantly my colors vary in tone and value.
I have some lights and I have some darks. I have some dulls and I have some brights. I have some pretty favorites, and I have some ugly ducklings. The variety will allow your favorites to sparkle!
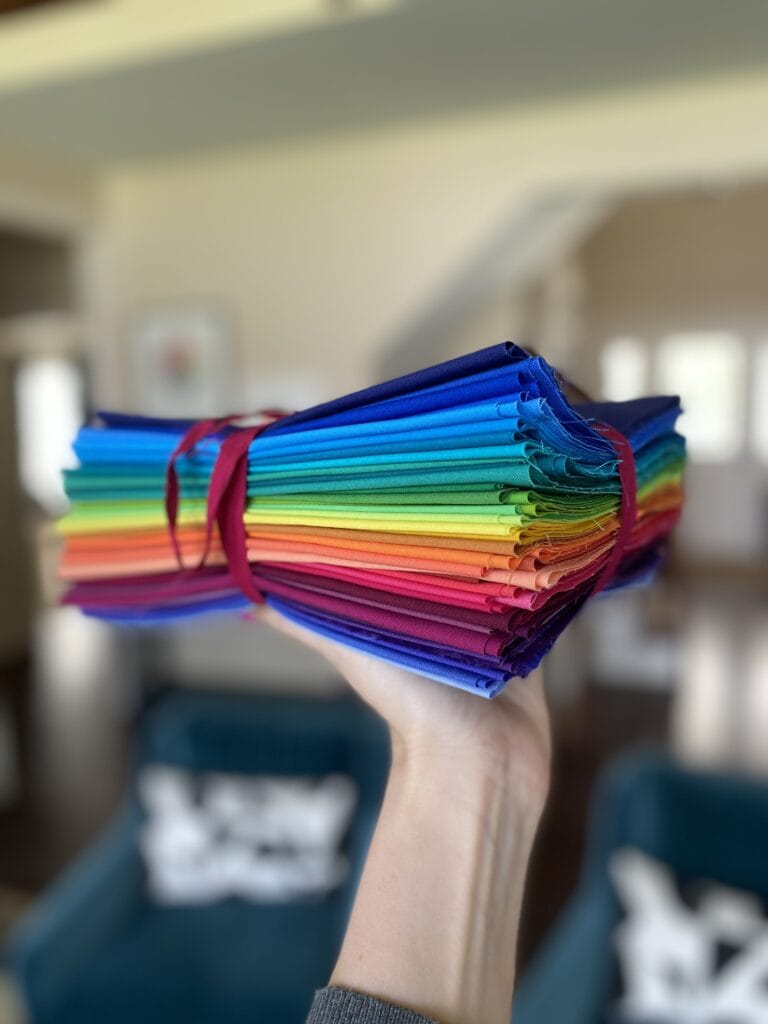
Instead of looking for 50+ different colors, you can get a Rainbow Sampler Bundle in my shop. It has all the colors. Easy peasy.
For this Rainbow Remix, I wanted to keep my spectrum more narrow: fewer colors but more variation in tone and value. (That’s fancy talk for lights and darks.)
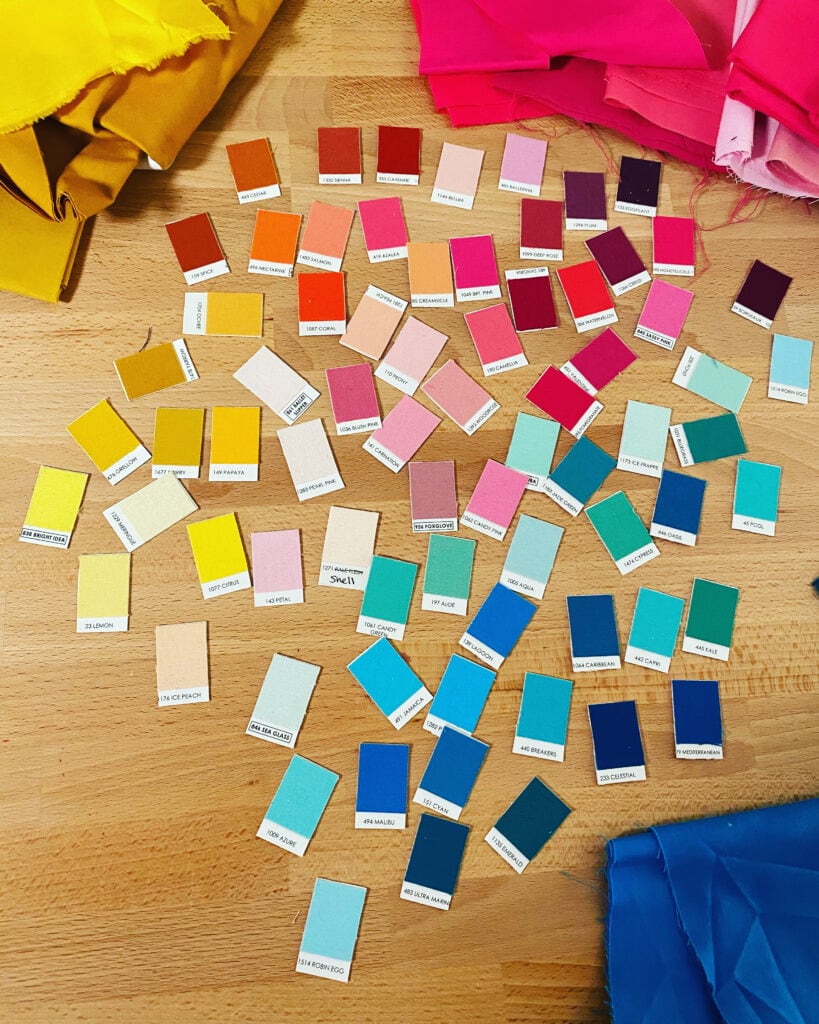
Above you can see my fabric pull for my second version in the form of color chips. By the way, 99% of my projects start with color chips.
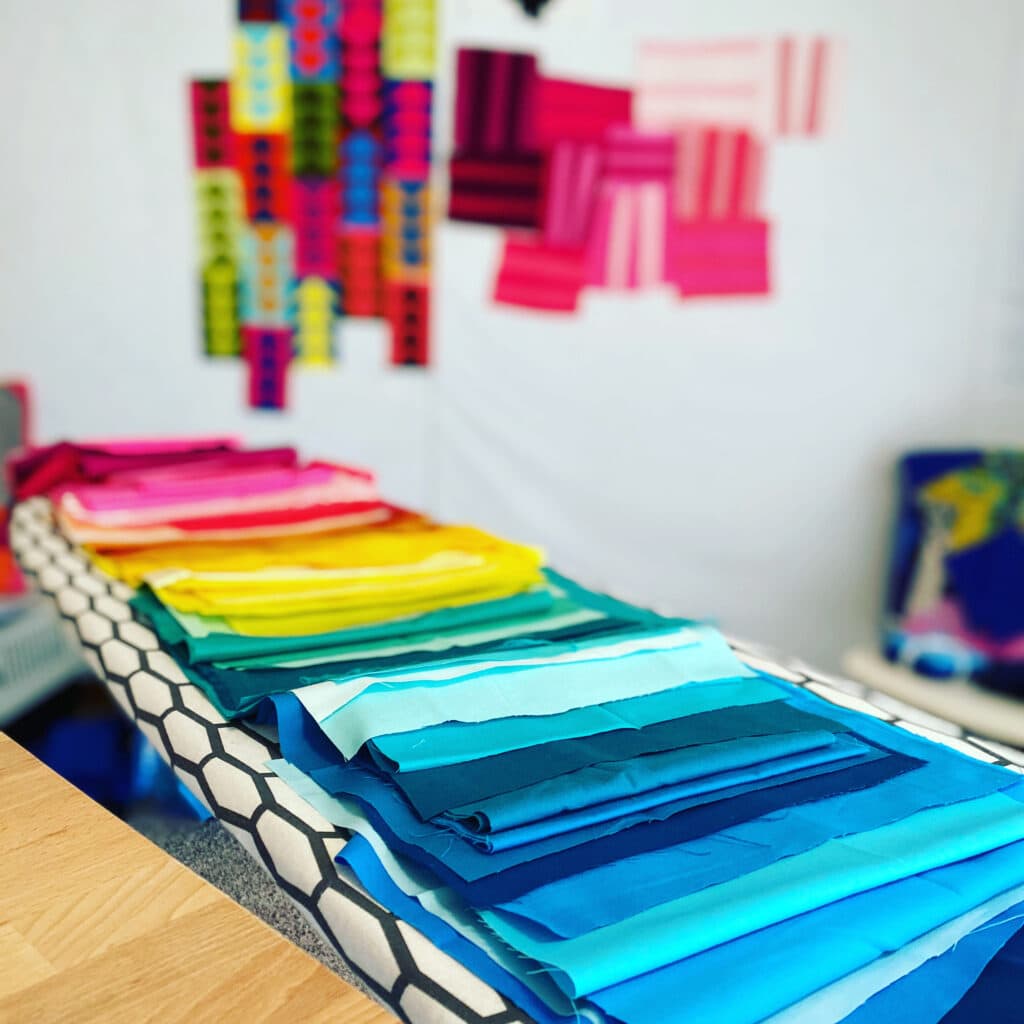
Once I pulled my fabric, I then laid out my fabric pull in color(ish) order. By making it “ish” you’ll get a nice variation of tone and value.
Make the Blocks
Making improv blocks is the easy part of this project! My improv quilting process for Rainbow Remix focuses on sewing improv “bar and rail” quilt blocks mixing the colors from my fabric pull.
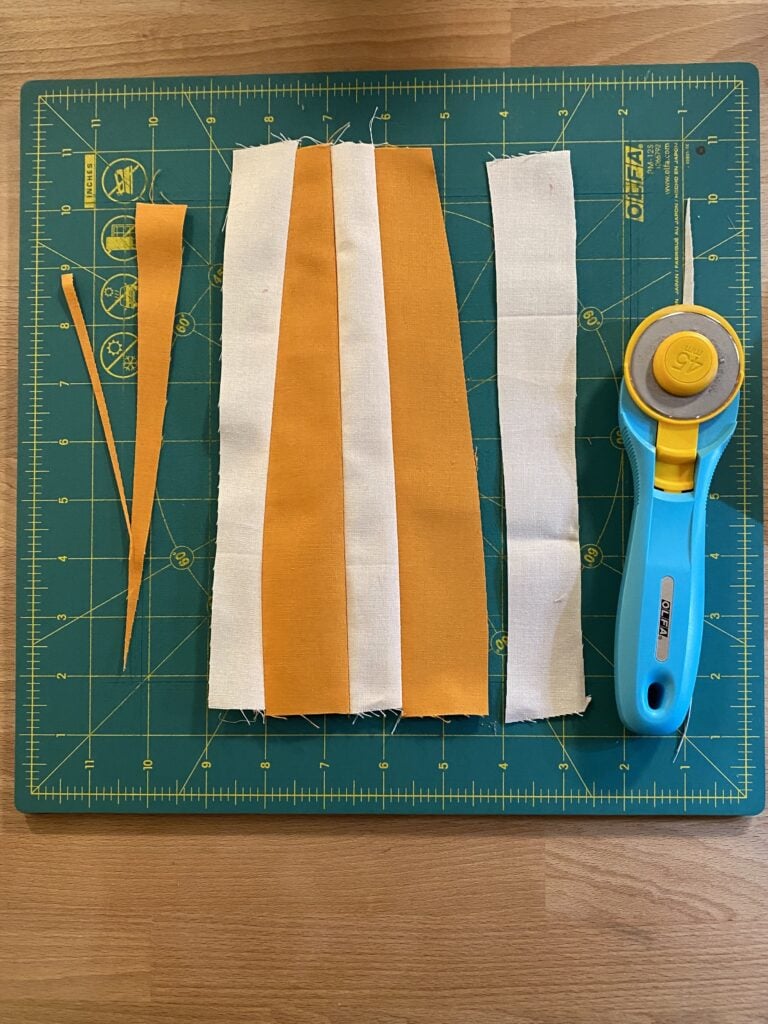
I simply rough cut my colors without a ruler and then sewed them into square-ish creatures.
For my squares, I kept them “unsquare” but I did trim the edges of each so they were fairly even.
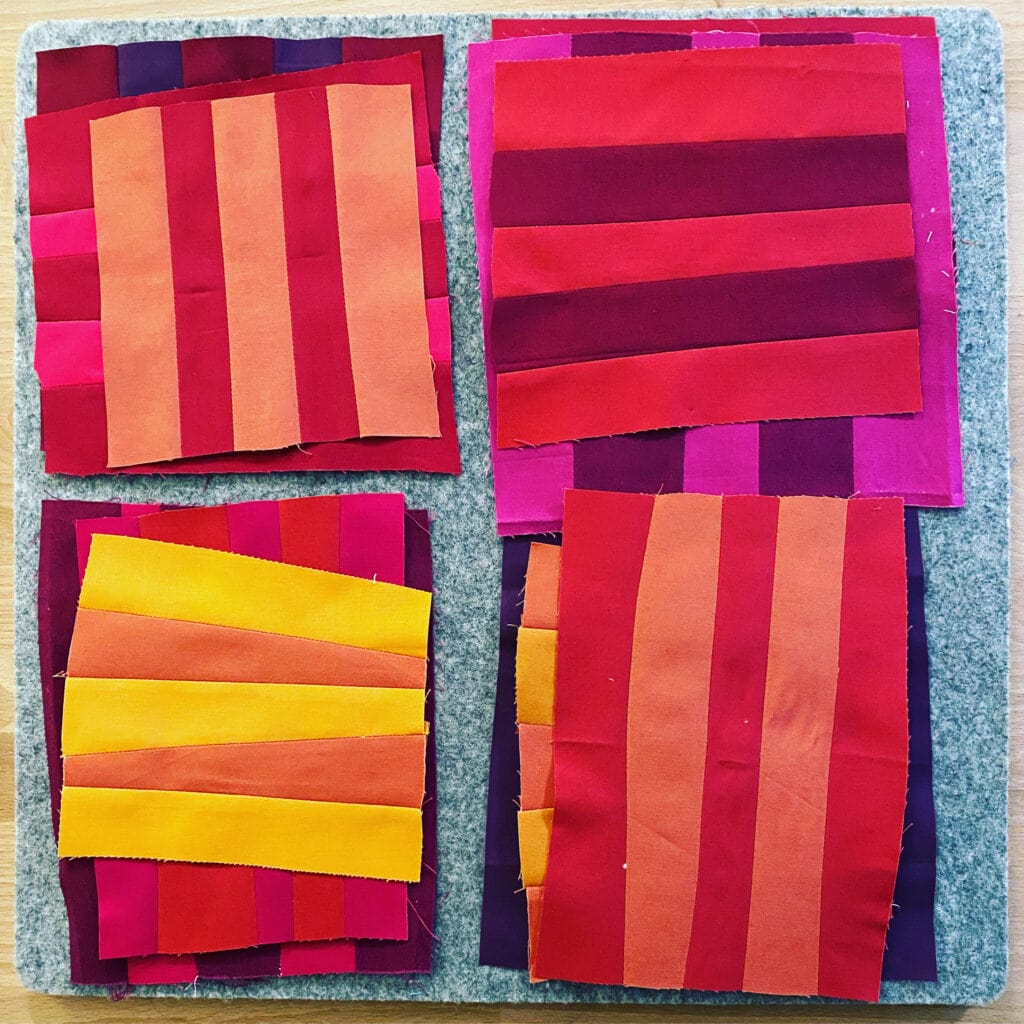
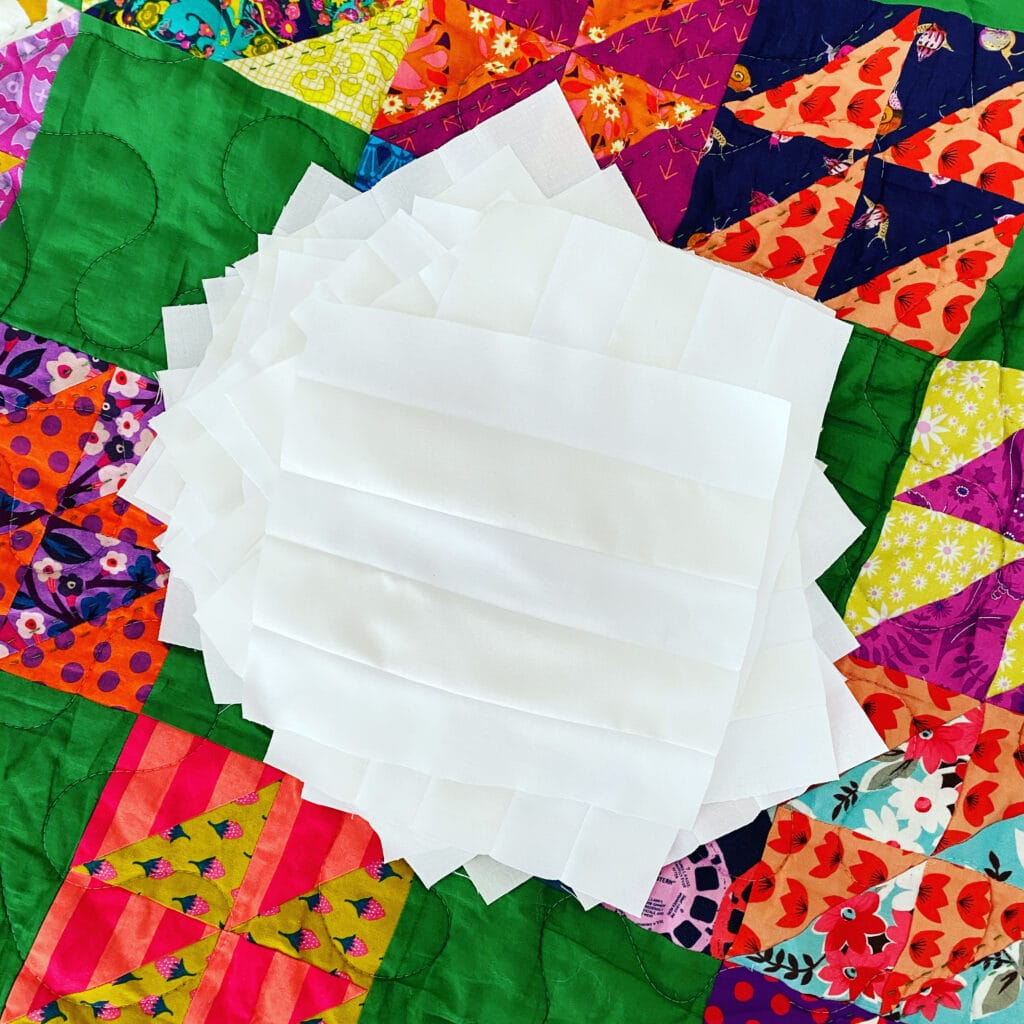
You can see in the above pile, the blocks are assorted sizes and polygons, but all the edges are even.
Then I made blocks mixing two colors and kept making blocks until I used all my fabrics.
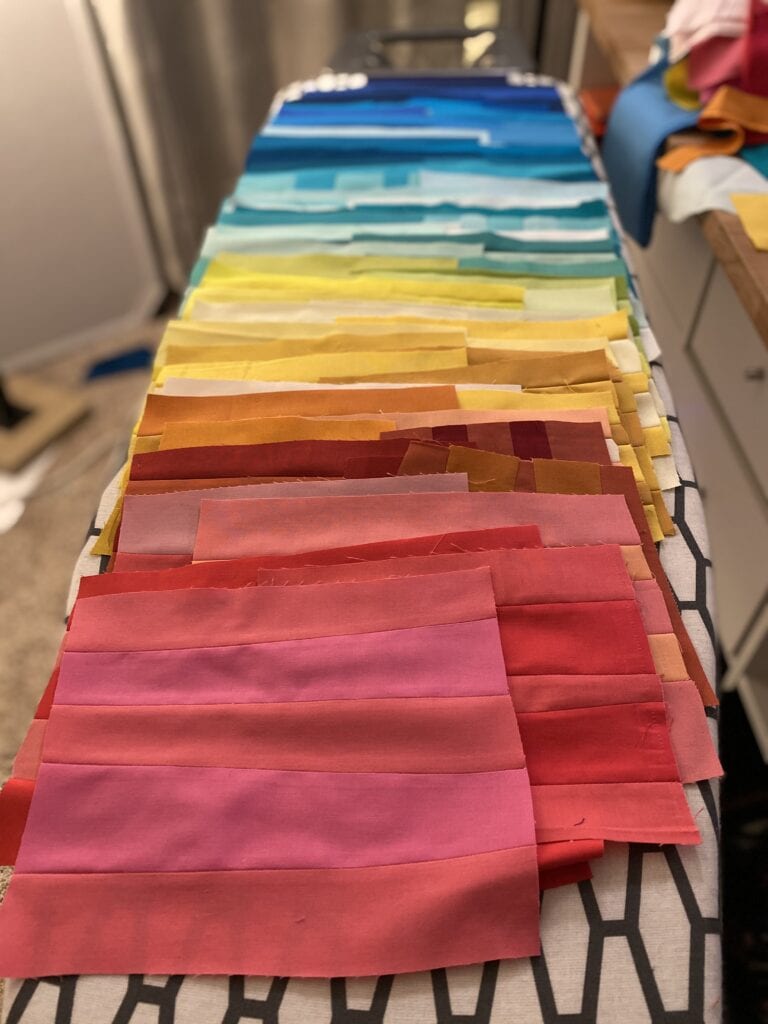
I knew I was finished making my blocks, once I used all my fabrics. (That’s a parameter put to good use!) Then, it was time to move on to creating the final quilt top composition.
Layout the Blocks
For Rainbow Remix 2.0, I had a harder time with the design. I tried a few different ideas before settling on the finished design.
The thing with laying out your blocks for an improv quilt, is that the what you see is never final until the last stitch.
It’s always going to change once you start sewing the blocks and units together. That’s not a bad thing, it’s part of the process.
Let’s take a look at how my design progressed
Here’s the first version. You know the one where you get some blocks made and just want to play a bit
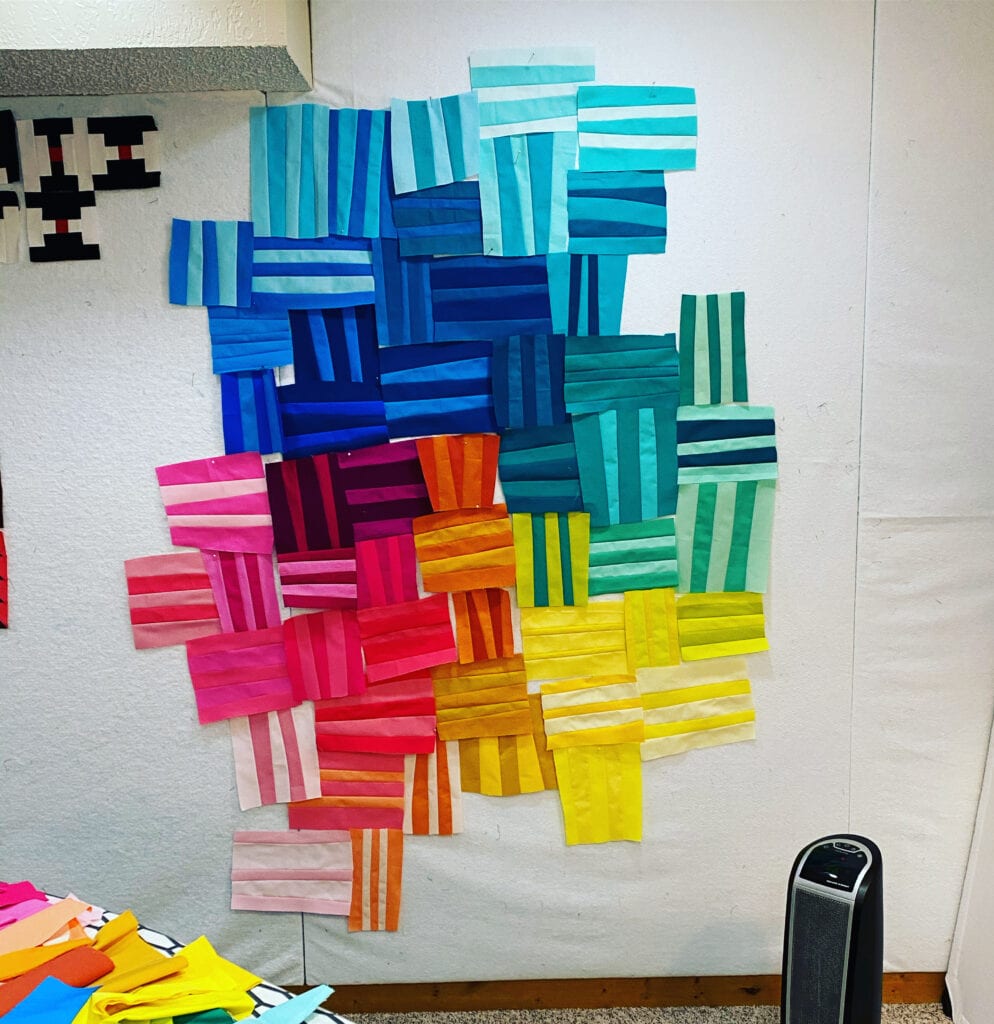
I really liked that design and still do, but it didn’t have all my blocks. Plus I wanted it bigger. So, here’s the second version with nearly all the color blocks.
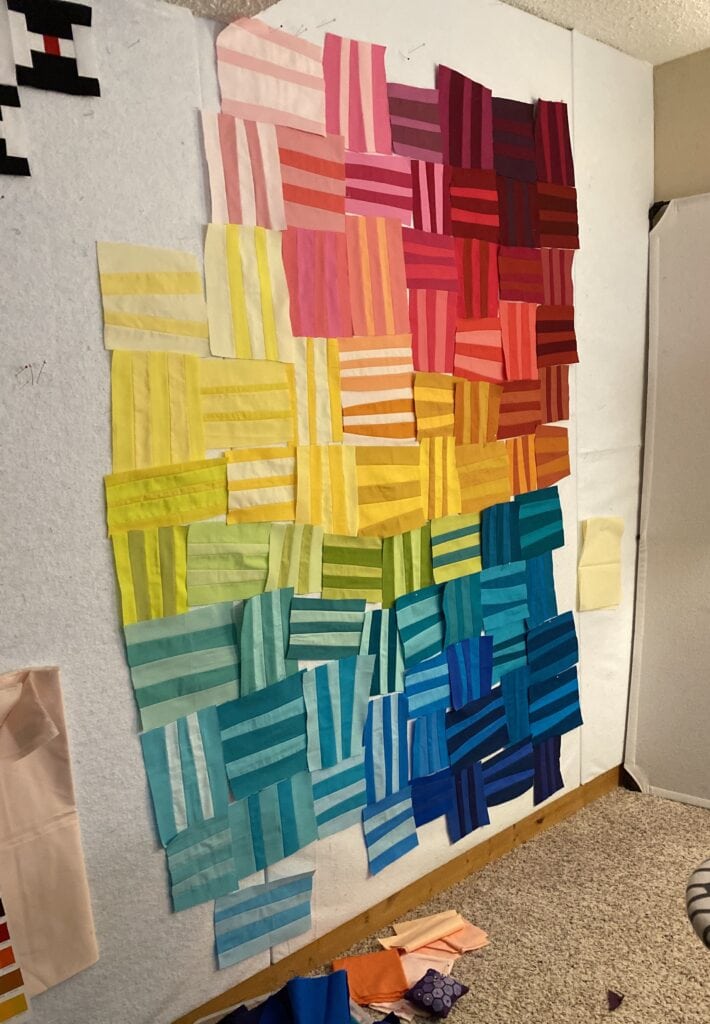
I’m getting closer, but I needed something a bit more. At this point, I know that this composition will really shrink up once I started sewing the blocks together. And since I knew I wanted at least a throw sized quilt, I needed to add more blocks.
So here’s the third and “final” layout:
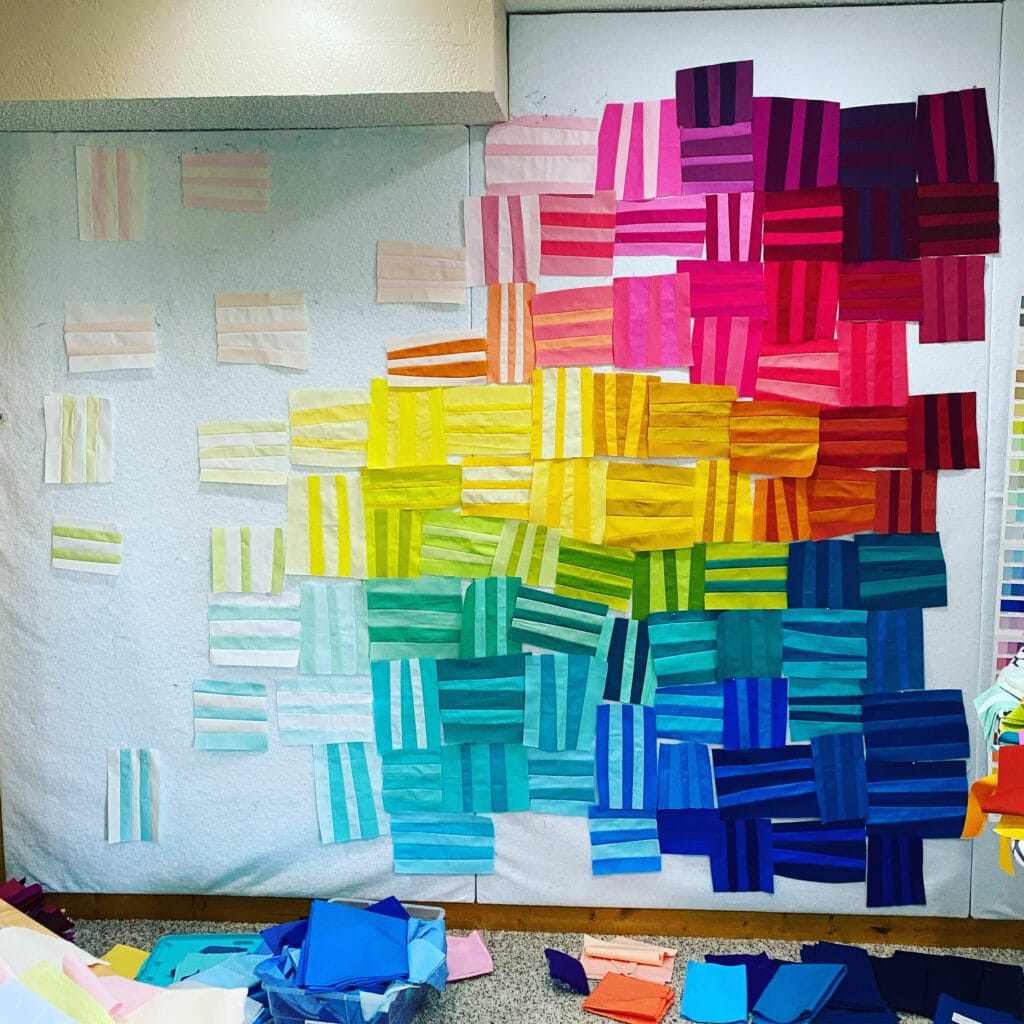
To make it larger, I shifted the color to the right and decided to fill in the background on the left with neutral blocks. (I made these mostly with two different types of white fabric.) Then, I also added some rainbow blocks in the white background a bit to blend the rainbow.
Assembling the Improv Quilt
Whereas a modern traditional quilt or modern quilt typically comes together row by row, an improv quilt comes together chunk by chunk or row by row. It’s really a big puzzle you have to piece together. And the result will always be different than what you saw on your design surface. And that’s ok. It’s part of the experience and a little fun surprise at the end!
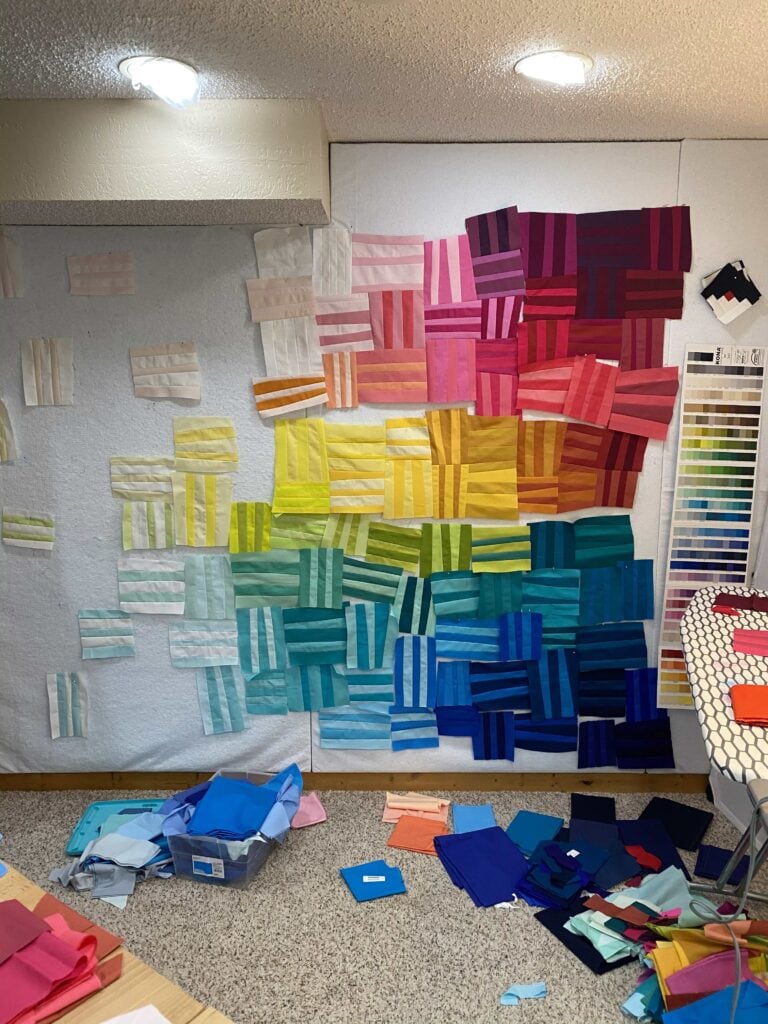
In the above picture, you can see some of my chunks coming together in the top right, but here’s another picture showing you the wrong side of a chunk.
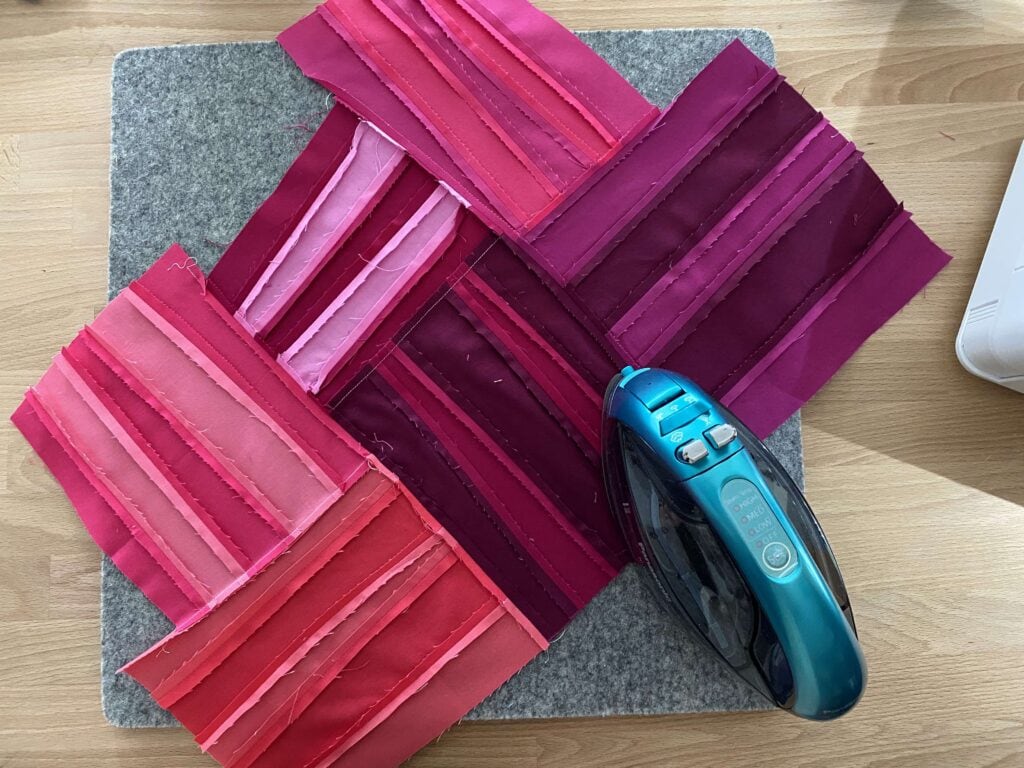
Cool, huh?
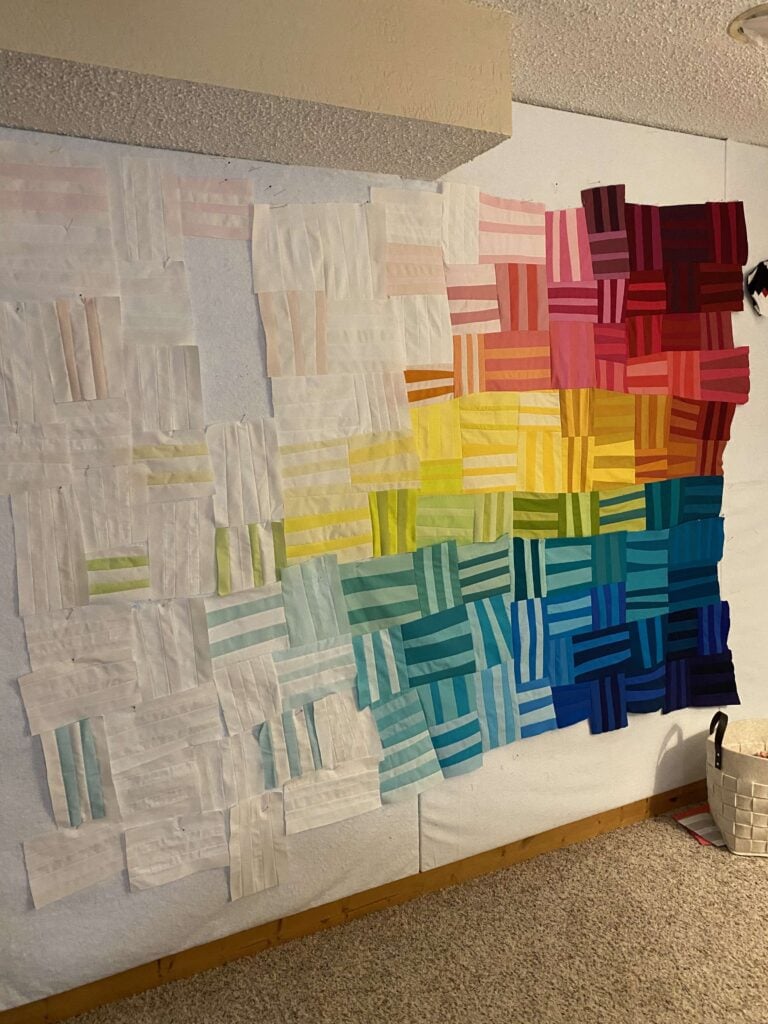
At this point I have the right side pieced into chunks. You can see an unfinished edge between the lime green and blue green rows, if you look closely.
The Finished Improv Quilt
Ah, once I finally sewed my last row together and completed the quilt, man I was so happy. This quilt was hard for me! But the result was fabulous!
The blocks were easy, but figuring out the best color placement was challenging. And then fitting the chunks together was also a challenge.
My next steps were to decide if I wanted to square up my corners or leave the edges wonky like I did in my first version.
I sent Rainbow Remix 2.0 out to be quilted by Trace Creek Quilting using the “Modern Curves” pantograph. It’s just the perfect quilt design for this quilt!
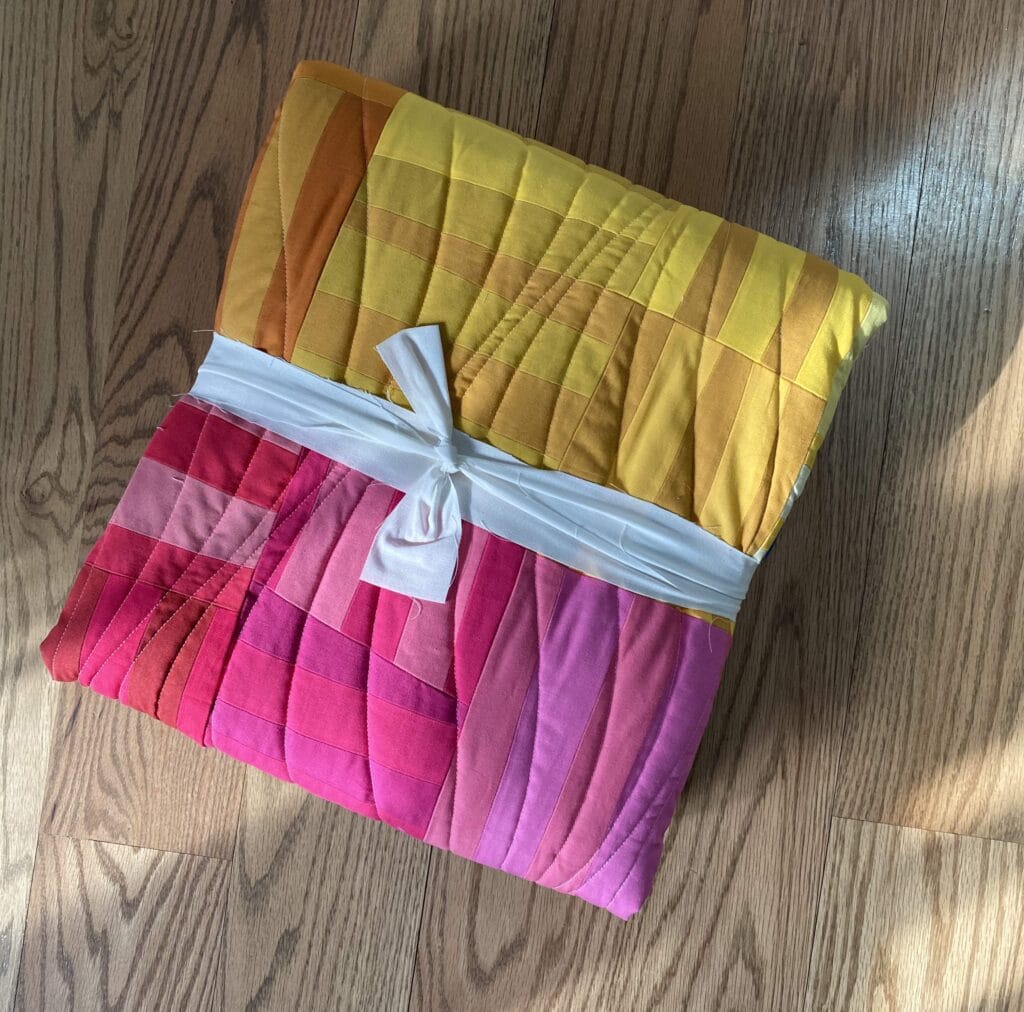
Once I got it back, I decided to leave the edges wonky. And then I sent it back to Trace Creek Quilting to have it machine bound.
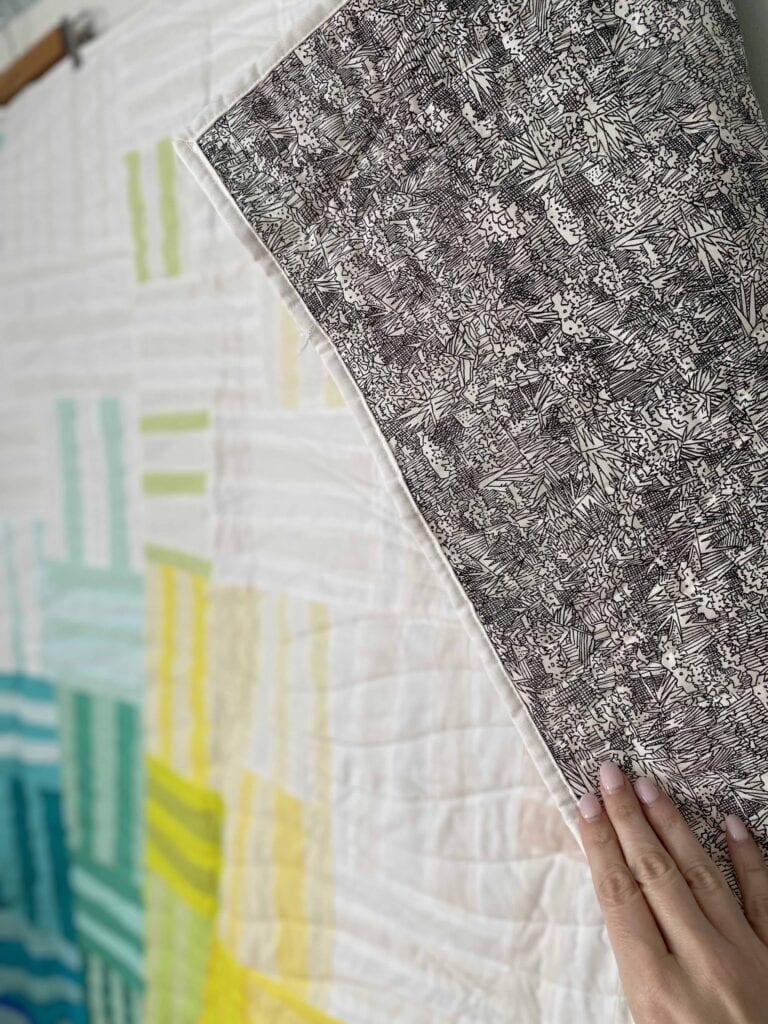
When Improv Quilting Stresses You Out
In my experience, each and every improv quilt I’ve made has been a labor of love, challenging me both artistically and technically. That being said, they are some of my very most favorite finishes. And Rainbow Remix 2.0 was no exception.
While the free-spirited nature of improv quilting can be tons of fun, it can also be stressful. There is a lot of decision making when it comes to this quilting process. You’re deciding where colors best fit and then how to mush the improv quilt blocks together in the best way. All in all, that’s a lot of decision making.
Because of “decision fatigue”, I recommend when you commit to making an improv quilt, you also need to build in extra margin for yourself and recognize when it’s time to take a break.
If possible having a special design surface for your improv quilts can be ideal. That way you can leave up your improv quilt as you work on other project.
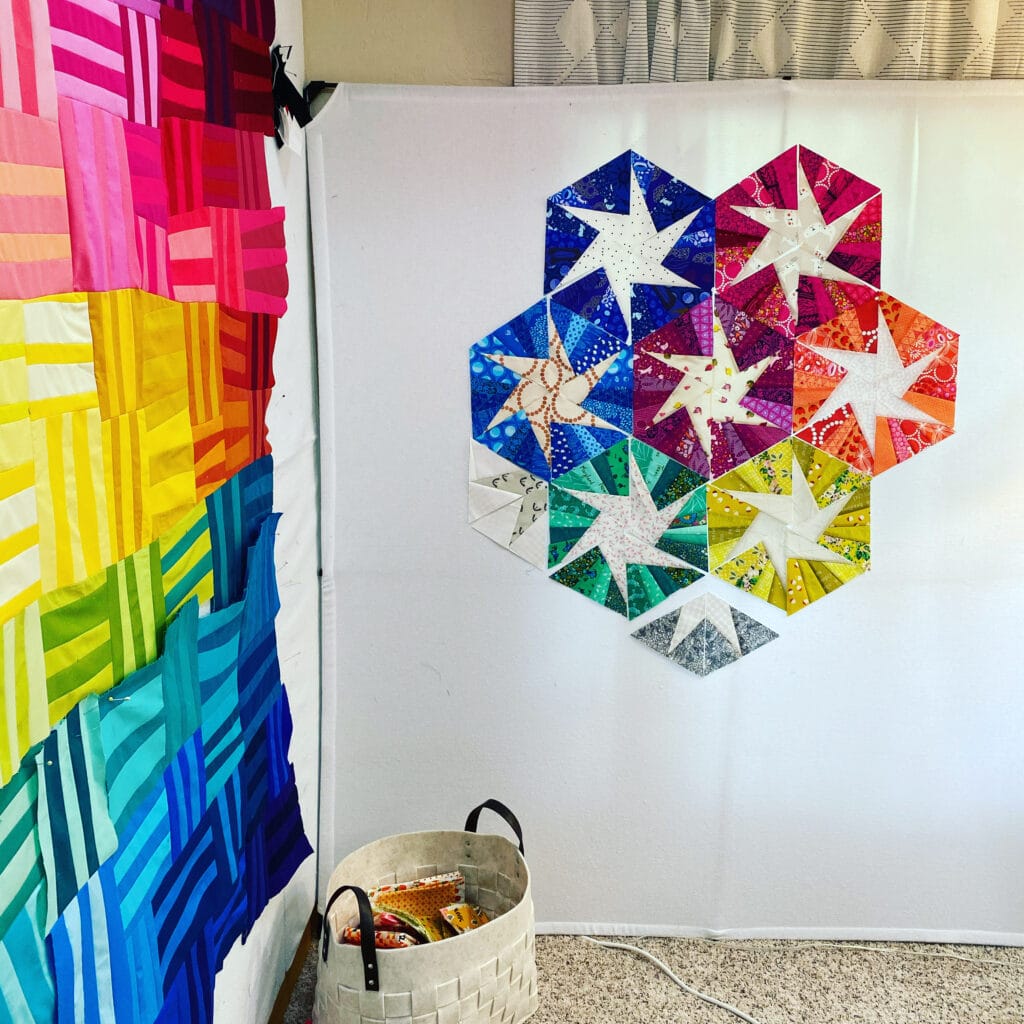
For me, whenever I’m working on an improv quilt, I also have another project that I’m working on from a pattern. Making a quilt from a pattern, gives my brain a break. In the below photo you can see progress photos of Rainbow Remix 2.0 along with my Scrappy Whirligig project.
While you take a break, don’t worry your brain is still puzzling out the remaining questions while you rest. You know how you get your best ideas in the shower, or out for a walk, or while driving? Yep, same idea! So, give yourself permission to rest and break and then come back to your project. If you’re like me, you might find you need several breaks!
Results May Vary
Because you’ll be following a process and not a pattern, your results will vary. And that’s a good thing! Improv quilting allows us an opportunity to truly explore all possibilities and make a unique finish.
There’s no way you could sew the exact same quilt as another maker. How cool is that!?
That being said, you’ve got some leeway in terms of techniques. If you don’t like to pin, then don’t pin. Love to applique? No problem do alllll applique! This is your improv quilt so you can set the rules and pick the techniques.
Definitely don’t choose to sew an improv quilt using a technique you hate! Life’s too short!
On that note, if you start an improv quilt using a process you hate, you don’t have to finish it. You just discovered something about yourself. Take the lesson and apply it to a new project.
And if uncertainty stresses you out… yep… that’s part of the process. Remember, it’s normal and expected for your improv project to look different as it evolves from idea, to paper sketch, to blocks, to chunks, and to the final quilt top. Change is part of the process!
Just remember to give yourself nice tight parameters.
Get Started with Improv quilting
As in modern quilting, you can get started with improv quilting right now. You don’t need any resources. You don’t need permission. Go! Go! Go!
But if you’d like to explore my
- Rainbow Remix the pattern is included in my Modern Rainbow book
- Check out our Sewing Improv Curves Tutorial
- The Rainbow Remix course is included in the Playful Color Workshop Bundle
- Take the free “Scrappy Whirligig” class with me anytime