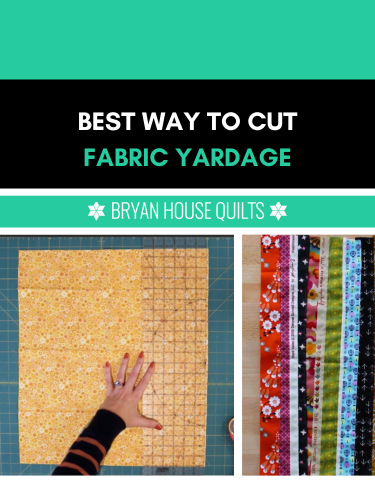
Cut fabric yardage the best way to get the most out of your fabric.
Key Highlights for Cut fabric Yardage
- Get the most of your yardage for quilting by using my 3-step method for designating sections for specific cuts.
- Use the right tools – rotary cutter, cutting mat and rulers – for accuracy.
- Properly preparing your fabric, like pressing and squaring it, will improve accuracy.
- Always prioritize safety and handle sharp tools with caution.
Essential Tools and Materials for Cutting Quilting Fabric
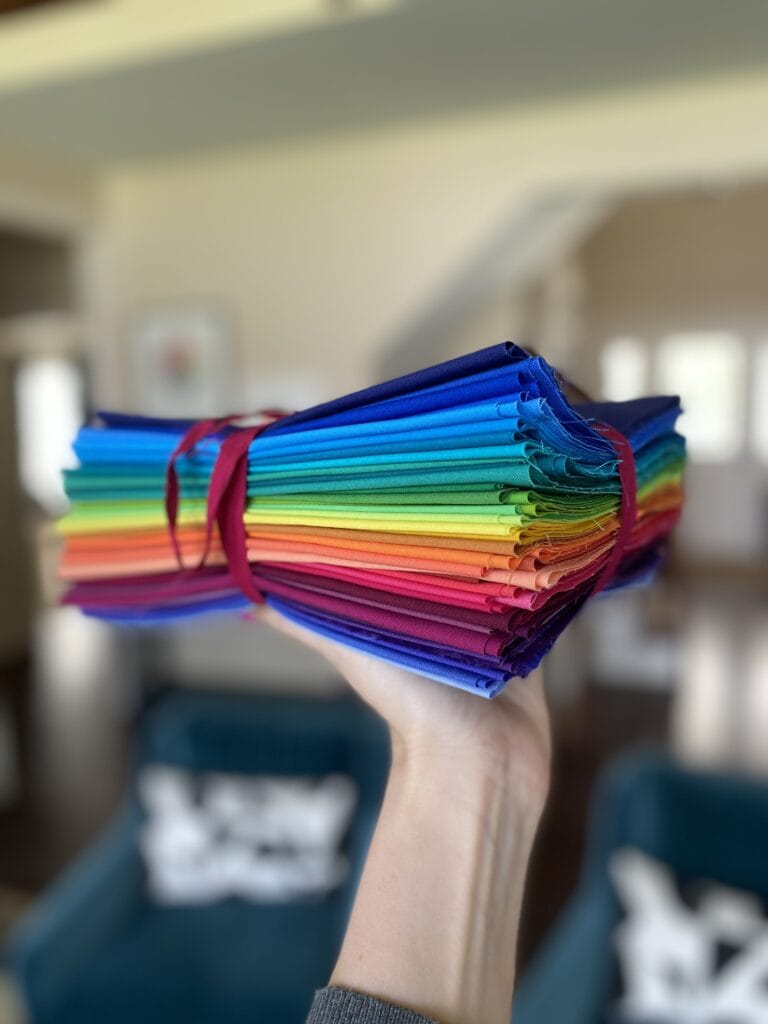
I’m so excited when I have a fresh batch of half yard fabrics! Over the years, I’ve found that prepping my fabric for cutting and using tools in good condition makes the task easier.
You will need a rotary cutter with a sharp blade. How sharp? Sharp enough to cut through two layers of fabric the first time you swipe! If you’re finding threads that won’t let go, it’s time to change the blade. Always.
Rotary cutters have been a game-changer for quilters, especially when dealing with long cuts or multiple layers of fabric. It allows for smooth, precise cuts that scissors simply can’t match. (Oooof, and the hand fatigue) A rotary cutter is only as good as its blade, so always keep spare sharp blades handy.
A self-healing cutting mat is another essential tool that goes hand-in-hand with a rotary cutter. It provides a protective surface, preventing damage to your table and extending the life of your rotary blade. Plus, the grid lines on the mat offer helpful guides for accurate measuring and cutting. Finally, no cutting station is complete without a reliable ruler. Opt for clear acrylic rulers with non-slip features.
Prepare Fabric before Cutting and Sewing
Before you even think about making the first cut, take a minute to prepare your fabric. Start by giving your fabric a good press with a hot iron. This step is crucial because wrinkles or creases can throw off your measurements and lead to inaccurate cuts. Remember that some fabrics tend to shrink after washing, so always pre-wash your yardage according to the manufacturer’s instructions before cutting. By preparing your fabric properly at the outset, you’re setting yourself up for better results.
3-steps to cut fabric yardage
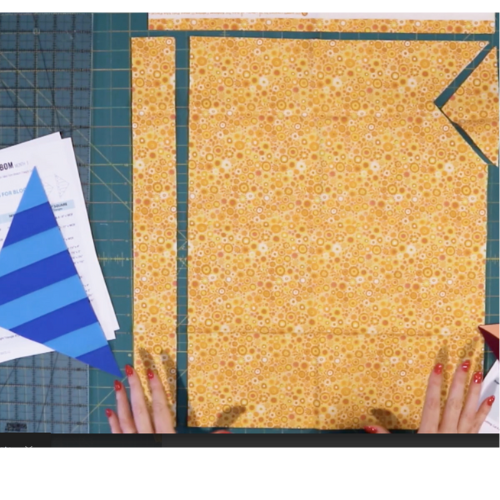
First, know that I like to start with fabric in half yard increments. Quilt block pieces are typically smaller and easily cut from a fat quarter or half yard. Smaller pieces are easier to manage on the cutting mat.
For example, a half yard cut folded in half is typically 22 inches wide by 18 inches tall, which fits on a standard 18 x 24 inch cutting mat. I’m not a fan of wrestling heavy yards of fabric!
1. Save your selvedges
The selvage is the tightly woven edge of the fabric that runs along the length, parallel to the grainline. I always cut off my selvedges with an extra bit of the fabric for other projects. I save mine in a jar to make binding, strip quilts, and small pouches. Colorful widths and textures create an eye-catching effect.

Trimming off the selvedge: Line up the ruler at the 1.5 inch mark from the white edge, which leaves at least 20 inches of usable fabric – the amount needed for most quilt patterns.
Use the grid lines on your cutting mat to ensure both the ruler and fabric are straight. Slide the blade vertically alongside the ruler away from your body.
Next, square up one end of your fabric. Fold your fabric in half, selvage to selvage, and line up the fold with a horizontal line on your cutting mat. Use your rotary cutter and ruler to create a clean, squared-off edge.
2. Cut Strips from One Side
Cut fabric yardage from one side of your fabric and work your way across. By saving one side for strips you will always have a straight edge ready to cut. This minimizes waste and improves accuracy. Always double-check your measurements before making each cut, and don’t be afraid to use a few scraps of fabric for practice cuts before working on your actual project pieces.
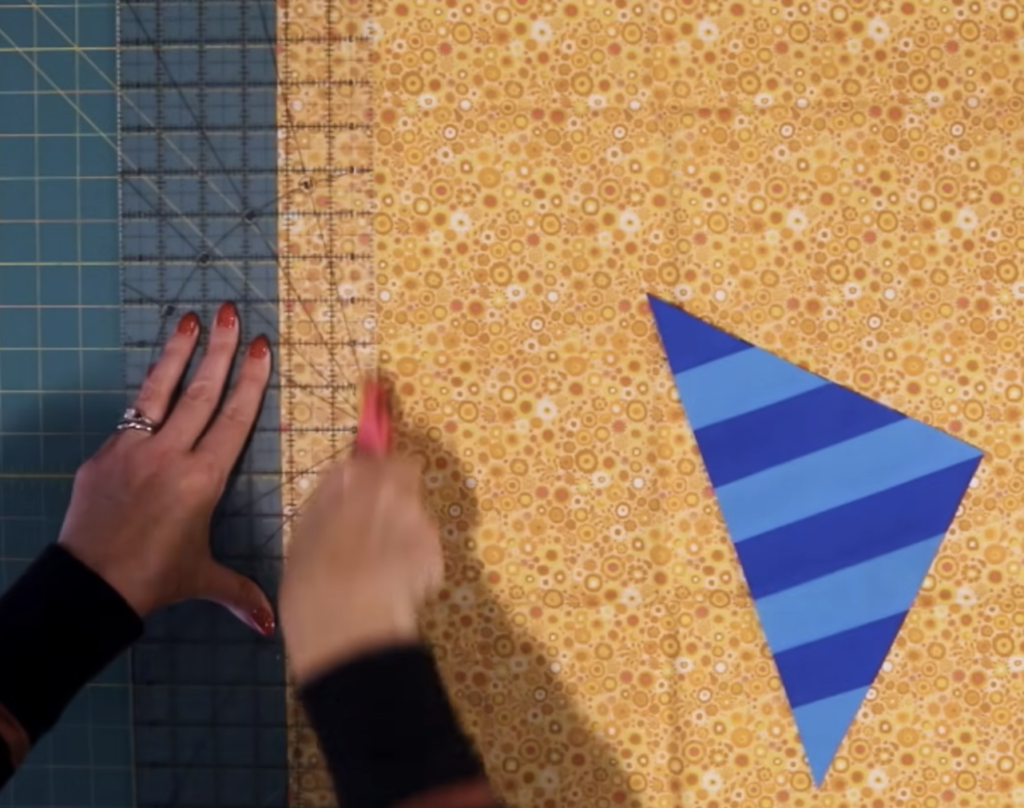
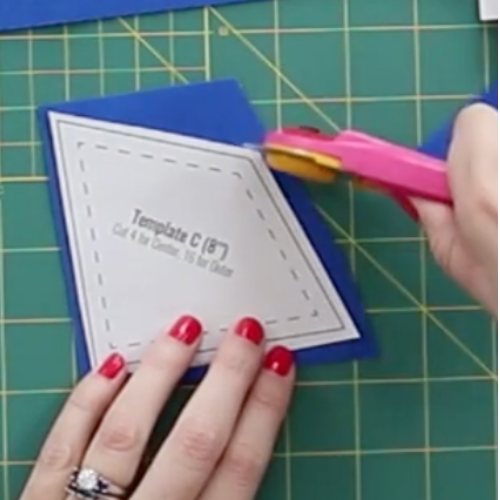
3. Cut Wonky Pieces from Opposite Side
Triangles, hexagons, circles and pieces used for foundation piecing are usually what I consider weird or wonky. Those are cut off on the opposite side so that a straight strip edge is maintained. I use freezer paper foundation piecing for most of my quilts and cutting wonky shapes is the norm.
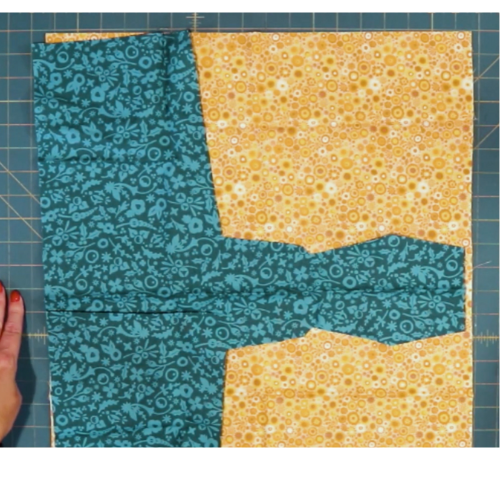
You will end up with a piece that is straight on one side and wonky on the other.
The easiest way to cut the wonky pieces out is using scissors, especially if you’re new to rotary cutters. Some quilters are pretty handy with rotary cutting without a ruler for wonky shapes – that works, too. I’m able to cut more weird chunks from the same piece of fabric with this method.
Now go cut up some favorite fabrics!
Frequently Asked Questions
What is the best way to store cut fabric pieces before sewing?
The best way to store cut fabric yardage is away from light sources in containers with lids. This keeps out dust and moisture as well as damage from light. Label containers with the project name and/or pieces sizes.
How often should I replace my cutting blades?
Change your blade as soon as it snags or doesn’t cut cleanly through two layers.
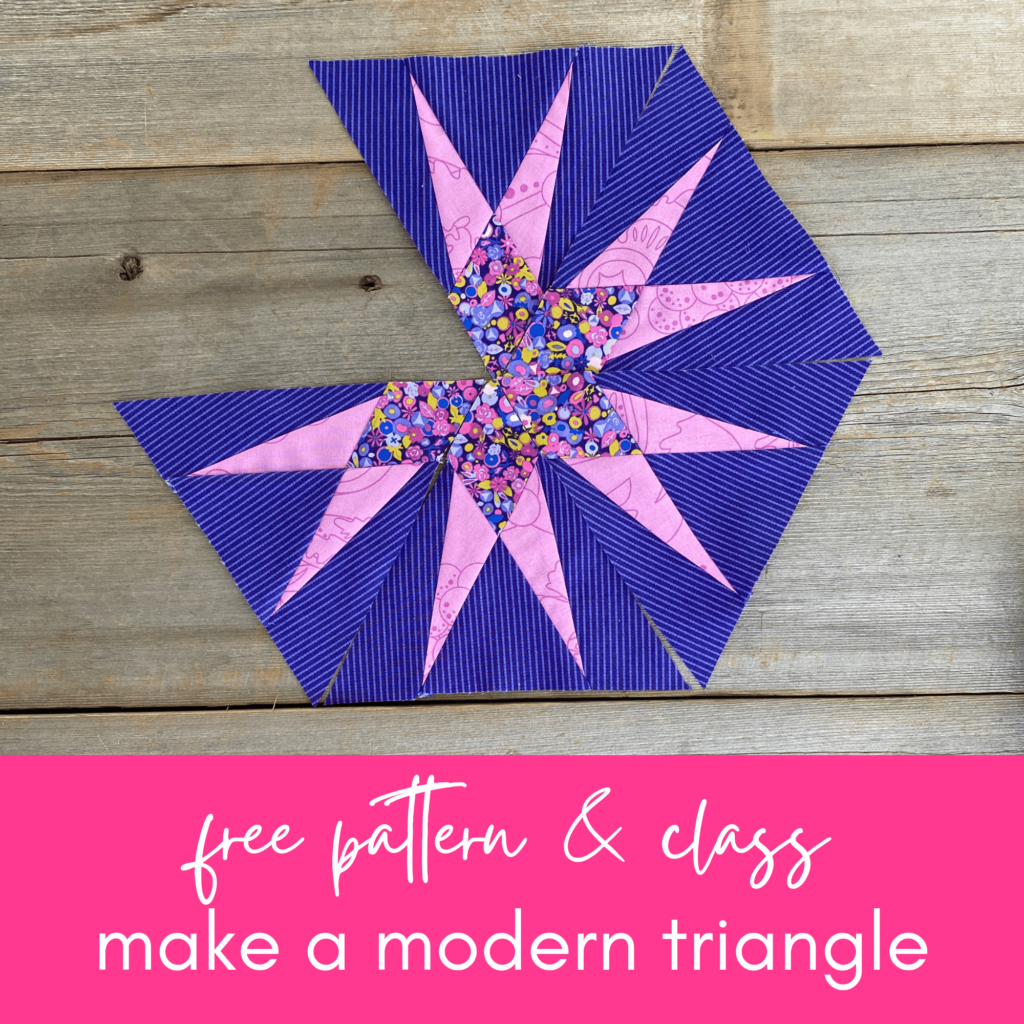
Make a modern triangle with my free pattern and class. Start right here!
