Learn how to organize a foundation piecing quilt project to help you stay focused and keep track of your progress. And of course, finish!
It’s NEVER too late to organize a project, even after you’ve started.
And if you have a foundation piecing project in the queue, read on before you cut fabric!
WHY Organize FOUNDATION PIECing Projects?
Keeping your sewjo (short for sewing joy) high – and frustration low – are the keys to completing foundation piecing projects. Our members have told me why organizing foundation piecing projects is so, so valuable.
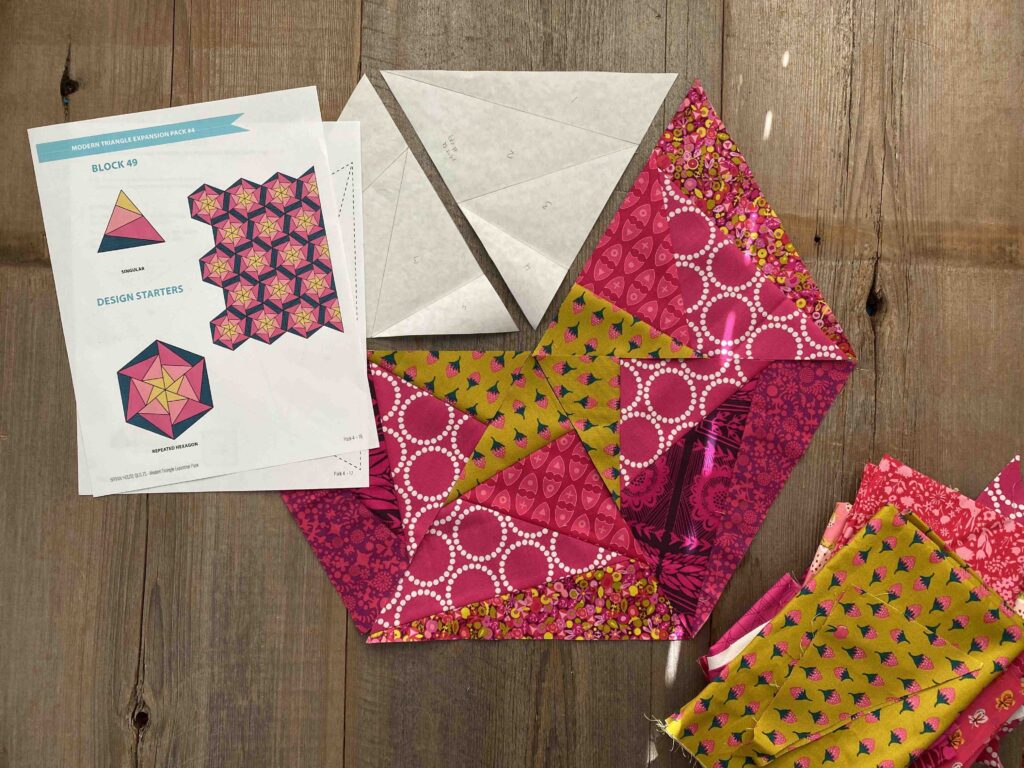
They’ve sewn many of my modern triangle quilt designs – and like other foundation piecing quilt patterns – they include more moving parts than a carnival ride! Coloring pages, templates, foundation patterns, detailed instructions, a yardage calculator and much more. I create all of the resources they need to successfully complete a modern triangle quilt.
They’ve found that organizing everything in one binder is a foundation piecing necessity!
A near-miss experience made this Make Modern Triangles member a binder believer!
I joined MMT with Solstice and was so captivated by Stargazer I immediately printed everything out, colored the coloring sheet and made copies of that sheet to put with the other BOMs I was working on. Finally, I got it all put together and started and did well for a couple of months, was chugging along and then life hit. By the time I got back to it a fair amount of time had passed and I had moved. I wanted to get started and I could not find the copies of my coloring page. I was so grateful to pull the binder out of the tub with the fabric and right on top was my coloring page. Complete relief swept over me.
Shayne P, Make Modern Triangles member
ORganizing gets all the love
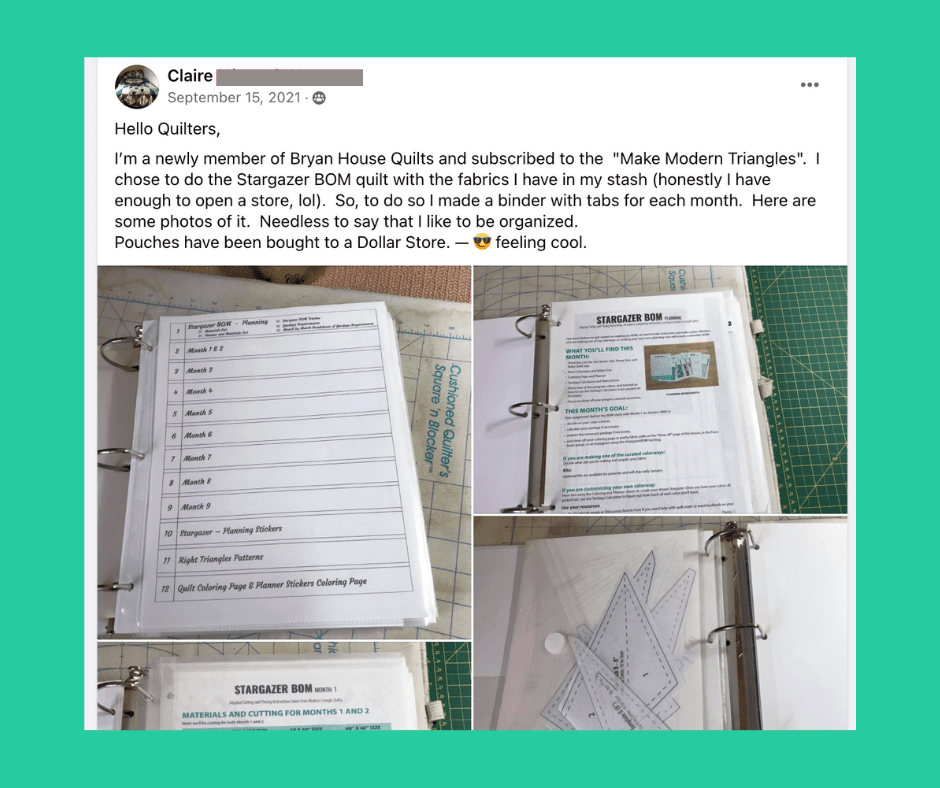
When Claire M. posted photos of her Stargazer quilt project binder, members quickly chimed in.

“I do the same thing!” – Suzanne C.
“Same, I love to be organized!” Jody S.
“I should do this, I always just jump in and then can’t find anything – I frustrate myself.” Elise T.
“I do the same thing.” Michelle H.
“What a great idea!” Julie D.
“I did a binder and plastic sleeves for all the Wildflower information. I like everything to be in one place.” Kristi B.
“This is awesome!” Chris H.
“I like how you think. I’m planning on doing the same thing.” Christine K.
More than a place to hold things, it’s like having a GPS for your quilt project without the bossy voiceover. It’s an all-in-one solution: parts, compass, map and checklist without using the Cloud.
(Yes, I said that. Me, the Millennial. Who stores everything except fabric in the Cloud – wherever that is).
Even though there are lots of pieces, I provide all of the info to put in your binder. Yah! Keeping everything organized in one place will keep your sew-jo high.
Hello, binder bestie!
What a quilt binder does and Doesn’t do
A quilt project binder will help if you:
- want to organize your quilting project in one place
- stop and start quilt projects after three months (or three years)
- need more physical reminders than mental notes (that don’t stick!)
- tend to misplace or mismatch pieces and instructions (searching…searching…searching…)
- want to quilt more efficiently
- are exhausted thinking about what to do next
A quilt project binder won’t sew the quilt for you (hehe) but will make it much easier to manage without the overwhelm.
So let’s talk deets about binders and how they work mighty well for paper piecing projects.
BINDER SUPPLIES
I geek out over office supplies. Could those clips get any cuter? I seem to NEED everything I see.
Here’s a list of key supplies to make your quilt’s binder – and some you probably have at home.
FOR foundation piecing patterns and instructions
Members have found it helpful to collate the instructions in the same order each month. Make notes, record hiccups and share what you’ve learned.
- Page protectors – while this is optional, I still list it first! I love how they look and feel in a binder, especially the kind with non-glare vinyl.
- Paper hole protectors – Use these to stop holes from ripping, like these trendy colored circles. Or stick to the generic white pack with a whopping 560 pieces.
FOR TEMPLATES
Store templates in the corresponding month section. Some blocks may use the same templates and you can make copies or move the template where it’s needed.
- Poly zipper pouches – Use pouches with 3-hole punches to keep templates from sliding out. Some expand up to a half-inch like these.
- Top-loading sheet protectors with a “secure top” have a foldover flap that keeps contents in. Side loading sheet protectors are awkward when you remove pages because they open next to the rings.
FOR ORGANIZING
Using numbered tabs makes sense for BOM projects, especially if they don’t start in January!
- Dividers – Use numbered tabs for BOM projects. If you use page protectors, the dividers need to be extra wide to show. There are lots of options like these. Many divider products come with a blank table of contents, too.
BINDERS
- Binder – a 1 ½ inch binder is the minimum size you’ll need if you use page protectors, which take up more space than just paper.
- Title page – Choose a binder with a clear vinyl pocket on the front so you can insert a title page.
We love BOM quilts because they’re fun to do with other quilters, help us finish quilts and take on challenges. Make your BOM program experience even better by using a binder. While all of our materials are online, quilters like the handy, easy access to a binder bestie at their side.
Want to Try Foundation Piecing? Take my Free Class
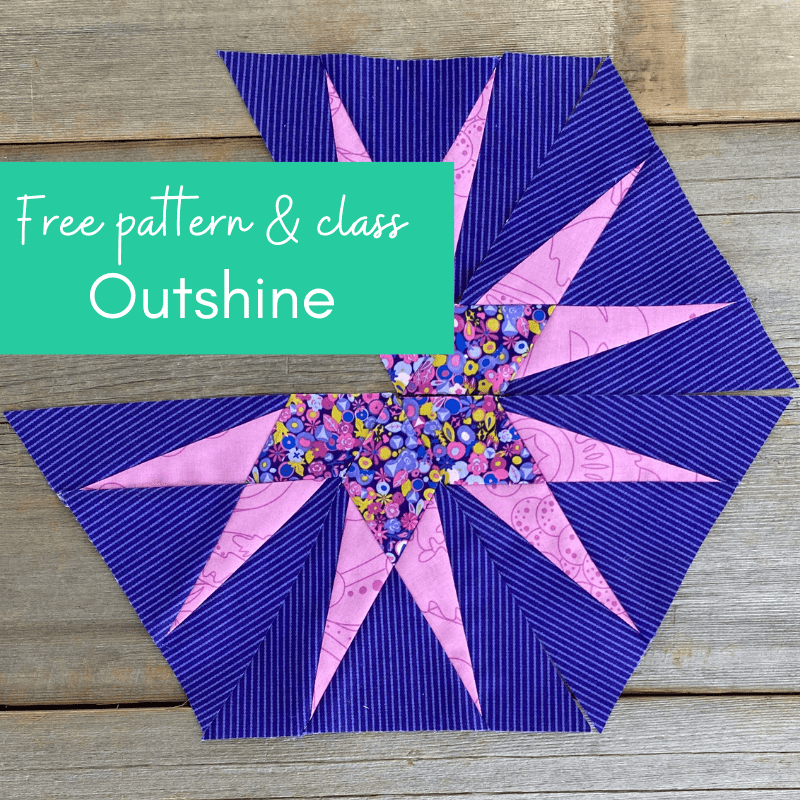
If you’re ready to try foundation piecing or if you’d like to make a beautiful “modern” triangle, take my free class. You’ll get the “Outshine Star” foundation and a killer class on the BEST way to paper piece. Register for class on this page. Enjoy!


The zippered pouches for templates is BRILLIANT!!!!! I’m working on Sparkler AND a Dazzling New York Beauty Sampler quilt at the same time and all those little templates are starting to overtake my sewing space. I was wondering how I was going to handle them;. I will search out the pouches tomorrow morning!!!