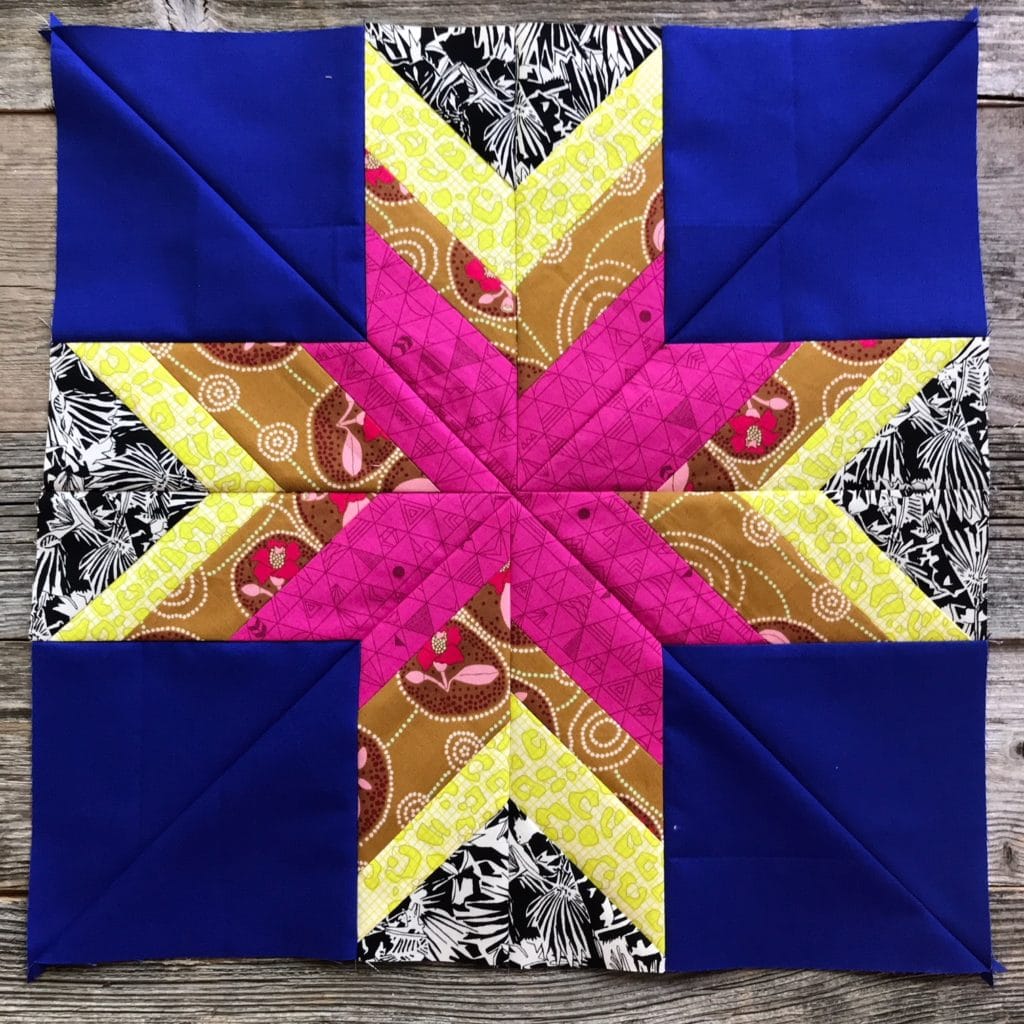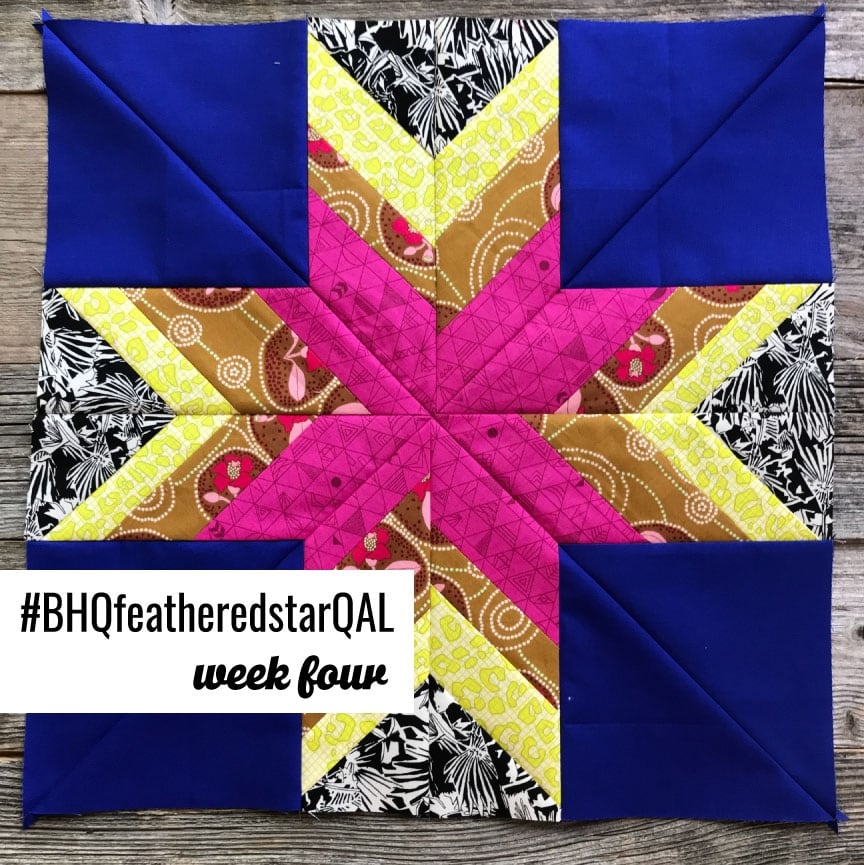
Welcome to Week 4 of our Feathered Star Quilt Along. Last week we sewed all our strip sets together and cut all the star spokes. This week we are assembling the star blocks. In this post I’ll share my tips and tricks for piecing with angled pieces.

Before we get into the meat of our post, I’d like to take a moment to thank this week’s sponsor Cotton Cuts. This week’s prize is a Modern Maker Box.
Last week’s winner of the Aurifil prize is @savoreverystitch. Congrats!
How to follow along:
You have a few options to follow along:
- Sign up for the weekly Quilt Along emails by clicking the RSVP button below.
- Follow along on Instagram using the hashtag #BHQfeatheredstarQAL.
- Every week, on Wednesday, I’ll be posting a quilt along blog post on my website.
Schedule of Events
First, let’s check out the schedule again…
Week 1 – June 6: Introduction and Planning
Week 3 – June 20: Piece and Cut Strip Sets
Week 4 – June 27: Piece Blocks (you are here!)
(Mid QAL Break – Happy 4th of July!)
Week 5 – July 11: Piece Border Units
Week 6 – July 18: Assemble Quilt Tops
Week 7 – July 25: Quilting
Week 8 – August 1: Quilt Parade Link Up Party (Linky will close August 27th)
Closing Post – September 6
Piece the Star Blocks
So, last week we sewed all the strips and cut the star spokes, it’s now time to sew all the star spokes into the star blocks. Below, I’m showing different pictures from my process.
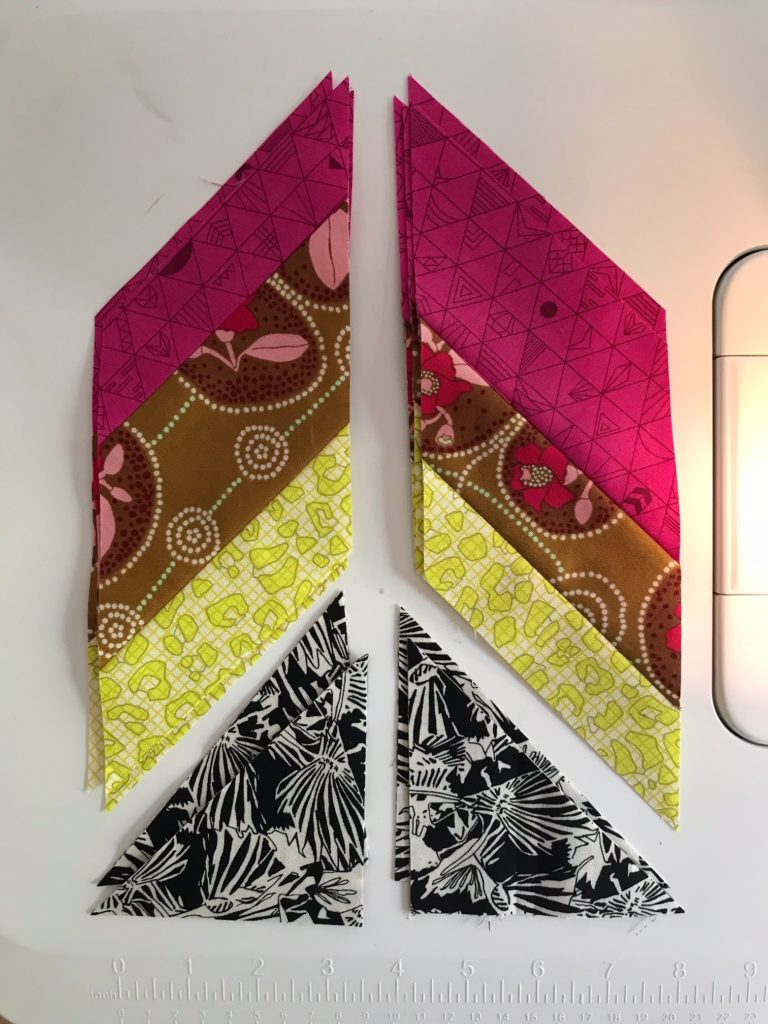
The Star Block assembly starts with sewing the 3 7/8” triangles to the outer edge of each star spoke. Note if you’re using stripes make sure the stripes are oriented to appear as if they are going in to the spoke.
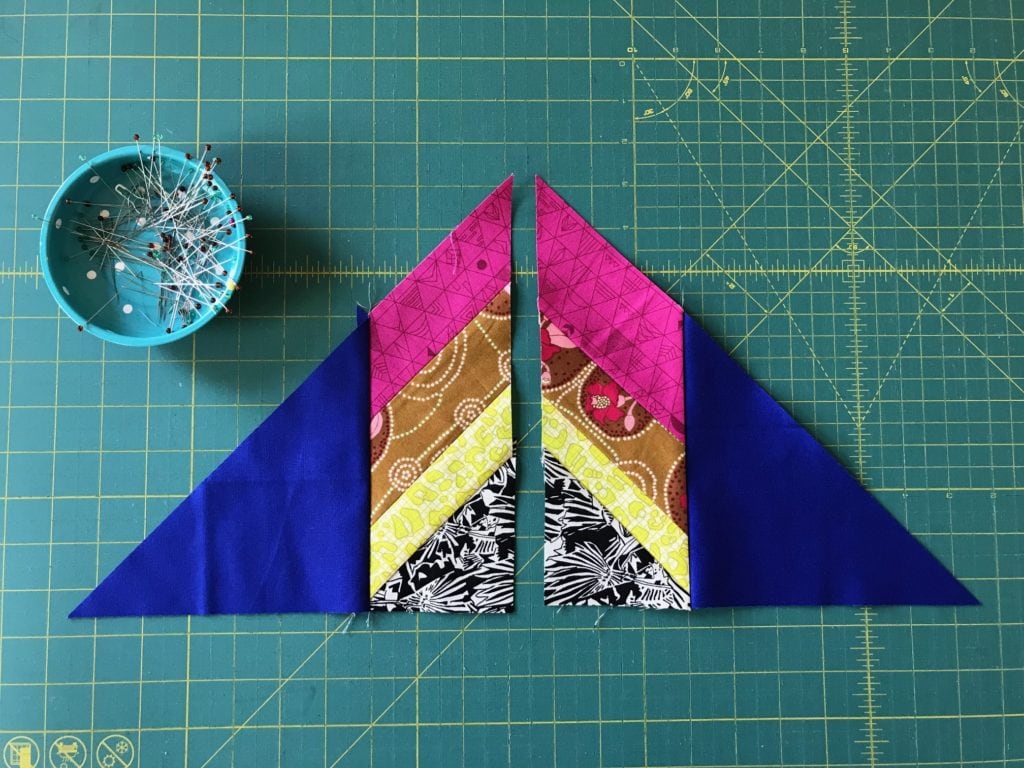
Next you’ll sew the background 6 7/8” triangle to each spoke unit.
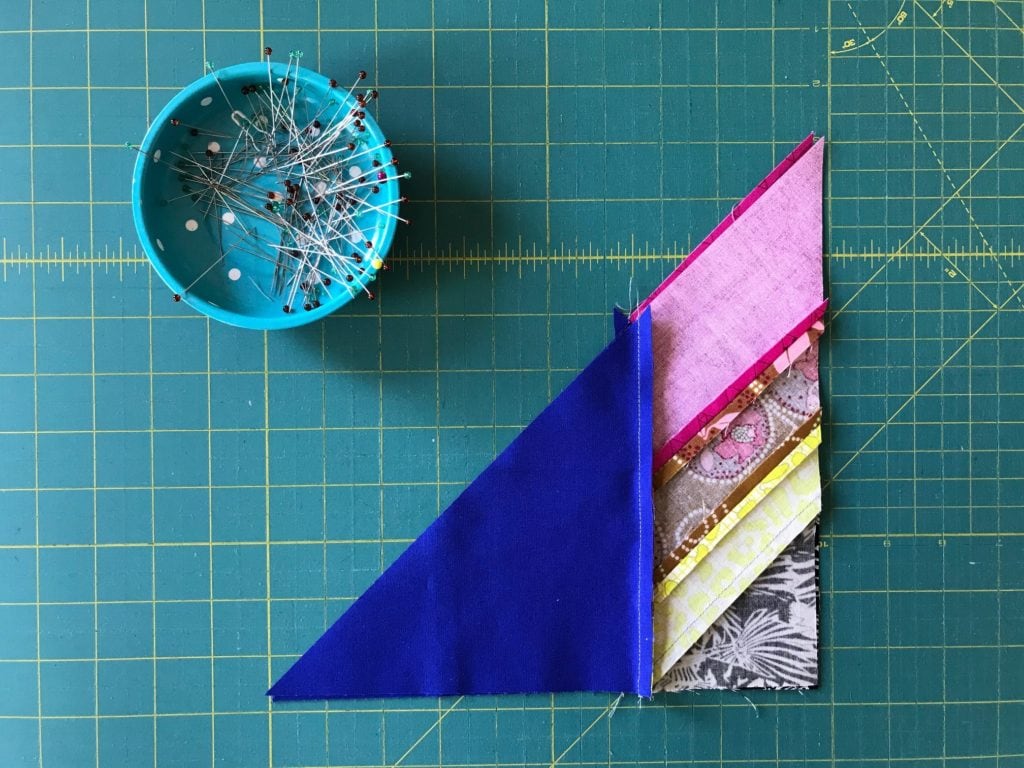
Next we’ll sew the star spokes and reversed star spokes together into a quarter block.
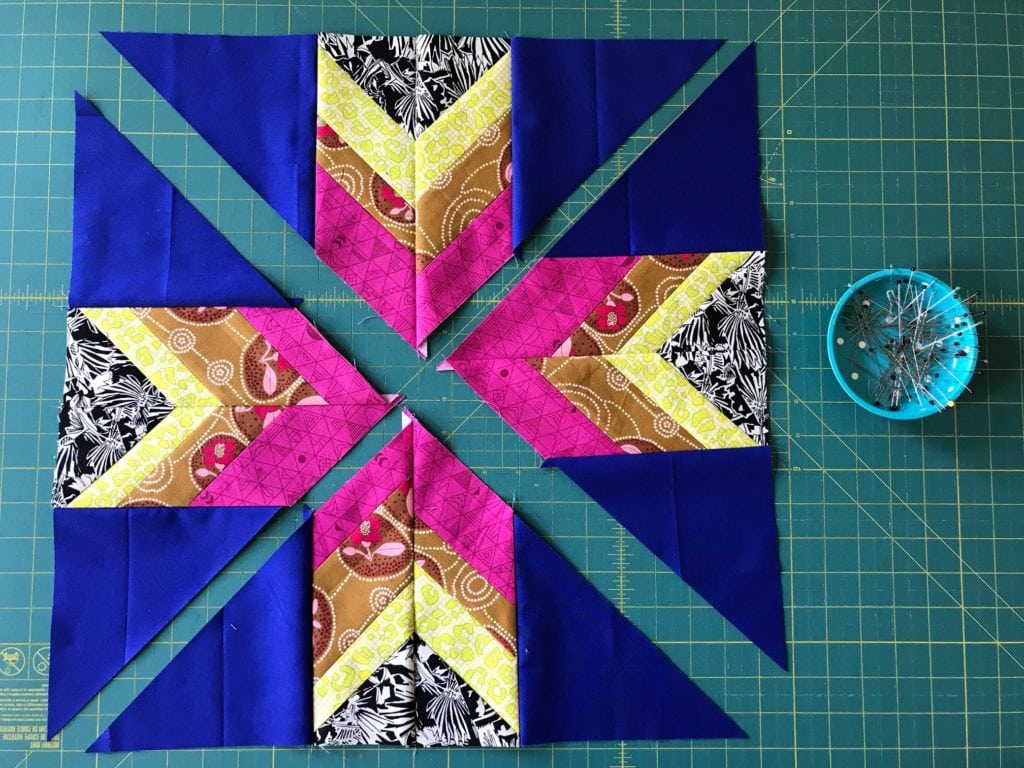
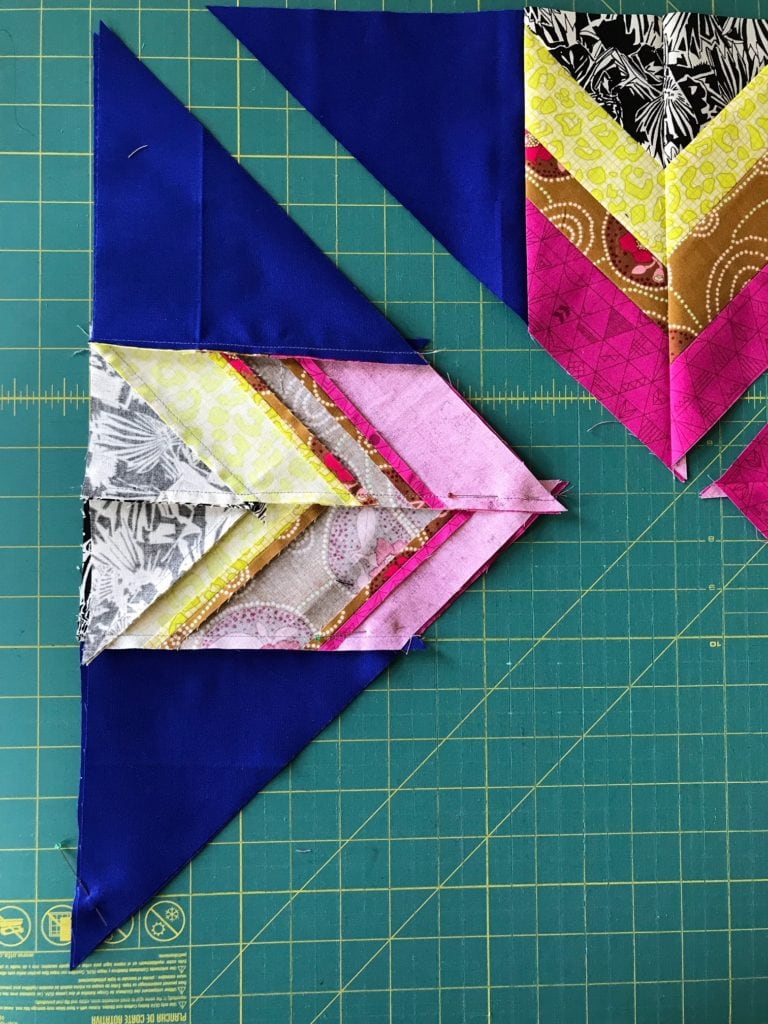
And finally, we sew the quarter blocks together into the final star blocks.
You’ll make 13 star blocks for the regular pattern and 9 star blocks for the alternative layout.
Tips for sewing angled pieces
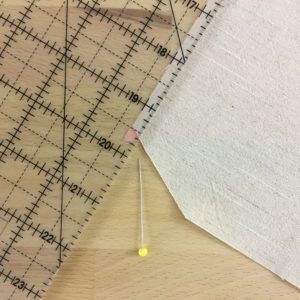
My favorite trick is to use the dog ear, as a seam guide. Notice in the above picture to the left, the wee pink triangle sticking out? This is the dog ear and I’m looking for it to extend past the other piece by roughly 1/4”. You can use your acrylic ruler, or add-a-quarter ruler to measure how far the dog ear sticks out. Anytime I sew with angled pieces, whether it’s triangles, diamonds, and frankly any curve or improv piece, this is my number one tip. I’ve used this trick so many times, I can “eyeball” it.
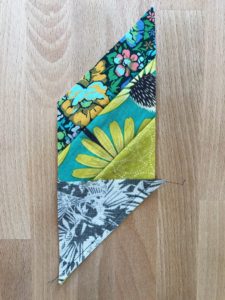
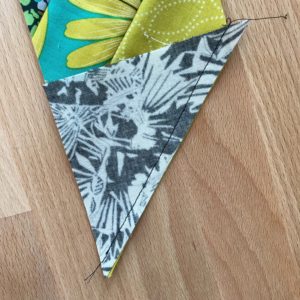
I’ve already sewed this piece so that you can see where the seam will go.
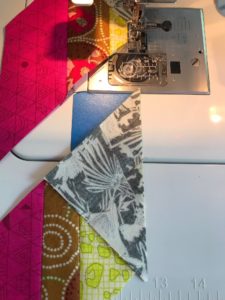
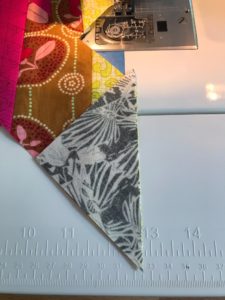
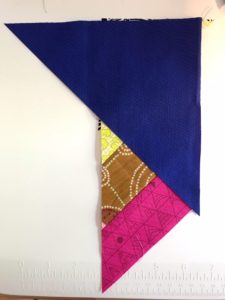
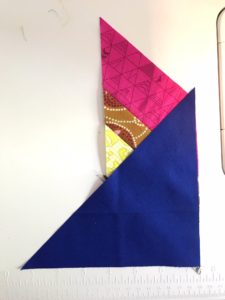
Here are some pictures showing how I employed this tip as I sewed my Feathered Star blocks. If you need additional help, please post in my Facebook Group.
This week’s sponsor

This week, Cotton Cuts is offering a Modern Maker Box to one lucky participant. Inside each Modern Maker box you’ll find: three 1-yard cuts of fabric from a modern (and NEW!) fabric collection, a spool of Aurifil thread, Cotton Cuts’ signature pencil, a BONUS box-exclusive quilt pattern, and 25% off all fabric in Cotton Cuts’ fabric shop, every day.
Thanks so much Cotton Cuts for sponsoring our fun!
How to participate
We’re going to be doing most of our interaction on Instagram. To enter, post a pic of your cutting process this week on Instagram with the #bhqFeatheredStarQAL. I’ll choose a winner at random next Tuesday!
Fine print: To be eligible you’ll need to follow myself and Stash Fabrics and have a public Instagram account.
If you have a question or need help, the quickest way to get an answer from me is to post in my Facebook group “Quilting with Bryan House Quilts“.
Next Week
Next week, we are taking a mid summer, 4th of July break. I hope you enjoy the holiday!
