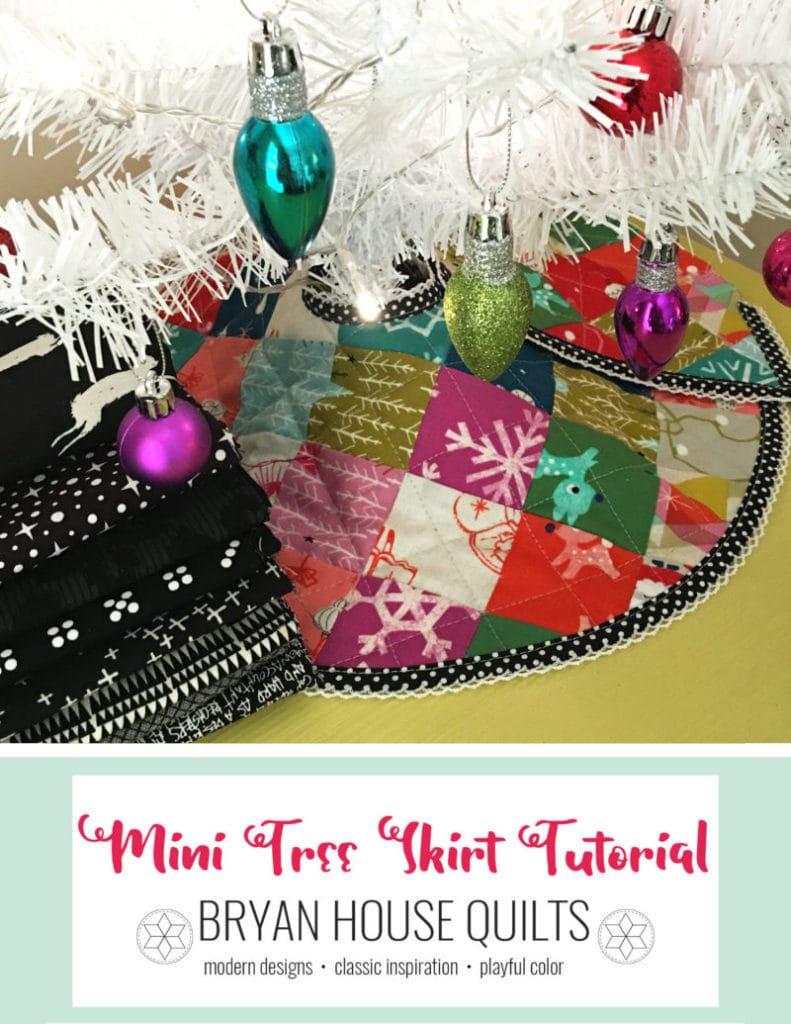
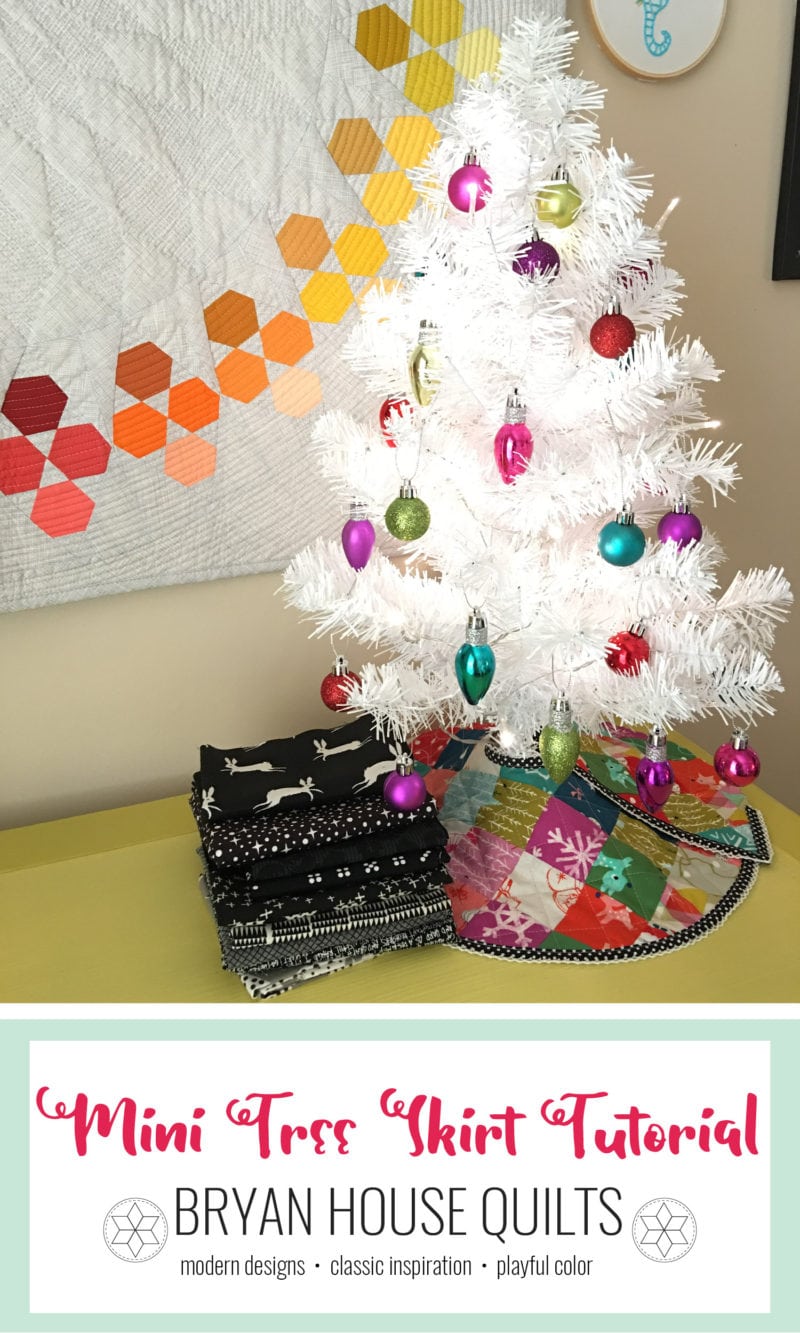
One of my all time favorite tutorials I’ve ever written is for this mini Christmas Tree skirt from quite a few years ago. I thought I’d give the tutorial a reboot. Plus, I’ve got a free PDF pattern download to go along. Plus this was the perfect excuse to buy a new, wee white Christmas tree for my studio! I’d never pass up a chance to add a bit of color!
A couple notes before getting started: This beginner friendly project takes 2-3 hours from start to finish when starting with all the materials. I’m using Cotton & Steel’s Garland Fabric. The crochet edge bias tape is from The Vintage Door, a shop on Etsy.
Materials:
64 squares 2 1/2” x 2 1/2”
20” x 20” Backing
20” x 20” Batting
2 yards of bias tape binding
Christmas Cheer!
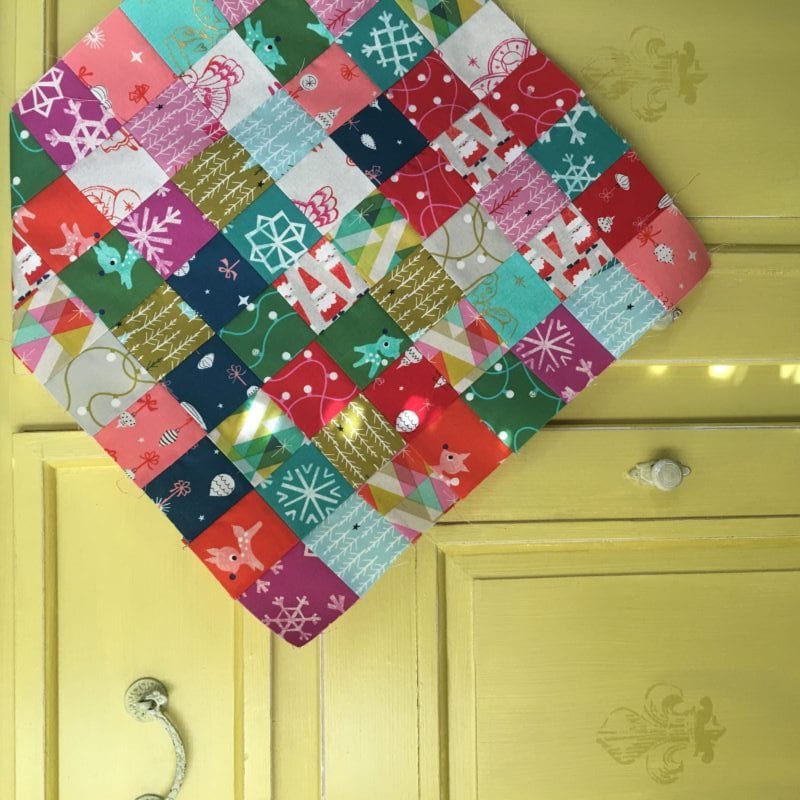
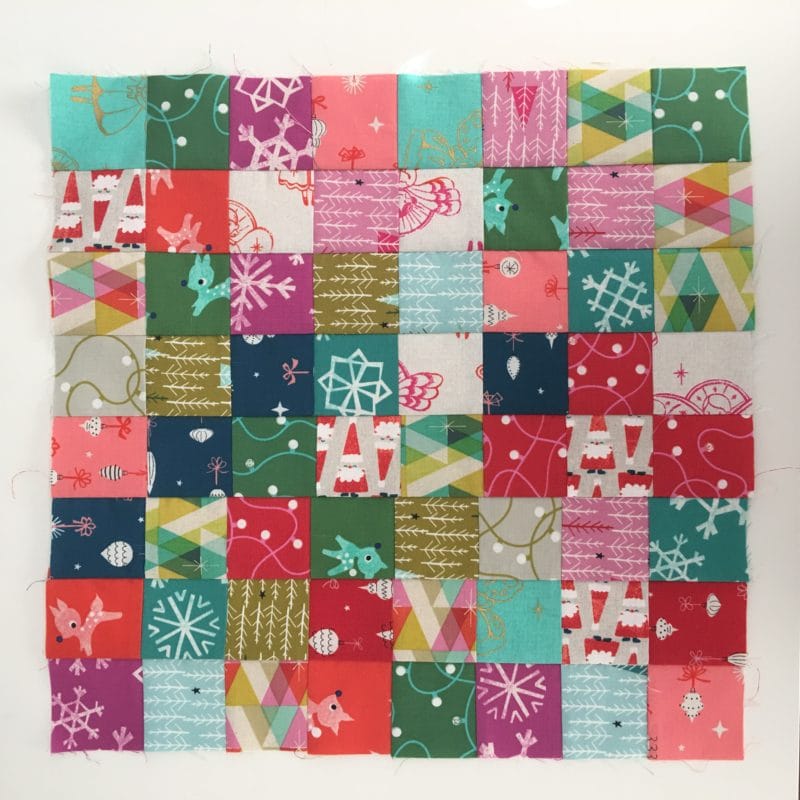
Step 1: Make a patchwork 18 1/2” x 18 1/2” block using the 2 1/2” x 2 1/2” squares. You’ll be piecing your squares into 8 rows of 8 squares by first sewing the 64 squares into 32 pairs. Then sew the 32 pairs into 16 units. Finally sew the 16 units into 8 rows of 8 squares. Press the seams in alternating directions.
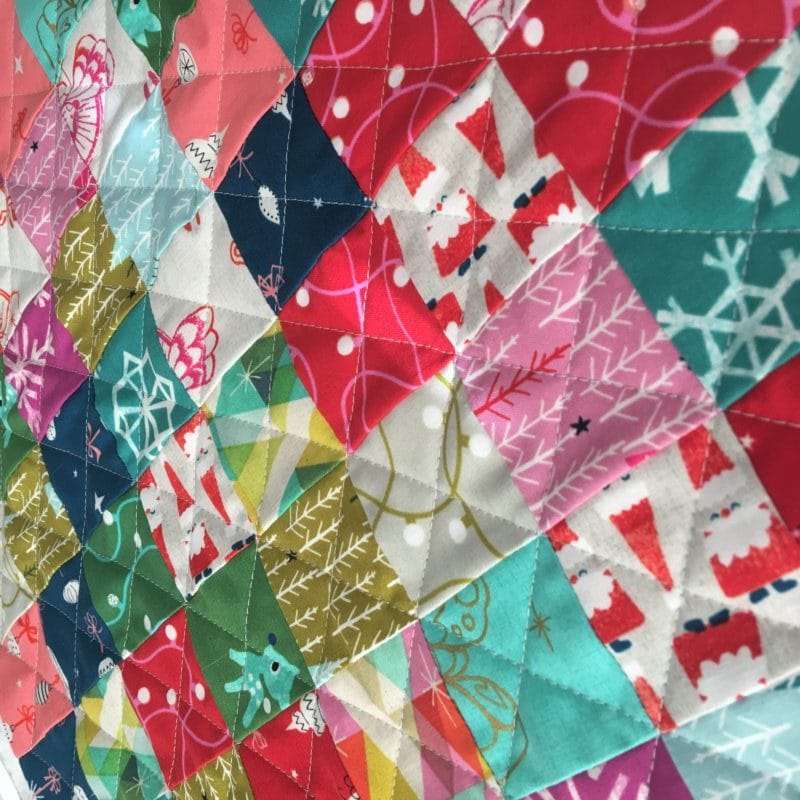
Step 2: Baste the backing and batting and patchwork block using your favorite (or least un-favorite) method. Then quilt your patchwork block. I chose a simple crosshatch. It may be simple but it’s a favorite of mine.
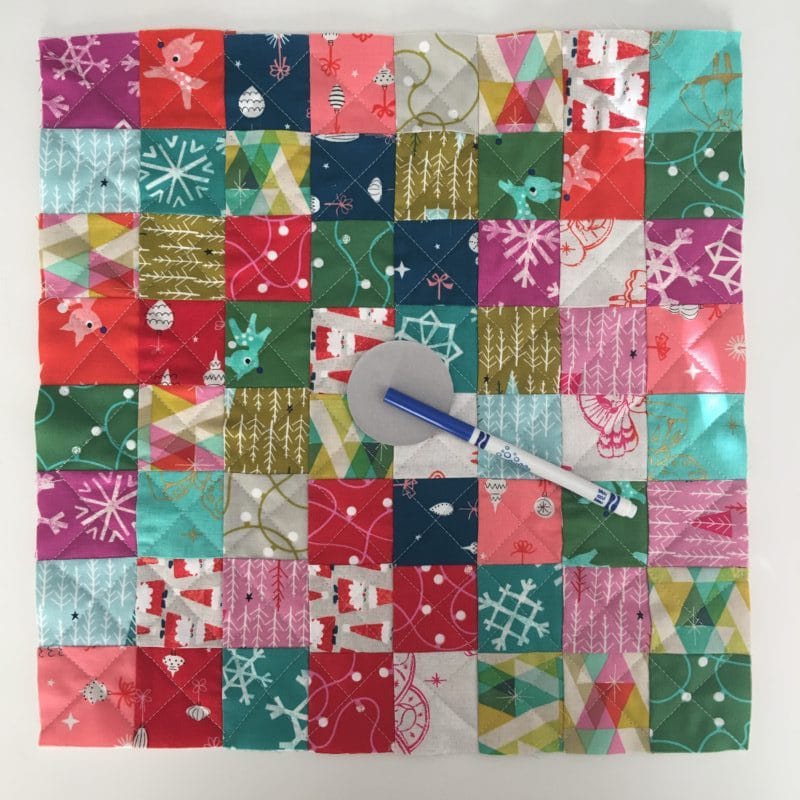
Step 3: Find a small circular household item, such as a canned good. Use the object as a circle template and trace a small circle in the center of your mini quilt using a fabric marking pen. (Don’t tell anyone but sometimes I use washable Crayola markers and then just cut the marked fabric off!)
The size of the center opening should vary depending on how big your mini tree’s base is. My mini tree’s base is fairly small so I went with a 2” circle.
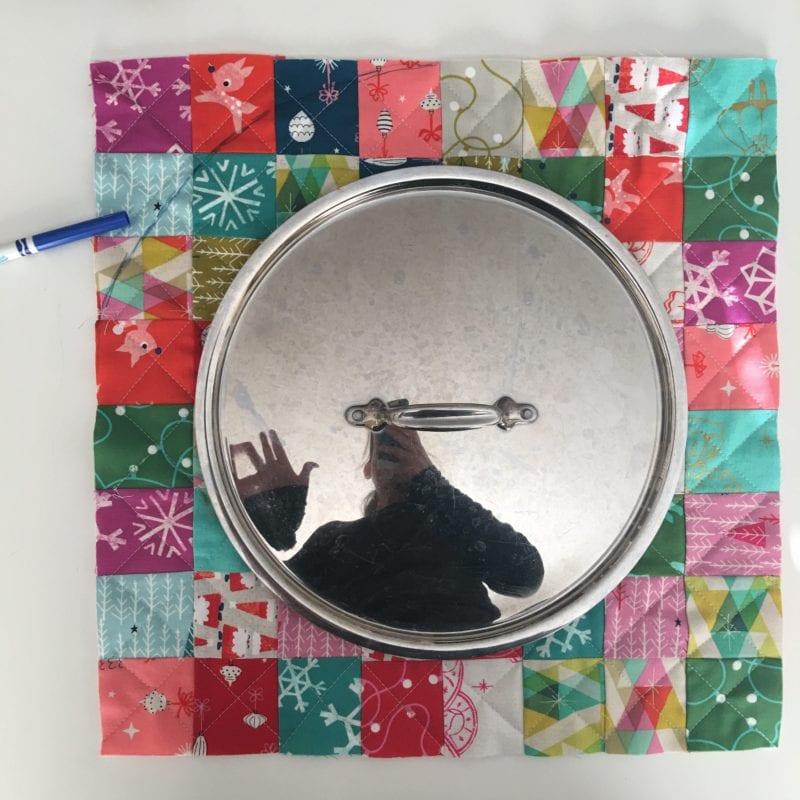
Step 4: Find a larger circular household item. I chose this large cymbal, er um pot lid. (A cymbal would have been way more fun!) (Also… Hi! *waves*) Draw a larger circle using fabric marking pen. In the picture I’m showing you, I’m drawing the circle about 2 inches away from the lid’s perimeter. I felt comfortable eyeballing it, but you can be more precise using a ruler.
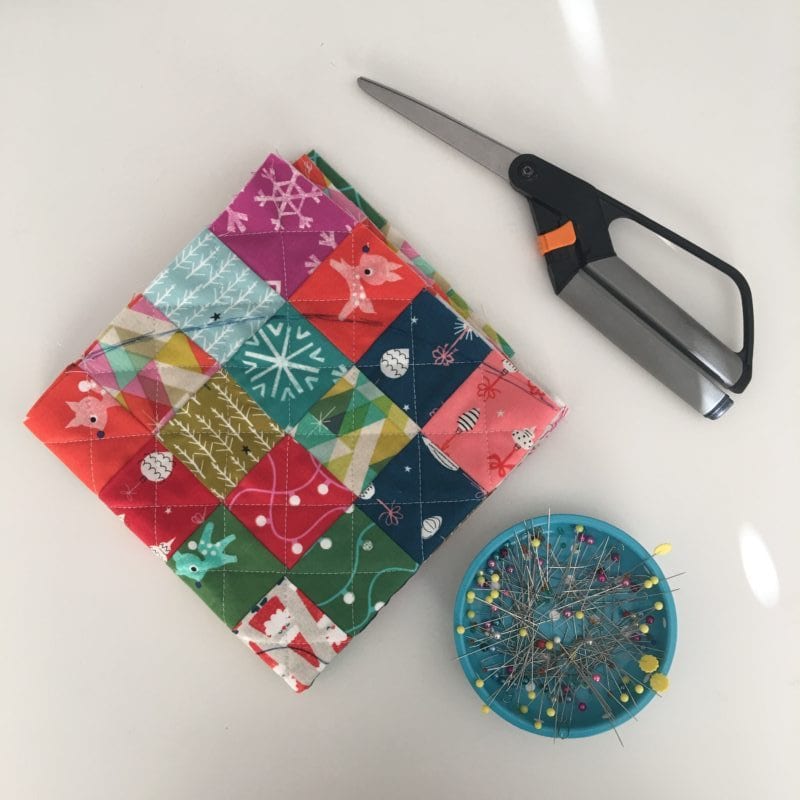
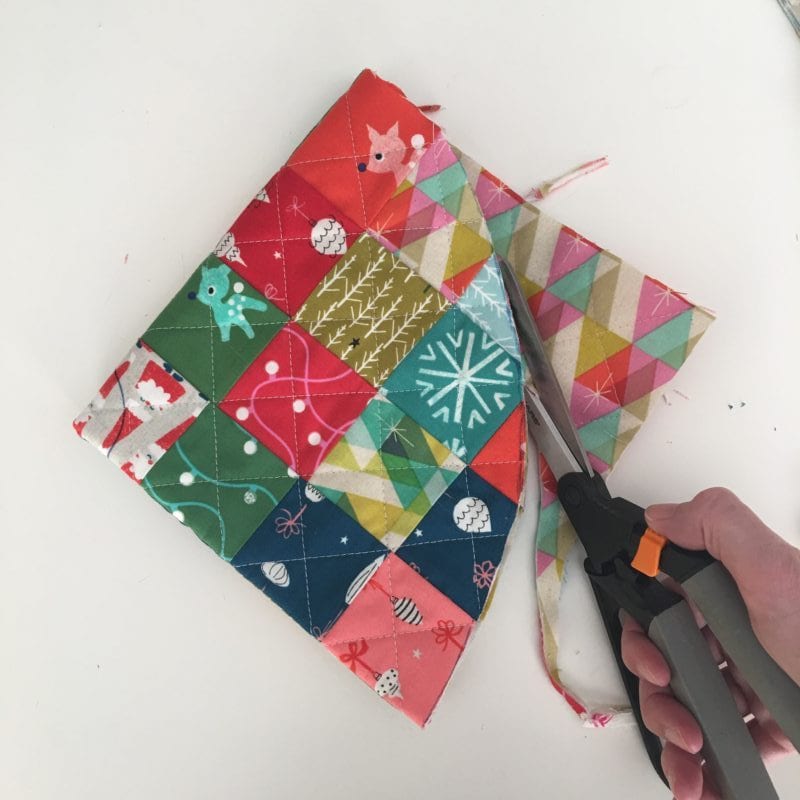
Step 5: Cut out the larger circle. I chose to only mark 1/4 of my block and then fold it into quarters to cut.
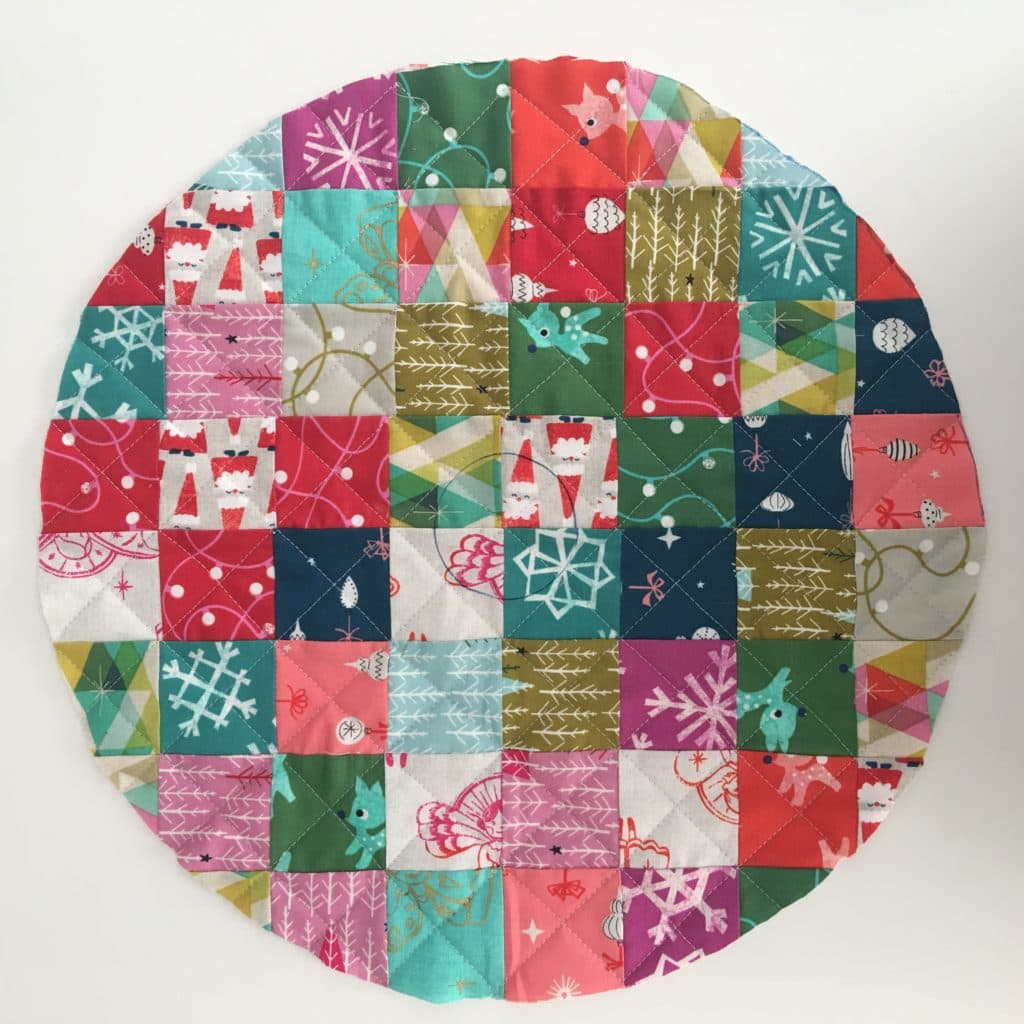
It worked pretty well! But you can definitely trace the whole circle and cut the circle without folding.
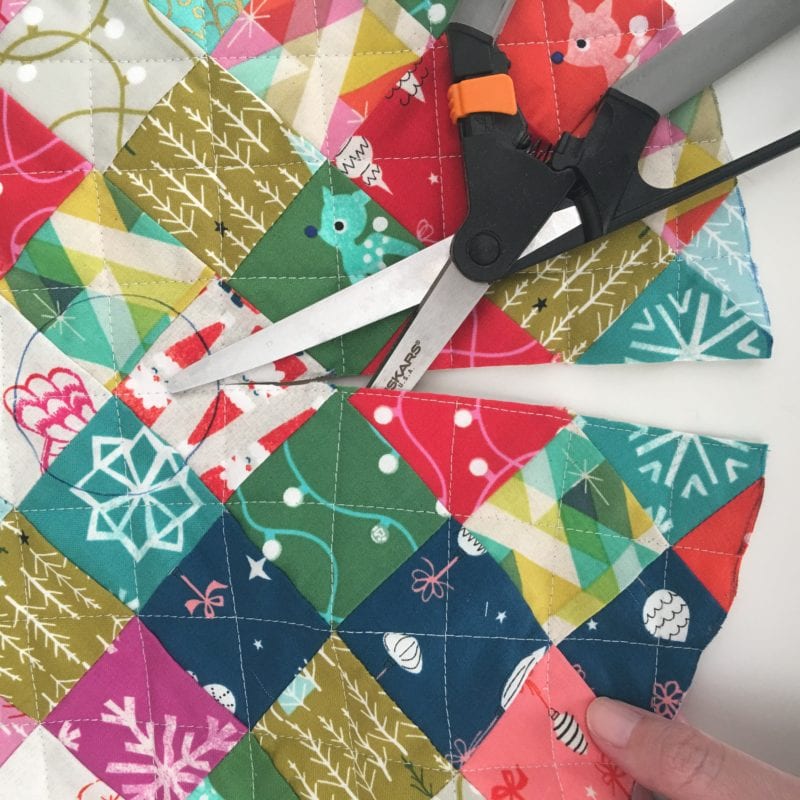
Step 6: Cut a straight slit in the skirt and cut out the small, center circle. Before cutting your slit, evaluate your mini to decide the best, most practical place to cut the slit. I decided based on my crosshatch quilting, to cut right along side one of the quilted lines.
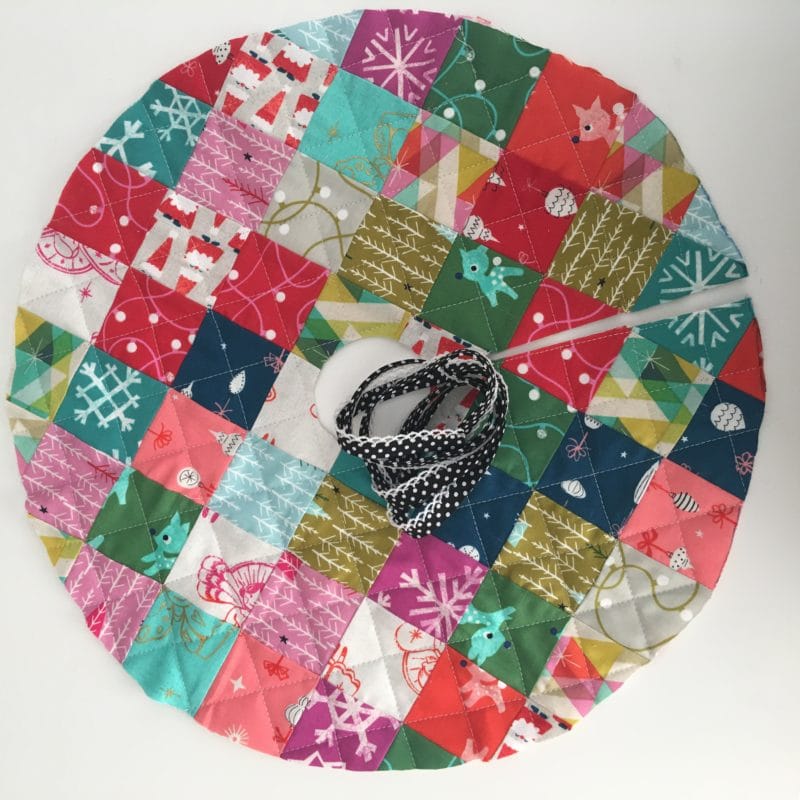
Step 7: Last step! Using your bias tape binding, bind that sucker! You’ll need bias binding to bind the curves.
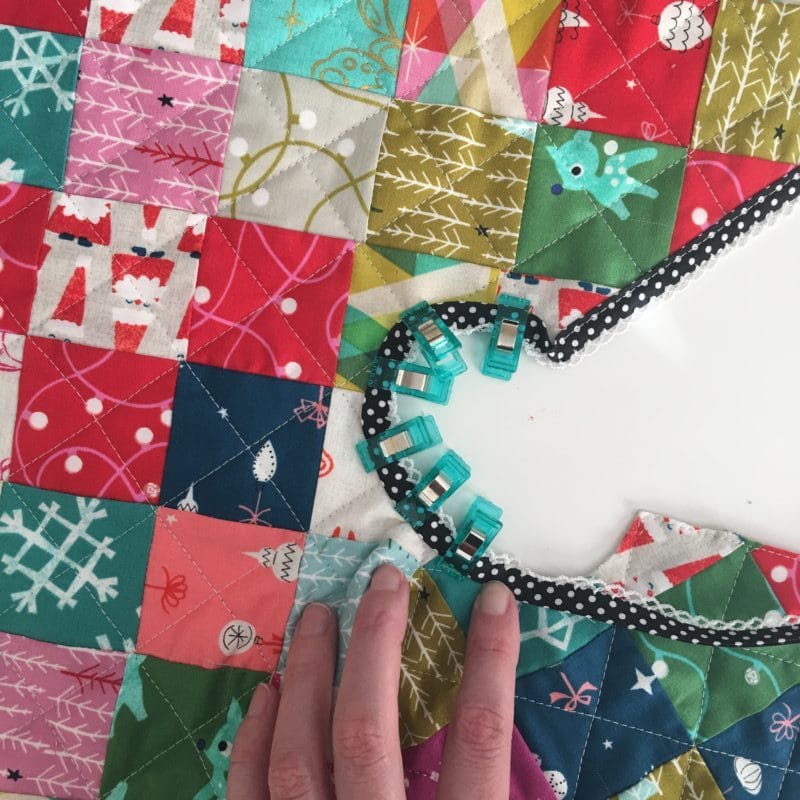
A few tips: Before binding the small center circle, you’ll want to clip the fabric. Use small sharp scissors, or snips, to make 1/8” cuts about 1/4” apart. Clipping the seams will allow you to manipulate the fabric a bit easier. I found my Clover Wonder Clips to be very helpful. Do you think I used enough? 🙂
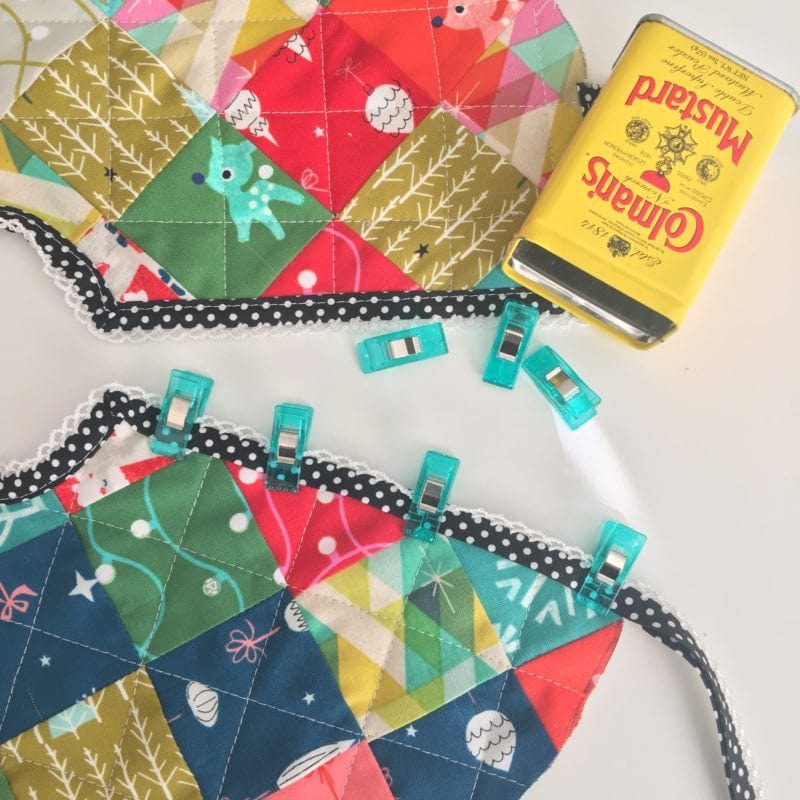
Now deck them halls! A fat quarter bundle looks lovely underneath this tree! Snap a picture and show us!
**Subscribers are welcome to the free PDF of this project. Find it here, or find it under the “Tutoral PDFs” menu under the “For BHQ Subscribers”. If you’d like to become a subscriber you are more than welcome. I’d love to have you.**
I hope you enjoy your mini Christmas tree skirt.
Have a wonderful, colorful day!

The cutest mini tree skirt ever!! I finally pulled out my mini red tree this year and it is in dire need of a tree skirt! I better get busy! Thank you for the amazing tutorial!
Awesome! Glad you love it! A mini red tree? I bet that will be darling!
Thank you so much for this adorable pattern! I’m a total beginner and this looks like a great place to start before attempting a full-size skirt. Happy holidays to you and your family!
Yah! I’m so glad! Happy Holidays to you as well!
Very cute I love the colors. Wish I had a charm pack but I bet if I look real hard I can find something in the old stash. I am all ready a subscriber. Enjoy you blog very much.
Yes! Thank you!