What do you do when things don’t go as planned in your quilt process?
Do you quit and go home? Heck no! (Well sometimes, but not in this post!) No, no, no! you make it work!
Just as in the saying “when life gives you lemons, make lemonade” – when things don’t go as planned in quilting, you go with it. Turn the mistake (if that’s what you want to call it) into a design element. Or maybe at least be open to considering how the mistake can improve your design.

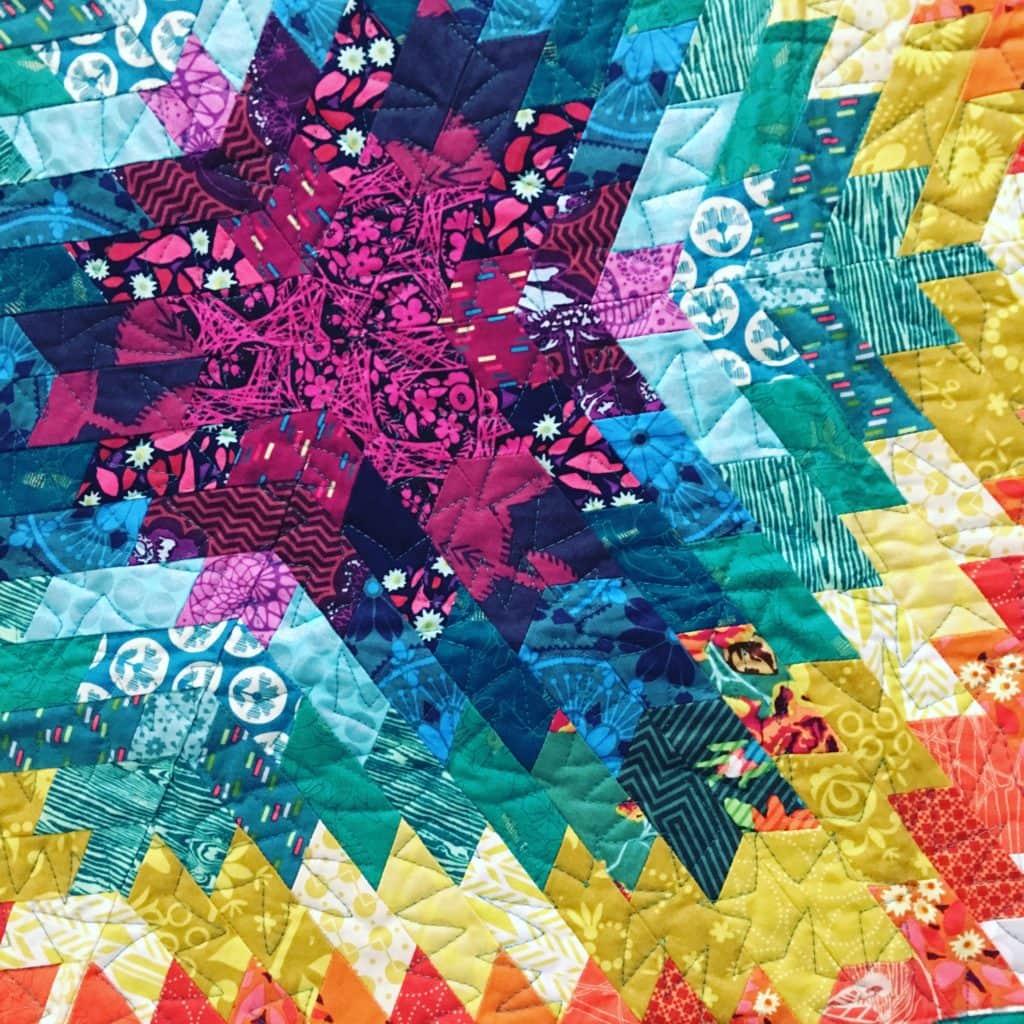
For me personally, mistakes happen all the time (sigh!). It’s just part of quilting and life (especially after have 4 kids… I am a WALKING disaster sometimes!) The above image is from my Icarus Star quilt. I’ve shared this story many many times while teaching. But in short this quilt didn’t turn out as planned. I was in a rush to get it finished for my Modern Rainbow book and made a horrid, design killing mistake. Instead of abandoning the beautiful pieces I’d made, I used the mistake as an opportunity to create a new design. Though it was intended to be a Kilim themed quilt the actual result proved to be more meaningful and personal.
Using flaws as a design element is a technique quilters have been using for years. I’m certainly not the only one! For the Rainbow Triangles Block of the Month, the Month 1 blocks gave everyone, including myself, a bit of trouble. There are so many seams in those blocks that the resulting square ended up being smaller than the rest of the squares.
Which isn’t so great in quilting, non? (Teacher’s note: I’ve edited the BOM program so that the blocks are more accurate going forward.)

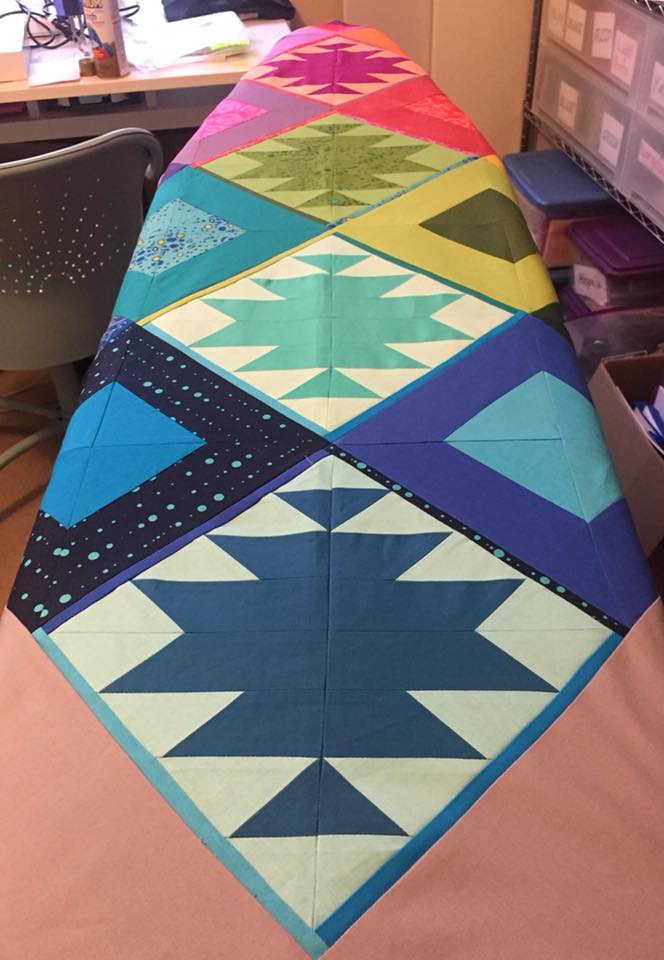
Well Susan, one of the BOM participants for 2018, had a great solution. She put wee strips, or coping strips, around each block. The result creates a wonderful burst of color framing the center line of designs. I gasped when I saw Susan’s design.
Here’s what Susan said about the experience:
“So, I am not so good at keeping with the plan.
When my January blocks were obviously not going to fit, I had to look at the final design. (The seam allowances from all those little pieces sure shrunk the block! I should have known better and done very scant seams)
Then, we found out we would be moving and I wanted to finish it up before packing up my sewing room.
I wound up adding thin strips of fabric used in the surrounding blocks to frame the center blocks.
As for the background, well, I never could follow directions well…”

The result is wonderful, BeaUtiful, and personal. Susan: thanks for sharing your process and results with us!
How do you turn lemons into lemonade?
For a long time, I was a bit obsessed with pushing the envelope of planned and scripted quilt designs. I became almost reckless in my pursuit of using error as a design element. Right now, I feel the errors kinda just come naturally (*snort*) and I need to be open to welcoming or at least considering their potential design impact.
What about you? How do you use “mistakes”? Comment below of join the conversation in the Facebook community.

My first machine-sewn thing was a tote bag that I made in an “intro to machine sewing” class. I used beige linen and a dark purple thread, thinking the contrast would look nice when topstitching the edges of the shoulder straps. It doesn’t look that nice if you can’t sew in a straight line! Instead of trying to fix it, I sewed “organic wavy” lines all across the straps, and it looked great. The instructor even asked if she could take a photo of it to use as a tip for future classes.
Perfect!
As an instructor, I personally love it when this happens. Thanks for sharing!
I am notoriously bad at READING directions. Period. If a quilt pattern has insufficient illustrations- I’M DOOMED!
I often have to cobble together ‘repairs’ to the original design. Truth be told- in the beginning, I felt like a failure. But I didn’t ever want to waste fabric or time. So, I learned to ‘wing it’ and compensate for my errors much as your Susan had done. Adding borders, turning the quilt to an ‘on point’ instead of straight. Designing an entirely new block to fit where the incorrect original block failed. You name it, I’ve tried it.
Rather than feel a failure- each quilt like this that I have to tamper with has turned out to be my favorites just because I had to work harder with my imagination and skill than the original design had asked for.
And, YES, I now make test blocks. EACH. AND. EVERY. TIME.
Good article, good advice.
I enjoy reading your blog, you sound so normal- not a highflying know-it-all.
Thanks.
Terry.