My Boos & Ghouls quilt tutorial has gotten a glow up, just in time for Halloween sewing. I’ll show you ‘howl’ to quickly sew these eerily adorable ghosts. The tutorial is loaded with instructions, graphics and of course, fun!
Use the finished 20-inch square top to make mini quilts, table toppers and runners, spooky pillows or treat tote bags. Or use them as a starting point for a larger quilt with a hoard of little Boos and Ghouls.
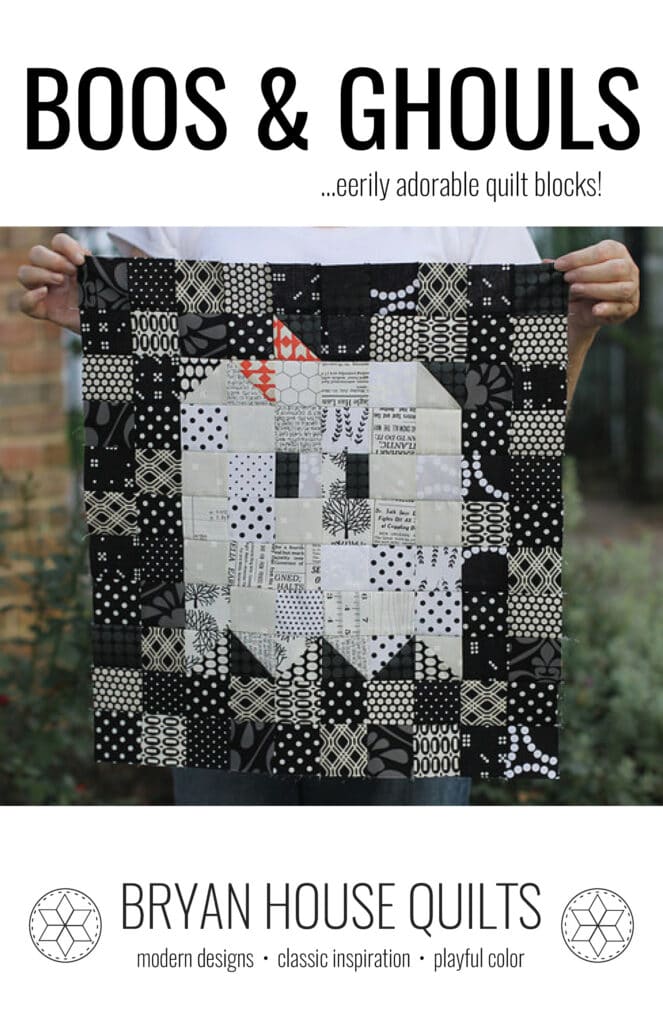
These cuties made their debut in September 2014 with a Spooky Mini Quilt Along. I loved using black, white, and gray solids with a hot pink accent. The little ghosties floated eerily over the checkered background, like little ghosties do.
HOWEVER…

After more than a decade of ghosting this design, it’s time for a glow up with a fresh tutorial on making them WITH PRINTS!
Originally, I planned to make the refreshed Boos and Ghouls in purples and pinks with contrasting oranges because I had so many scraps. Obviously, I changed my mind but you don’t have to. Go for it and make your ghost’s body and background in two contrasting colorways.
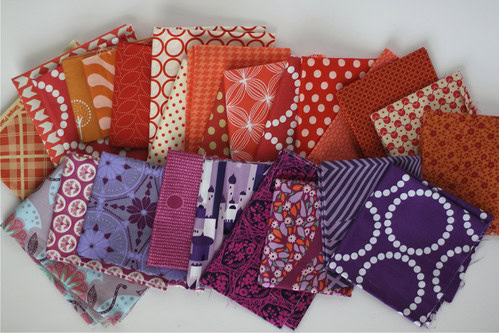
GLOW UP TUTORIAL (Get it? ‘Glow’ up?)
Making Boos & Ghouls with prints is a fun, easier challenge because my version only used a handful of different dark prints, light gray and white. A simple background, lots of contrast inside and outside the blocks make this project an easy, enjoyable sew time.
One more note on fabric selection: For the eye pieces ( 1 1/2” x 2 1/2” rectangles) I chose to use the same black and same white fabrics for each of the eyes on a ghost. Using different fabrics for each gave the ghost goofy eyeballs with a kind of lazy eye look. That might actually work for a ghost because, well, it is a ghost after all.
Step 1: Choosing fabrics and Cutting
Materials:
- 1/2 yard assorted dark print fabrics in black/white, black/gray, beige, and black/cream
- 1/2 yard assorted low-volume white, cream, beige and gray mixed print fabrics
- Scrap orange fabric
- Cut (CL1)
- Boo (CL2)
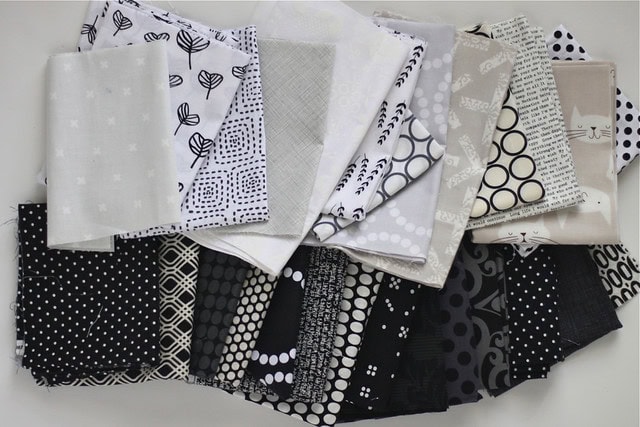
CHOOSING Low-volume LIGHT AND DARK PRINT fabrics
The low-volume fabrics – white, gray, beige and cream prints – can have a bit of black in them because the black print squares offer so much contrast.
When you lay them out in two rows like I did in the photo above, you will easily see if you have enough contrast.
The same is true for the dark fabrics: they can have a bit of light colors because the lighter fabrics offer so much contrast.
CUTTING FABRICS FOR A BOO
Now, let’s cut the low-volume light fabrics:
- 32 squares 2 ½”
- 4 squares 2 ⅞” Note: I cut 3” squares instead and square up later.
- 2 rectangles 1 ½” x 2 ½”
From the black fabric, or your chosen background fabrics), cut:
- 68 squares 2 ½ “
- 4 squares 2 ⅞”. Note: Again, I cut 3” squares and square up later.
- 2 rectangles 1 ½ ” x 2 ½ “
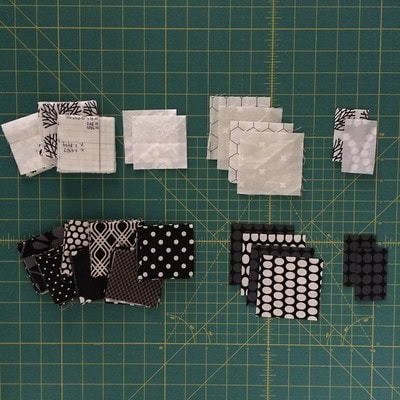
CUTTING FABRICS FOR A GHOUL
From the low-volume white prints, (or your chosen ghost fabric), cut:
- 31 squares 2 ½”
- 5 squares 2 ⅞”. Note: I cut 3” squares instead.
- 2 rectangles 1 ½” x 2 1½”
From the dark/black prints fabric, or your chosen background fabric, cut:
- 68 squares 2 ½ “
- 5 squares 2 ⅞”. Note: Again, cut 3” squares and square up later.
- 2 rectangles 1 ½ ” x 2 ½ “
Orange BOW FABRIC
From the orange scrap fabric (or your chosen bow fabric), cut:
– 2 squares 2 7/8”. Note: I just 3” squares here.
STEP 2: PIECING
Set the 2 ½-inch squares aside for the body.
We will start sewing the eyes and ghost parts made with HSTs (half square triangles). These are the top corners of the ghosts, the ‘feet’ and the bow for our little Ghoul.
GHOUL: EYES, TOP Corners, Feet and BOW
Eyes
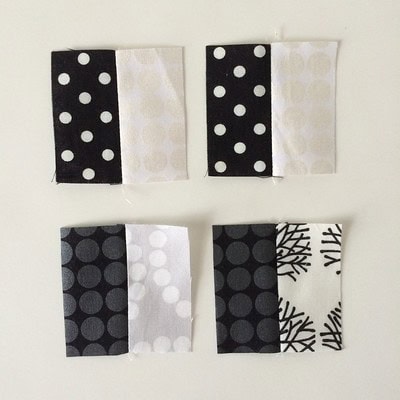
Pair up your 1 ½-inch x 2 ½-inch black and white rectangles right sides together. Piece them together using 1/4” seam allowance. Press seams open. You should have two eyes for each ghost.
Feet and Bow
Next, make the Half Square Triangle blocks for the ghoul’s “feet” and bow. Now, grab your piles of squares for marking.
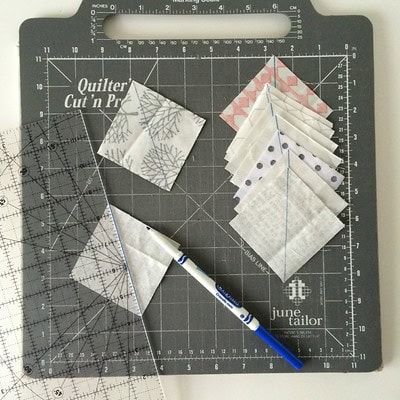
1. On all the 2 ⅞” white squares and one 2 ⅞” orange (bow fabric) square draw a diagonal line from one corner to another using a pen. I draw the line on the lighter fabrics so I can see it when I sew the seams. I use an acrylic ruler to so I can see easily see where my corner points match end to end.
2. Pair up the fabrics right sides together; pair the unmarked orange square with a marked white square; pair the marked orange square with a black square.
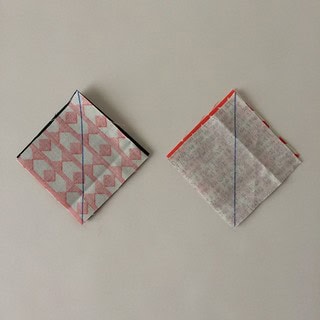
Then pair the rest of the white squares with the black squares.
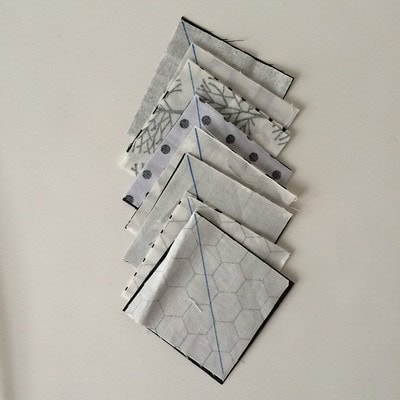
3. Sew 1/4” away from either side of the marked line.
4. Once all the pieces are sewn on either side of the marked line, cut each piece apart along the line. Press the seams open or to the darker fabric.
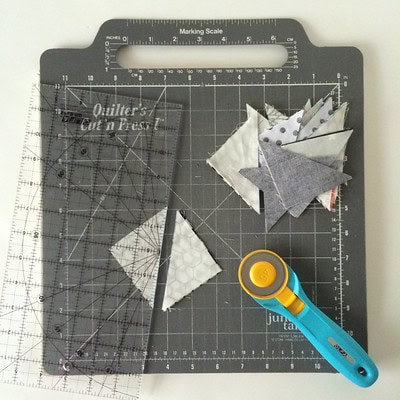
5. Finally, trim all the HSTs to 2 1/2” square. You will only need one orange and white HST and only one orange and black HST. You will need 8 black and white HSTs for each ghost.
Cute!
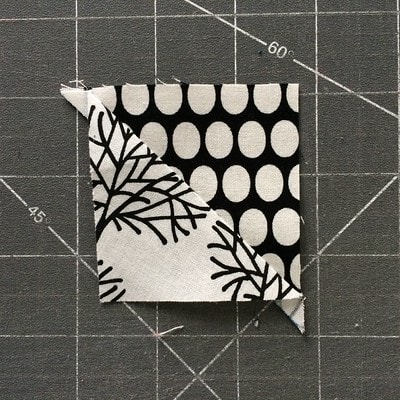
Now, you’ll trim, trim, trim all of your blocks to 2-inch squares. Buh-bye dog ears.
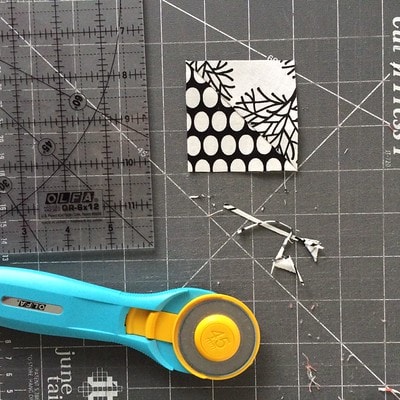
Will you be glad you trimmed when your seams match up later? YES.
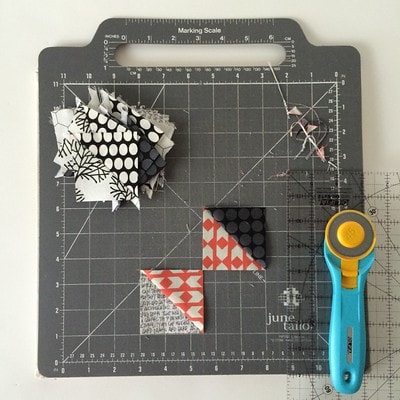
Assembly
1. Starting with the Ghoul, lay out your HST blocks and black and white squares on a design surface.
2. The blocks outlined in pink show the specific blocks needed for the bow and feet.
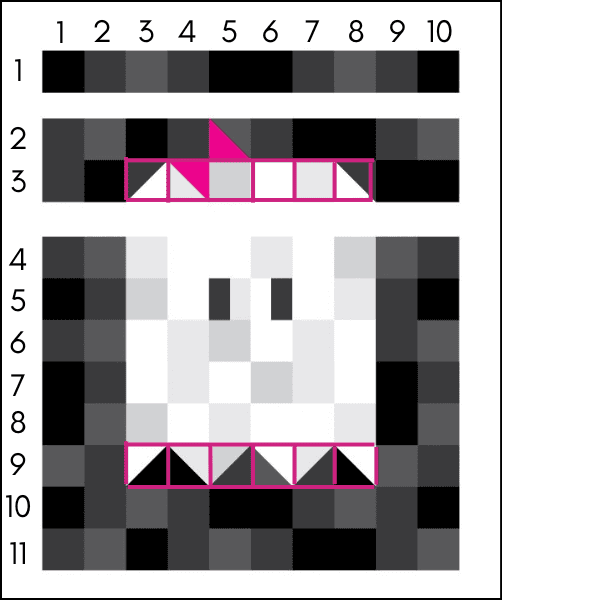
2. Then sew the squares and HST blocks together into rows. Press the seams to alternating sides. Press odd rows to the right; press even rows to the left.
3. Then sew the horizontal rows together to make your little “Ghoul” block. Press seams open or to one side.
4. Add batting and backing.
5. For a faster finish, stitch in the ditch or sew a quarter inch away from the seam lines. Learn more about straight line stitching and how to use a walking foot for great results.
6. Add the binding. Need a binding tutorial? Here’s my favorite way to quickly bind quilts.
4. Repeat the process to make the “Boo” quilt, minus the bow.
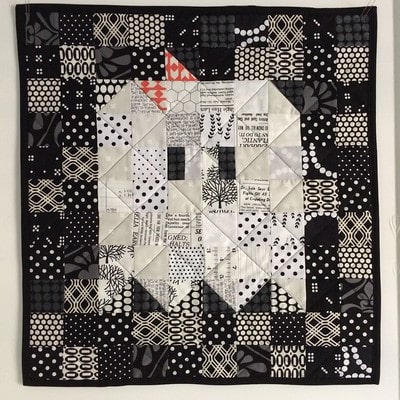
And my glamour shot…I feel boooooo-tiful!
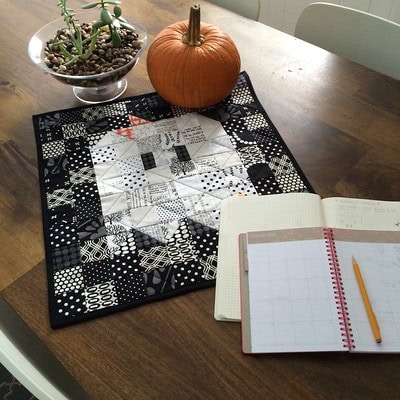
Whip up a mini or two and make your home extra spooky for Halloween.
Happy Quilting,
xo Rebecca